How to Install a Whole-house Water Filter on a Well in 2026
So, you're looking into how to install a whole-house water filter on a well. That's a smart move if you're dealing with water that's a bit questionable, or if you just want that extra peace of mind that your whole house is getting cleaner water. It's not as complicated as it might seem, especially when you know what you're looking for.
Our research shows that many homeowners consider this a manageable DIY project, but understanding the plumbing and specific filter components is key. For instance, manufacturer specifications often detail flow rate requirements, with many whole-house sediment filters needing at least 5 gallons per minute (GPM) to maintain adequate pressure. We'll break down what you need to know to get this done right, starting with the visuals.
Why Seeing is Key: Understanding the Visuals for Well Water Install
When you're getting ready to connect a whole-house water filter to your well system, visuals make a world of difference. Plumbing has its own language of pipes, angles, and connections, and trying to do it based on text alone can lead to confusion. This is especially true when you're cutting into existing lines and adding a new component.
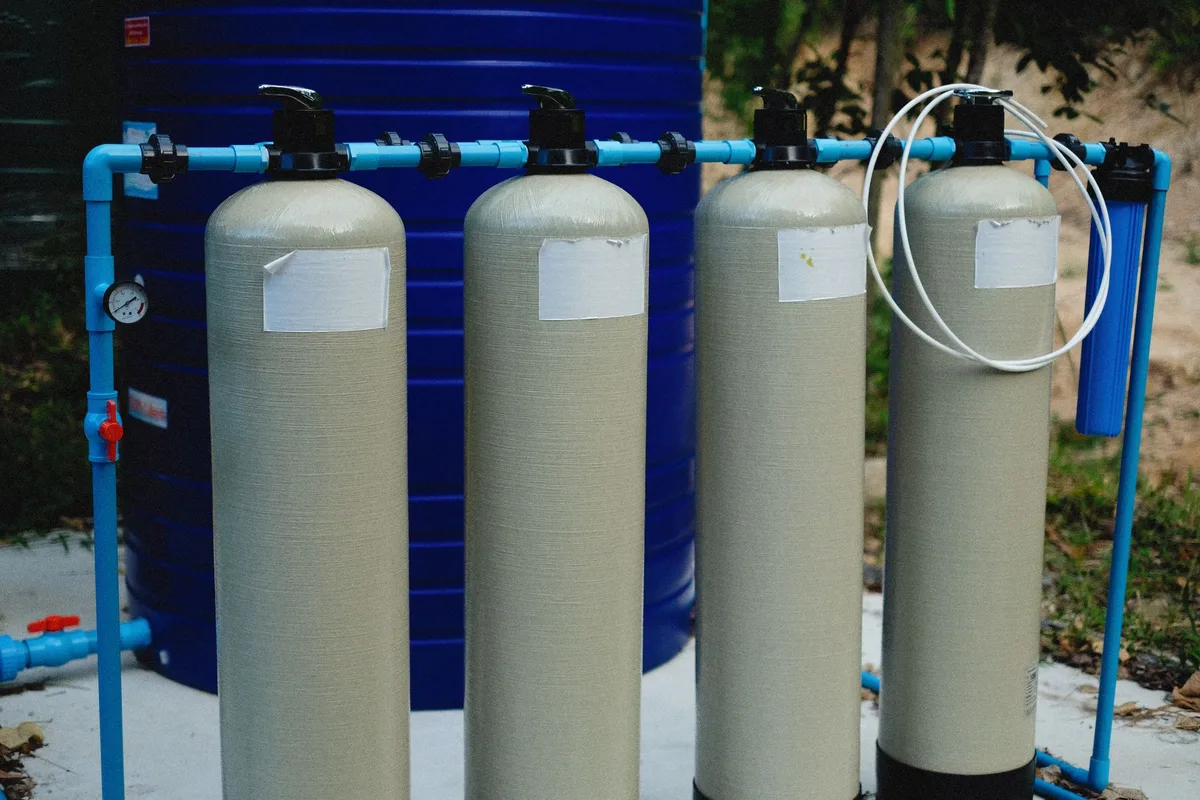
Understanding where the filter will sit in your water line, how much space you have to work with, and how the fittings connect is much easier when you can see a diagram or an actual setup. This helps you anticipate potential issues before you even grab your pipe cutter.
Understanding Your Well Water Filter System Components
Before we dive into the installation itself, let's get familiar with the main parts you'll be dealing with. Knowing what each piece does and what it looks like is half the battle.
Filter Housing and Cartridges: What They Look Like
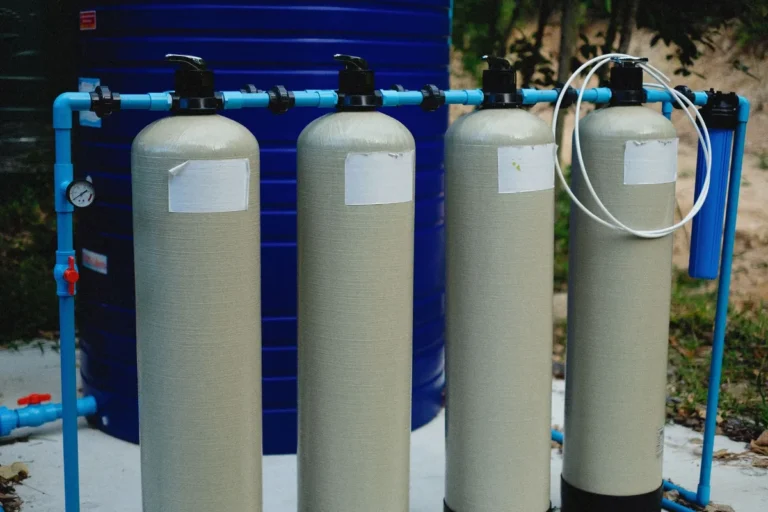
The heart of your system is the filter housing, which is essentially a sturdy container that holds the actual filtering element. These housings are typically made of durable plastic or metal and come in various sizes to accommodate different filter cartridges. The size often dictates the flow rate your system can handle, with larger housings generally supporting higher GPM.
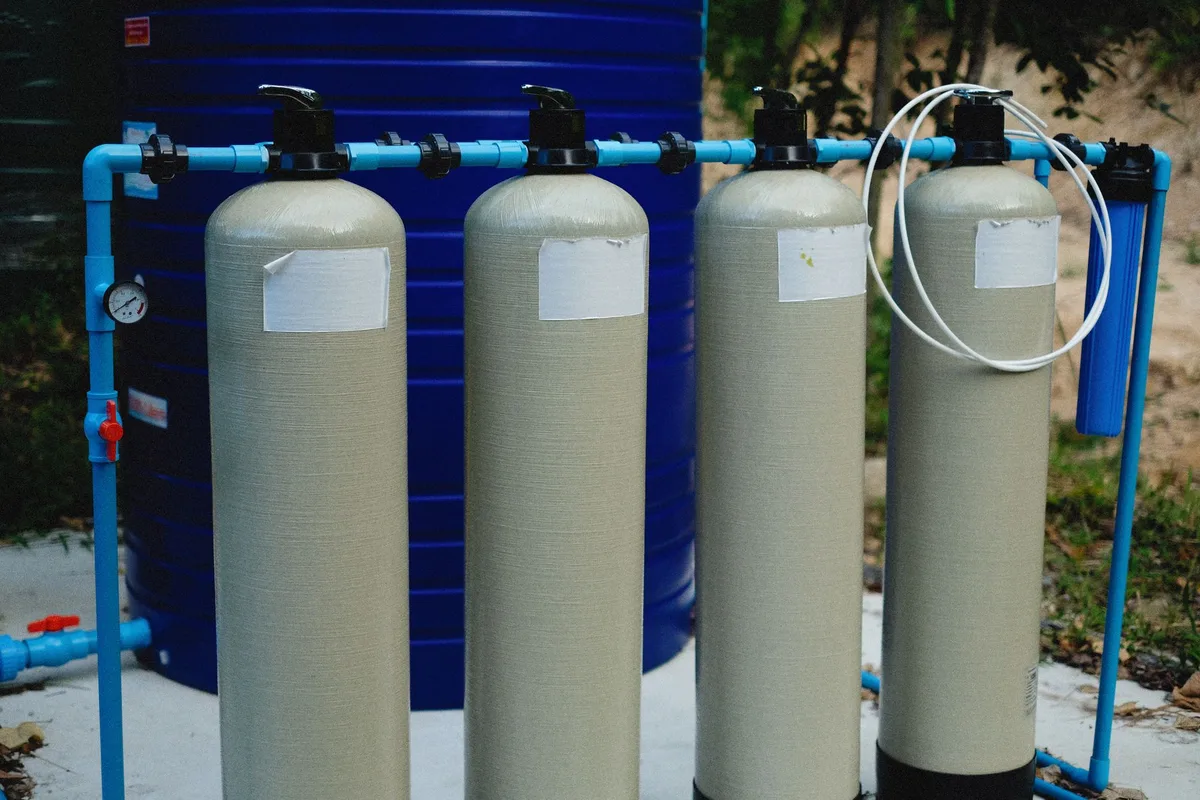
Inside, you'll find a filter cartridge. For well water, you might commonly see sediment filters designed to catch particles like sand, silt, and rust, or activated carbon block filters that can help with taste, odor, and certain chemical contaminants. Cartridges are usually cylindrical and replaceable, with micron ratings indicating how small of particles they can capture. For reference, a 5-micron sediment filter is common for initial whole-house filtration.
Inlet, Outlet, and Bypass Valve Connections: The Plumbing Picture
Your whole-house filter system will have a main water inlet and an outlet. The inlet connects to the water line coming from your well pump and pressure tank, and the outlet connects to the pipe that then feeds the rest of your house. These connections are usually threaded fittings.
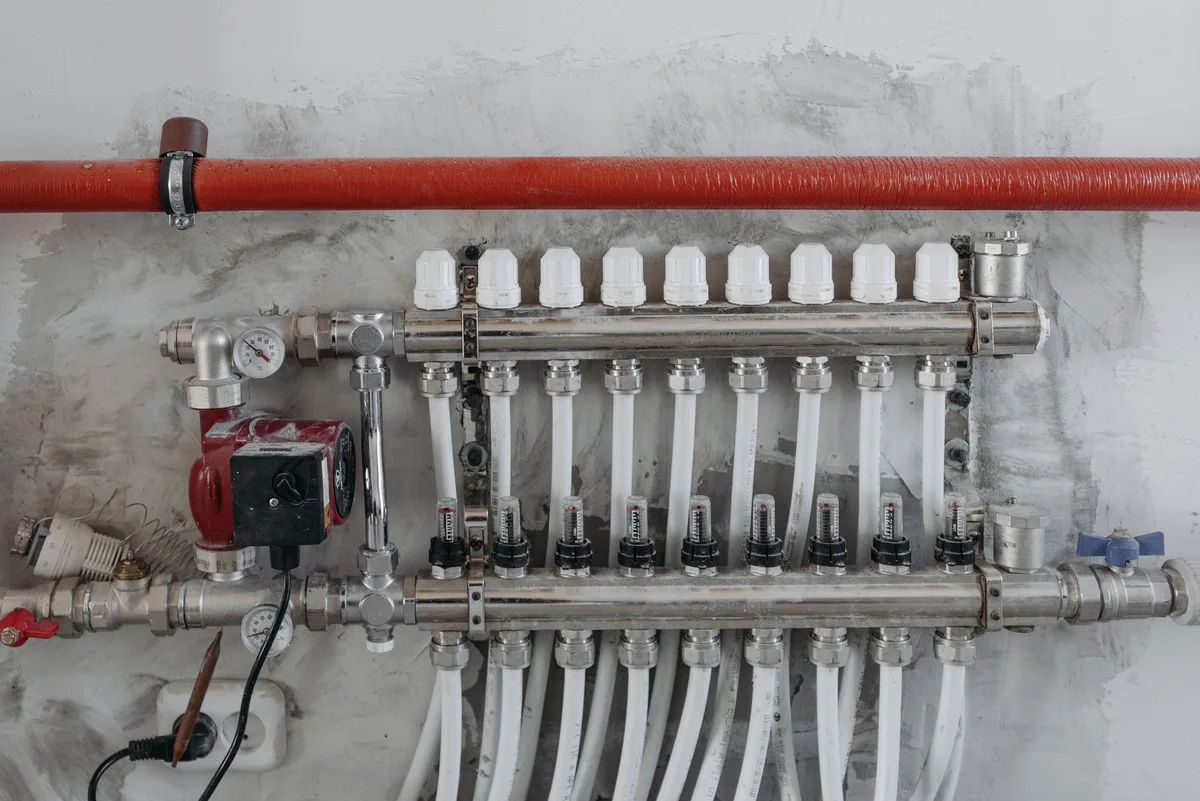
Many systems also come with a bypass valve assembly. This is a super handy set of valves that allows you to reroute water around the filter without shutting off your main water supply. This is crucial for maintenance, like changing a filter cartridge, without leaving your house without water. Seeing how this bypass plumbing integrates with the main filter housing shows you how to isolate the filter when needed.
Its function is to divert water flow safely away from the filter unit.
Step-by-Step: Installing Your Whole-House Well Water Filter
Now that we've got a handle on the components, let's talk about the actual installation process. This is where having a visual guide, like the diagrams and photos we've discussed, really pays off.
Prep Work: Locating and Shutting Down
First things first, you need to pick the right spot. Typically, this is where your main water line first enters your house, often in a basement, crawl space, or utility room. Make sure there's enough room to comfortably work around the filter and its connections, and that the area is protected from freezing.
Next, and this is critical, you have to shut off the water supply and drain the lines. This usually means turning off your well pump at the breaker and opening the lowest faucet in your house to let all the water drain out. If you don't, you'll have a significant mess on your hands.
Cutting In: Making the Plumbing Break
With the water off and the lines drained, you're ready to cut into your main water pipe. You'll need to measure and mark where the filter system will go. Carefully cut out a section of the pipe that's just long enough to accommodate the filter housing and any fittings, ensuring you leave enough space for a solid connection.
Connecting the Filter: Getting the Fittings Right
This is where your chosen filter's specific connection types come into play. You'll likely be using appropriate pipe fittings, such as NPT (National Pipe Thread) adapters, to connect the filter housing's inlet and outlet ports to your existing plumbing. Make sure you use pipe thread sealant or Teflon tape correctly to create a watertight seal, typically wrapping male threads clockwise.
Installing Bypass Valves: The Smart Move
If your system includes a bypass valve assembly, now's the time to install it. This typically involves connecting valve pieces to the inlet and outlet sides of your filter housing. Proper installation creates a loop that, when one set of valves is closed and another is open, effectively takes the filter offline. This feature is a lifesaver for future maintenance.
Turning It On and Checking for Leaks
Once the filter and bypass valves are plumbed in and secured, you can slowly turn your well pump back on. Open a faucet gradually to refill the lines and the filter housing. As water begins to flow, carefully inspect every connection point, the inlet, the outlet, and around the bypass valve assembly, for any drips or leaks. It's essential to be thorough here.
Common Installation Headaches: Mistakes to Watch Out For
Even with the best intentions, things can go sideways during a filter installation. The most common issues we see reported often stem from rushing or not double-checking connections. Small mistakes here can lead to bigger problems down the line, like leaks or reduced water pressure that affect your whole home.
When Fittings Don't Play Nice
Sometimes, pipes and fittings just don't want to cooperate. This can happen if you try to force a thread that's misaligned, or if you use the wrong type of sealant. Manufacturer specifications for pipe fittings, like those adhering to ASME standards, aim for tight tolerances. If you're using copper pipe and compression fittings, for example, over-tightening can actually damage the fitting, leading to premature failure.
Leaks: The Dreaded Drip
Leaks are the archenemy of any plumbing project. They usually happen at the connection points where the filter housing meets your water lines, or where you've made new pipe joints. A small drip might seem minor, but over time, it can cause water damage, mold growth, and can be really hard to track down if you don't catch it early.
Pressure Problems: What Went Wrong?
If your water pressure seems weaker after the installation, it's usually due to one of a few things. It could be that the new filter cartridge is too restrictive for your well's flow rate, or that a pipe fitting is partially blocked or crimped. Aggregate user reviews often point to filters with micron ratings that are too fine for the system's natural output, leading to a noticeable drop in pressure.
What You'll Need: Tools and Materials
Getting the right gear ready before you start can save you a lot of hassle and trips back to the hardware store. You'll want to have a few key items on hand to tackle the installation smoothly.
Here's a rundown of what you'll likely need:
- Pipe Cutter: For making clean cuts on your existing water line.
- Adjustable Wrenches or Pliers: Essential for tightening and loosening fittings.
- Pipe Thread Sealant or Teflon Tape: To ensure all threaded connections are watertight.
- Measuring Tape: For precise placement and cutting.
- Bucket and Towels: For catching any residual water and for cleanup.
- Safety Glasses: Always protect your eyes during any DIY project.
- Your Filter System: Of course, the whole-house filter itself, including its specific fittings.
- Replacement Filter Cartridge: Make sure you have the right one for your well water tested contaminants.
Expert Tips for a Smooth Installation
Our research and analysis of industry best practices suggest a few key tips that can make your whole-house well water filter installation go more smoothly. These aren't necessarily in the manual, but they come from real-world experience.
First, when laying out your cuts, measure twice, cut once. It sounds cliché, but it’s true. Ensure you have enough straight pipe length before and after the cut for secure fittings to attach. If you're using NPT threads, always wrap the male threads clockwise; counter-clockwise wraps can lead to leaks.
Also, consider a pressure gauge. Installing one before and after the filter can give you a clear reading of pressure drop, helping you diagnose issues later if needed. This data can be invaluable for understanding your system's performance as of 2026.
When to Call a Pro
While many homeowners can successfully install a whole-house water filter on their own, there are definitely times when it’s smarter to bring in a professional plumber. If you’re not comfortable cutting into your main water lines or if your existing plumbing is old, corroded, or uses unidentifiable pipe types, it’s a good idea to get expert help.
Plumbers have the specialized tools and experience to handle tricky situations, like working with lead pipes or in tight, awkward spaces. They can also ensure your installation meets all local plumbing codes based on standards like the International Plumbing Code (IPC). If your well water has complex contamination issues requiring specialized filtration, a water treatment professional can offer the best advice.