How to Replace Reverse Osmosis Water Filter 2026
Maintaining the purity of your drinking water often starts with a reverse osmosis (RO) water filter system, but these systems need regular attention. Learning how to replace reverse osmosis water filter components is a key part of ensuring your water remains clean and tastes great. Neglecting this maintenance can lead to a decline in water quality and even system issues.
Manufacturer specifications and aggregate user feedback consistently highlight the importance of timely filter changes. For instance, most RO membranes, a critical component, are designed to last between 2 to 5 years under normal operating conditions, but pre-filters typically need replacement every 6 to 12 months. This guide breaks down the process to help you keep your system running optimally.
Why Changing Your RO Filters Matters
The primary role of a reverse osmosis system is to produce highly purified water by forcing it through a semi-permeable membrane. This process is supported by several stages of filtration, each designed to remove specific contaminants. Sediment filters capture larger particles like sand and rust, while carbon filters remove chlorine, odors, and organic compounds. Without regular replacement, these filters become saturated and can no longer perform their intended function.
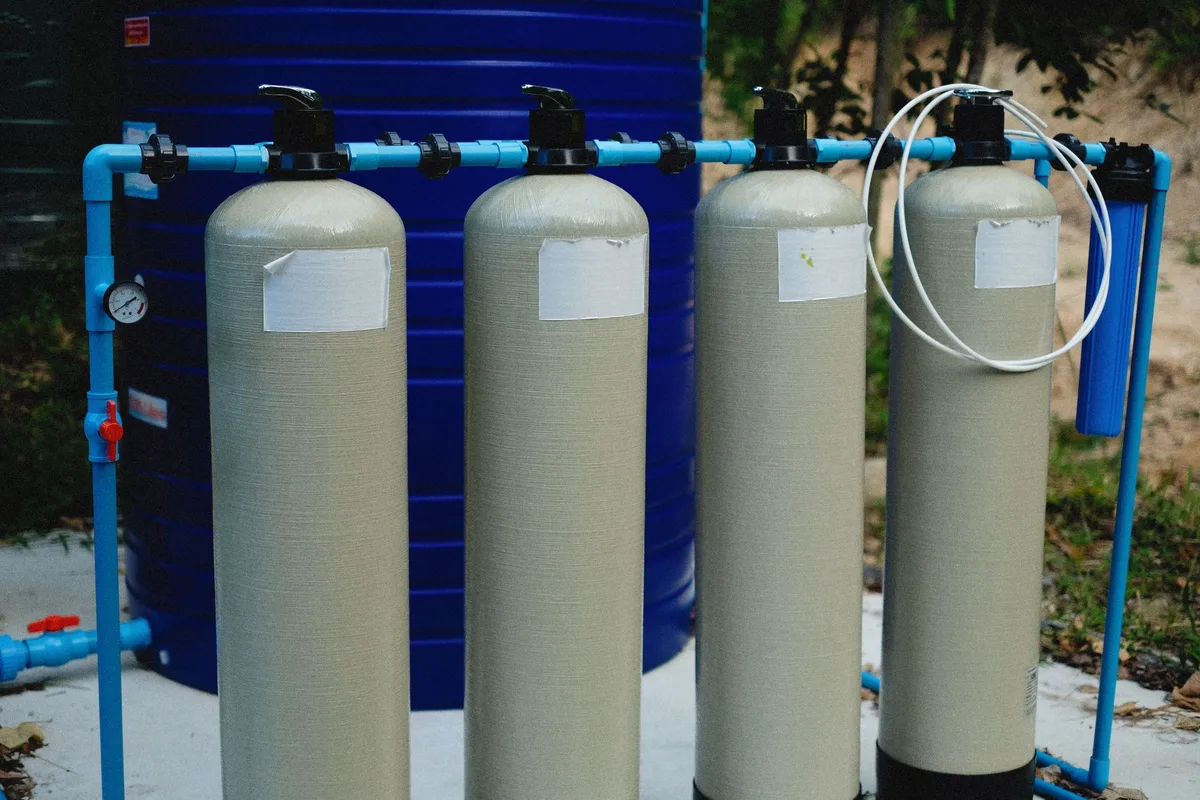
When filters are clogged, water flow significantly slows down, and the system's overall efficiency drops. More critically, old filters can begin to shed captured impurities back into the water, compromising the safety and taste of your drinking water. Adhering to recommended replacement schedules, typically found in your system's manual, is essential for consistent water quality.
Getting Ready: What You'll Need for the Job
Before you begin, gathering the right tools and replacement parts ensures a smooth process. Not having the correct items on hand can turn a straightforward maintenance task into a frustrating ordeal. It's best to have everything within reach before you shut off the water supply.
This process generally requires specific replacement filters tailored to your RO unit, as well as a few common household tools. Having new, high-quality filters ready is paramount; using incorrect types or sizes can lead to leaks or damage.

Here's a breakdown of what you'll likely need:
- New RO Filters: Ensure you have the correct replacement filters for each stage of your specific RO system. This usually includes sediment, carbon, and potentially post-carbon filters.
- Filter Housing Wrench: Many systems come with a plastic wrench designed to grip the filter housings for easier removal and installation. If yours is missing, a standard RO filter wrench can be purchased.
- Bucket: A small bucket is essential for catching any residual water that spills out when you unscrew the filter housings.
- Towels: Keep a few old towels handy for wiping up drips and spills during the process.
- Gloves (Optional): Wearing gloves can help maintain cleanliness and provide a better grip on the housings.
- Food-Grade Silicone Lubricant (Optional): A small amount can be applied to O-rings for easier sealing, especially on older systems.
The Filter Swap Walkthrough: A Visual Guide
Replacing the filters in your reverse osmosis system involves a series of physical steps that require careful attention to detail. Visual cues and understanding the order of operations are key to preventing leaks and ensuring proper filter seating. This guide walks you through each critical stage, highlighting what to look for.
The process generally involves shutting off the water, draining the existing filters, replacing them with new ones, and then safely
Step 1: Shutting Off Your RO System
The very first step is to isolate the RO unit from the main water supply to prevent flooding. This involves locating and closing the dedicated shut-off valve.
Finding and Turning the Water Supply Valve
The shut-off valve is usually found on the cold water pipe that feeds your RO system, often near where the system's feed line connects to your household plumbing.
- Locate the valve: It’s typically a small, inline valve connected to the cold water copper or PEX tubing under your sink.
- Turn it off: Rotate the valve handle until it is perpendicular to the pipe. If it's a ball valve, this means it's closed. If it's a gate valve, turn it clockwise until it stops.
- Relieve pressure: Once the valve is closed, open the faucet connected to your RO system and let any remaining water drain out. Leave this faucet open throughout the filter replacement process to maintain pressure relief.
Step 2: Draining Water from Each Housing
With the water supply off and pressure relieved, you can now begin to tackle the individual filter housings. Each housing contains a filter and trapped water that needs to be emptied.
- Position your bucket: Place the bucket directly underneath the first filter housing you intend to service.
- Loosen the housing: Use the filter housing wrench to turn the housing counter-clockwise. It might require a firm but steady pressure. You should hear a slight hiss as any remaining pressure escapes.
- Remove the housing and old filter: Once loosened, unscrew the housing the rest of the way by hand. Be ready for some water to spill into your bucket. Carefully lift the housing out and tip the old filter into the bucket for disposal.
Step 3: Prepping for New Filters
Before installing the new filters, it’s important to clean the housings and inspect their seals. This ensures a good connection and prevents any lingering debris from affecting the new filter's performance.
Cleaning Housings and Checking O-Rings
Take each housing and rinse it thoroughly with plain water. You can use a soft cloth or sponge to wipe away any sediment or residue clinging to the inside.
Pay close attention to the O-ring, a rubber seal that sits in a groove at the top of the housing. Ensure it's clean, properly seated in its groove, and shows no signs of damage, cracking, or deformation. If the O-ring appears worn or is difficult to seat, replacing it now can prevent future leaks.
Inserting the New Filters Correctly
Take your new, clean filter and carefully slide it into the housing. Most filters are designed to fit only one way, but check for any directional arrows indicating water flow, if present. Ensure the filter is seated straight and completely within the housing.
Step 4: Reassembling the Filter Housings
Reattaching the housings requires careful threading to ensure a proper seal. Over-tightening can cause damage, while under-tightening will lead to leaks.
Threading On and Snugging Tight
Start by screwing the housing back onto the threaded port of the RO unit's manifold by hand. Make sure it threads in smoothly without resistance. If you feel resistance, unscrew it and try again to avoid cross-threading.
Once it’s hand-tight, use your filter housing wrench to tighten it an additional quarter to half turn. The goal is a snug fit, not an extreme tightness. Overtightening can crack the plastic housing or damage the O-ring.
Step 5: Repeating for All Filter Stages
You will need to repeat the process of draining, replacing, and reassembling for each filter housing in your system. If your RO unit has multiple stages (e.g., sediment, carbon, RO membrane, post-filter), follow these steps for each one. It's often easiest to work systematically from the first filter to the last.
Common Filter Replacement Headaches and Fixes
Even with careful preparation, you might encounter a couple of common issues when changing out your RO filters. Knowing how to address these can save you time and frustration. The most frequent problems involve housings that are difficult to loosen or leaks that appear after reassembly.
Troubleshooting Leaks and Stubborn Housings
If a housing won't budge, ensure the water supply is truly off and there's no residual pressure. Sometimes, a bit of lubricant on the threads (avoiding the O-ring) can help, or you might need a better grip on the housing. For leaks after reassembly, the most common culprits are an improperly seated O-ring, a damaged O-ring, or the filter not being perfectly straight inside the housing. Loosening the housing slightly, checking the O-ring, and re-tightening carefully often resolves the issue.
If a leak persists after these checks, the O-ring itself may need replacement.
Expert Tips for Smooth RO Filter Changes
To make sure your RO filter change goes off without a hitch, a few pro tips can make a big difference. These are based on common practices and manufacturer recommendations to ensure efficiency and longevity of your system. They aren't complicated, but paying attention to these details can preempt potential problems.
- Document Your System: Before you start, take a quick photo of your current filter setup. This helps you remember the order and orientation of each filter if you get confused during reassembly.
- Check Your Manual: Manufacturer specifications are your best friend. Always refer to your specific RO system's manual for exact replacement intervals and any unique instructions for your model. For example, some membrane filters require specific handling.
- Use the Right Lubricant: If you opt to lubricate the O-rings, always use a food-grade silicone lubricant. Non-food-grade lubricants can contaminate your drinking water. For example, the NSF/ANSI 58 standard for RO systems addresses material safety.
- Don't Reuse Old Filters: Even if they don’t look terrible, old filters are compromised. Dispose of them properly once removed.
- Bleed the Air: After refilling and before fully tightening, cracking a connection slightly can help bleed out air, although this is more common with tankless systems. For most under-sink units, the flushing step is the primary way to remove air.