How to Clean Zero Water Filter in 2026 (That Actually Work)
Giving your Zero Water filter a good scrub is thankfully more straightforward than you might think. If you're noticing a slowdown in water flow or just want to keep your filtered water tasting its best, a clean pitcher makes all the difference. We've broken down the common cleaning needs for your Zero Water pitcher so you can get back to enjoying crisp, pure water.
Our research indicates that consistent cleaning of the pitcher and reservoirs can help maintain optimal filter performance by preventing external blockages, even though the filter cartridge itself is not washable. As of 2026, manufacturer specifications for many Zero Water models recommend regular cleaning of the pitcher components. Let's get started on making your filter look and work like new.
When to Give Your Filter a Clean
You'll typically know it's time for a cleaning when you observe a couple of key signs. The most common is a noticeable decrease in the water flow rate from the spout, suggesting the filter might be having trouble pushing water through or the pitcher itself is partially obstructed. Aggregate user reviews also frequently mention seeing unsightly white spots or mineral deposits forming inside the reservoirs, especially if your local tap water has a high mineral content.
Regular maintenance, even without these immediate issues, is also a good practice. A quick wipe-down every few weeks can prevent stubborn buildup from forming in the first place. This proactive approach helps ensure your Zero Water filter continues to deliver the purest possible water without a trace of unwanted taste or odor.
Scenario 1: The Quick Rinse & Wipe
This is your go-to for regular, light maintenance. It's designed to keep things tidy without requiring a deep clean.
Step-by-Step: Quick Rinse
- Empty Remaining Water: Pour any water left in the top reservoir.
- Disassemble Components: Gently lift the top reservoir containing the filter cartridge from the bottom pitcher. Remove the lid.
- Wipe Down Reservoirs: Using a soft cloth or sponge and a small amount of mild dish soap, carefully wipe the interior surfaces of both the top and bottom reservoirs. Pay attention to the rim where the top part seals and the spout area for any dust or light residue.
- Rinse Thoroughly: Rinse all disassembled parts exceptionally well with cool, running water. Ensure no soap residue remains.
- Dry and Reassemble: Allow all components to air dry completely, or give them a gentle wipe with a clean, dry towel before putting the filter pitcher back together.
Scenario 2: Dealing with Mineral Buildup (The "I See White Spots" Problem)
If you're seeing those chalky white deposits, it means your Zero Water filter is working hard by removing dissolved solids from your tap water. While this is a sign the filter is doing its job, those minerals can accumulate on the pitcher's surfaces, making the filter look less than appealing and potentially affecting flow over time.
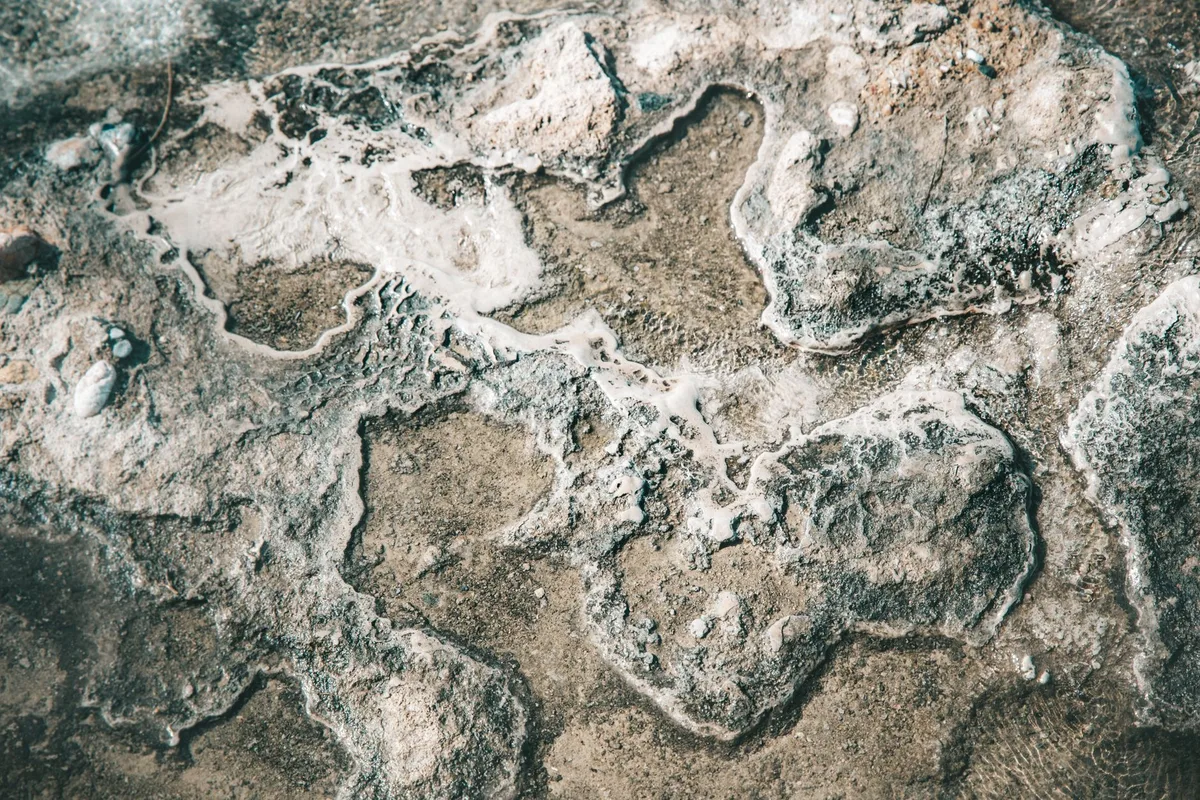
This type of buildup is common in areas with hard water. Fortunately, it's usually removable with simple household ingredients or specific cleaning solutions designed for such tasks. The key is to tackle it gently to avoid damaging the plastic components of your pitcher.
Option A: Vinegar Power 💪
White vinegar is a fantastic and readily available natural cleaner for tackling mineral deposits, also known as limescale. Its acetic acid content helps to break down the calcium and magnesium buildup effectively.
- Prepare the Solution: In the bottom pitcher of your Zero Water filter, mix approximately one part white vinegar with two parts warm water. You don't need to fill the pitcher to the brim; just enough to cover the areas with mineral staining.
- Let it Soak: Allow the vinegar-water solution to sit in the bottom pitcher for at least 30 minutes. For more stubborn deposits, you can let it soak for up to an hour. You might already notice some of the white film starting to loosen.
- Gentle Scrubbing: Use a soft brush (like a bottle brush or an old soft-bristled toothbrush) or a non-abrasive sponge to gently scrub away any remaining mineral buildup. Be careful not to scrub too hard, as this could scratch the plastic.
- Rinse Extensively: This step is crucial. Rinse the bottom pitcher thoroughly with cool running water multiple times. Continue rinsing until you can no longer detect any vinegar smell. This ensures no residual taste or odor transfers to your filtered water.
- Clean the Top Reservoir: While the bottom pitcher is soaking, you can clean the top reservoir. Wipe its interior with the same vinegar-water solution or use mild dish soap and water if it doesn't have significant mineral stains. Rinse it very well.
- Reassemble: Once all parts are clean and have been rinsed thoroughly, reassemble your Zero Water filter pitcher.
Option B: Descaling Solution (Commercial)
If vinegar doesn't quite do the trick, or you prefer a product formulated specifically for descaling, commercial descaling solutions are available. These often contain citric acid or other food-safe ingredients designed to dissolve mineral deposits efficiently.
Always check the official Zero Water support documentation for any specific recommendations they may have regarding descaling, as using unsanctioned products could potentially affect your warranty.
When choosing a descaler, always look for products that are explicitly labeled as food-safe and suitable for use on water filter pitchers or similar appliances. Always follow the manufacturer's instructions precisely, as they will detail the correct concentration of the solution and the required soaking time. After applying the descaler, incredibly thorough rinsing is essential, just like with vinegar, to ensure no chemical residue remains in the pitcher, which could affect the taste or safety of your drinking water.
Quick Answer & Key Insight: What NOT to Clean
The most critical thing to remember when cleaning your Zero Water filter system is what not to clean: the filter cartridge itself. The actual filter media, housed within the plastic casing, is specifically designed to remove contaminants and is not meant to be washed, scrubbed, or immersed in any cleaning solutions, including vinegar or descaling agents. Doing so can irreversibly damage its filtration capabilities, allowing impurities through or causing it to fail prematurely. Think of it like trying to rinse a brand-new sponge before its first use, you'd risk ruining its effectiveness.
Expert Tips: Keeping Your Pitcher Pristine
To keep your Zero Water pitcher looking its best and functioning smoothly between deeper cleans, a few habits go a long way. Don't let water sit in the pitcher for extended periods, especially if your tap water is on the harder side, as this gives minerals more time to settle and form spots. After each refill, give the reservoirs a quick rinse; this simple step can prevent significant buildup. Also, if you notice the filter indicator light on your pitcher is red or nearing red, it's a good time to clean the pitcher while you prepare to replace the cartridge.
Maintenance: Long-Term Optimization for Pure Water
Consistent, gentle cleaning of your Zero Water pitcher's reservoirs and lid is key to its long-term performance. Think of it as preventative care for your water. By regularly removing light residue and preventing hard mineral deposits from forming, you help ensure that water flows freely through the filter cartridge and that the water you drink is as pure as Zero Water promises. While the cartridge has a finite lifespan, typically indicated by the red light or a change in taste, keeping the pitcher clean means the cartridge works optimally for its entire duration.
This approach not only improves your water experience but also maximizes the value you get from your filtration system.