How Do You Use a Brita Water Filter: Easy 2026 Guide
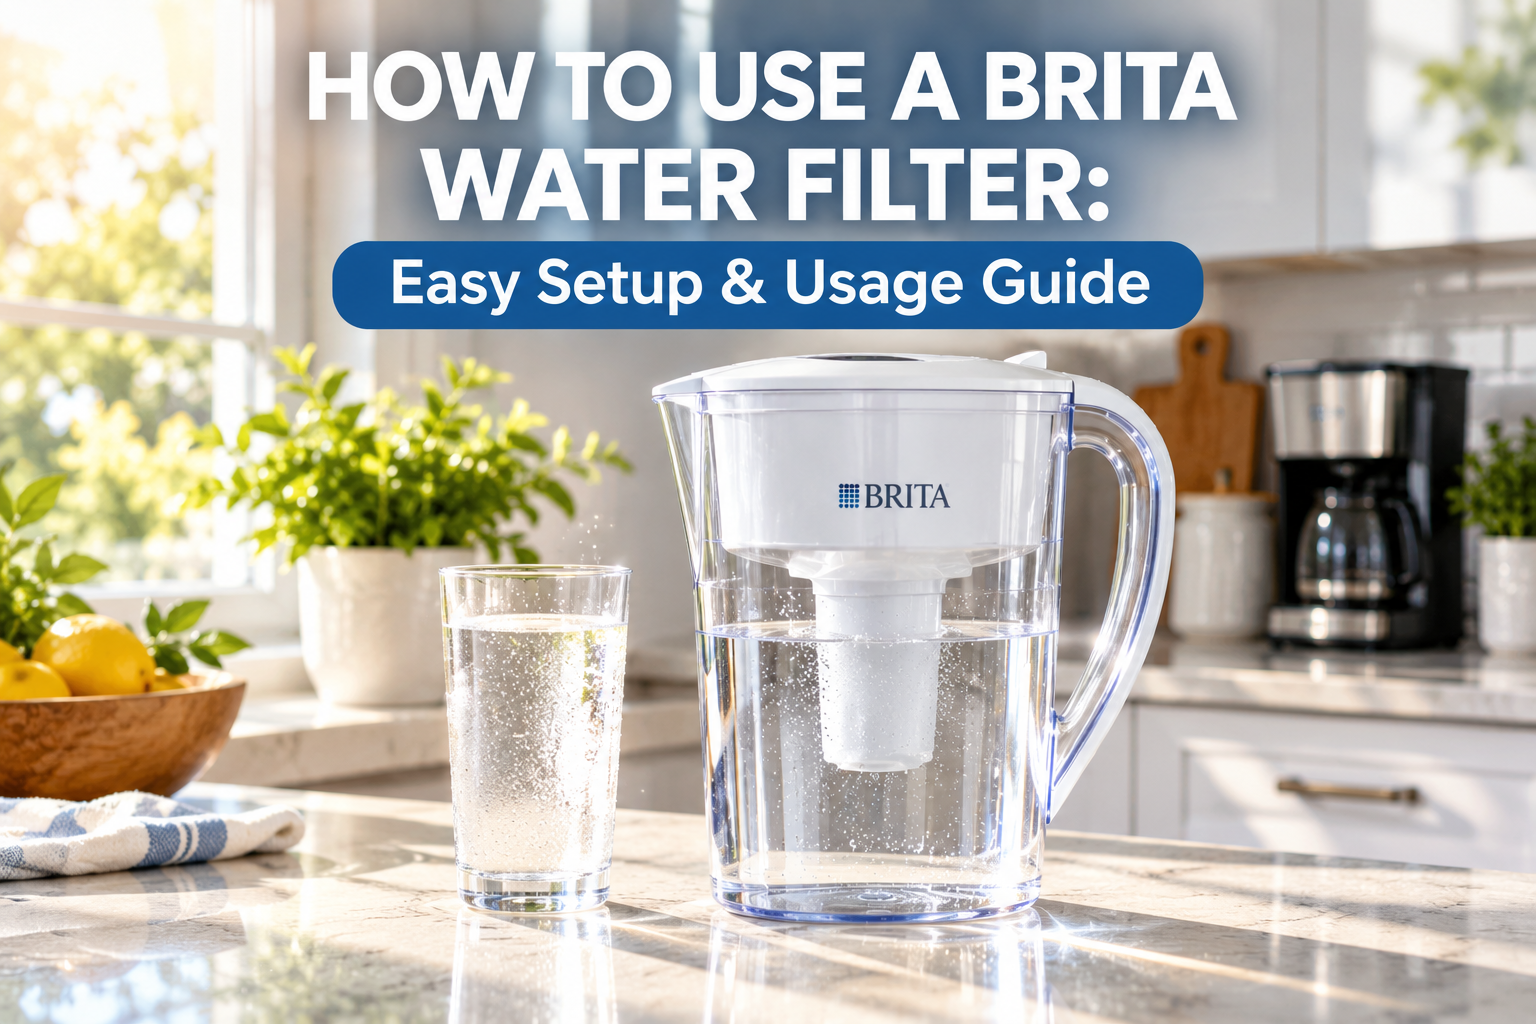
You fill the pitcher with tap water, drop in the filter, wait for it to drain, and then pour clean, better-tasting water straight from the spout.
I still remember the day I brought home my first Brita pitcher. I was tired of the faint chlorine taste in my morning coffee and figured I'd give filtered water a real shot. What I thought would be a complicated setup turned out to be something I could figure out in under five minutes. If you've been wondering whether using a Brita water filter is tricky, I'm happy to tell you it's one of the simplest upgrades you can do for your kitchen. In this guide, I'll walk you through everything I've learned after years of daily use, from the very first soak to keeping your filter working at its best.
Unboxing and First-Time Setup
Getting your Brita ready for its very first round of filtration feels almost ceremonial. Here's what the process looks like from the moment you crack open the box.
Take everything out of the box. You'll typically find the pitcher itself, the lid, and one or more filters depending on which model you bought. Some sets even include a sticker to remind you when to change the filter, which honestly has saved me from using a filter way past its prime.
Remove the filter from its wrapper. Brita filters come sealed in plastic wrap to keep them fresh. Peel it off completely. Don't skip this step, because running a filter while still wrapped is a rookie mistake I made my first time and wondered why nothing was filtering.
Soak the filter in cold water. This is a step most guides mention but few explain well. Submerge the filter in a bowl of cold water for about 15 minutes. This activates the carbon inside and helps remove any loose carbon particles. I usually just swish it around gently a few times while I put the rest of the pitcher together.
Rinse the filter under running water. After soaking, hold the filter under your faucet for about 10 to 15 seconds. This washes away any leftover black dust. That black dust is totally normal, by the way. It's activated carbon, and a little residue is expected on day one.
Insert the filter into the reservoir. Most Brita pitchers have a designated spot in the top reservoir where the filter locks in. Push it down gently until it clicks or sits flush. On my pitcher, it takes a little wiggle, but it shouldn't feel forced.
Fill the top reservoir with cold tap water. The water will pass through the filter and collect in the bottom chamber. Discard this first full pitcher of water. I know it feels wasteful, but the first batch often has extra carbon residue. After this, you're officially ready to drink.
Daily Use: Filling and Pouring
Once your Brita is set up, using it every day becomes second nature. It's honestly become part of my morning routine, like brewing coffee or letting the dog out.
Lift the lid and pour cold tap water into the top reservoir. The lid on my model flips open with one hand, which is great when my other hand is full. Always use cold water. Hot water can warp the plastic and damage the filter's carbon.
Let the water drain through the filter. Depending on your pitcher size, this takes anywhere from 5 to 15 minutes. The standard 6-cup model usually finishes in about 10 minutes. I've found that if I fill it right after breakfast, it's ready by the time I'm making the next round of coffee.
Pour filtered water from the spout or through the lid opening. Most Brita pitchers have a spout on the side or front that lets you pour clean water without lifting the lid. Some newer models even have a flip-top spout that stays closed until you tip the pitcher. Mine has the classic side spout, and I honestly think it's the easiest design.
Refill as needed throughout the day. There's no rule about how often to refill. I usually fill mine once in the morning and again in the evening. On hot summer days when I'm drinking more water, I might refill three times. The more you use it, the more you'll find your rhythm.
Filter Replacement Schedule
One thing I learned the hard way is that filters don't last forever. Replacing them on time keeps your water tasting clean and your filter working the way it should.
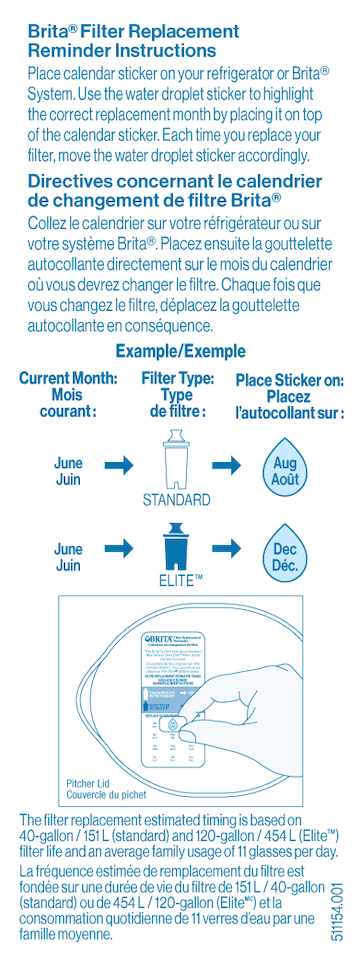
Standard filters need replacing every 40 gallons or about every two months. This is the rule printed right on the filter packaging, and it's a solid benchmark. For a single person or a couple, two months is usually accurate. For a larger family, you might hit 40 gallons faster.
Long-life filters can last up to 120 gallons or about six months. These are pricier upfront but require fewer replacements. I switched to long-life filters about a year ago and love the convenience, especially since I used to forget to swap filters on time.
Look for signs it's time to change the filter. If your water starts tasting off, if the flow gets really slow, or if the filter looks visibly dirty, don't wait for the calendar. Trust your taste buds. I once pushed a filter past its prime and honestly wondered why my tea tasted funny for a week before realizing my mistake.
Set a reminder so you don't forget. Most Brita filters come with a small sticker you can write the date on. I stick mine on the inside of my fridge door. You can also set a phone reminder or sign up for Brita's email alerts. Anything beats guessing.
Caring for Your Brita Pitcher
Your pitcher can last for years if you treat it right. I've had mine going strong for over three years now, and it still looks almost new.
Wash the pitcher and lid by hand every few weeks. Use warm soapy water and a soft sponge. Tossing Brita pitchers in the dishwasher can warp them, especially the older models. I made this mistake once and the lid never sealed quite the same way again.
Rinse the reservoir and lid thoroughly after washing. Soap residue can affect the taste of your filtered water. I always do a final rinse with filtered water just to be safe.
Wipe down the outside of the pitcher occasionally. Hard water spots can build up over time. A quick wipe with a damp cloth keeps it looking clean. If spots do build up, a little white vinegar on a soft cloth works wonders.
Replace the filter indicator if your model has one. Electronic indicators usually have a button to reset, while sticker indicators just get a new sticker. I find the electronic ones easier, but the stickers work fine if you're good at remembering dates.
Common Mistakes to Avoid
After years of using a Brita, I've picked up on a few habits that can shorten the life of your filter or affect water quality. Here are the big ones to watch out for.
Don't use hot water. Hot water can damage the carbon inside the filter and may even cause plastic to leach into your water. Always stick with cold or cool water.
Don't leave the pitcher in direct sunlight. Sunlight can encourage bacteria growth in the reservoir, especially around the filter. I keep mine on the counter away from the window, and it's made a noticeable difference in freshness.
Don't skip the initial soak and rinse. Those first steps aren't just suggestions. They ensure your filter works properly from day one and prevent loose carbon from ending up in your glass.
Don't wait too long between filter changes. A worn-out filter doesn't just give you bad-tasting water. It can actually harbor bacteria since the carbon loses its protective qualities over time. Two months is the sweet spot for standard filters.
Don't pour anything other than water into the reservoir. I once made the mistake of trying to filter cold brew coffee through my Brita. The filter clogged almost immediately, and the taste was awful. Brita filters are designed for water, full stop.
Benefits of Using a Brita Filter
Beyond just better-tasting water, there are some real perks to using a Brita that I've come to appreciate over the years.
Reduces chlorine taste and odor. This was the biggest selling point for me. Municipal tap water often has chlorine, and Brita's activated carbon does a great job of removing it. My coffee tastes better, my tea tastes cleaner, and even ice cubes look clearer.
Cuts down on plastic bottle waste. Every refill of my Brita pitcher replaces a plastic water bottle. I've saved hundreds of bottles over the past few years, and it feels good knowing I'm doing a small part for the environment.
Saves money in the long run. A pack of Brita filters costs a bit upfront, but it lasts months. Compare that to buying cases of bottled water, and the savings add up fast. I switched after doing the math and haven't looked back.
Improves the taste of food and drinks. Anything you make with water, from soup to rice to lemon water, tastes better with filtered water. It's a small change that makes a noticeable difference, especially in recipes where water is a main ingredient.
Frequently Asked Questions
How long does a Brita filter take to filter water?
A standard Brita filter typically takes about 5 to 15 minutes to filter a full pitcher, depending on the model and how much water you're filtering. The 6-cup pitcher usually finishes in around 10 minutes.
Can I use a Brita filter without soaking it first?
Soaking isn't strictly required, but it helps activate the carbon and removes loose particles. If you skip soaking, your first few pitchers of water might have visible carbon dust, and the filter may not perform at its best right away.
Is Brita filtered water safe to drink?
Yes, Brita filtered water is safe for everyday drinking. It reduces chlorine, copper, cadmium, and mercury, though it doesn't remove all contaminants. For comprehensive filtration, you might need a more advanced system, but for most households, Brita is more than enough.
Can you put Brita filtered water in a coffee maker?
Absolutely. Many coffee enthusiasts actually prefer using Brita filtered water because it improves the taste of coffee and can reduce mineral buildup in machines over time. I've been doing this for years and my coffee has never tasted better.
How do you know when a Brita filter needs changing?
Most Brita filters have a sticker indicator or electronic reminder. You can also track the date yourself. For standard filters, replace every 40 gallons or about two months, and for long-life filters, replace every 120 gallons or about six months.
Final Thoughts
Using a Brita water filter is one of those small lifestyle upgrades that ends up making a big impact. From the very first sip, you'll notice cleaner, fresher-tasting water without the chlorine bite. And once you get into the routine of refilling and replacing filters, it becomes almost effortless.
If you've been on the fence about trying one, I'd say go for it. Start with a basic pitcher, follow the simple setup steps, and stick to the replacement schedule. Before long, you'll wonder how you ever drank tap water straight from the faucet. If you found this guide helpful, drop a comment with your own Brita tips or questions, and feel free to share it with anyone looking to upgrade their daily water routine.