How to Change Filter on Water Softener in 2026 (No-BS Picks)
When you notice water spots creeping back onto your dishes or feel a difference in your skin after showering, it's often a sign your water softener filter needs attention. Knowing how to change filter on water softener is a fundamental maintenance task that keeps your unit running efficiently. For most homeowners, this process is achievable with basic tools and a little guidance.
Manufacturer specifications indicate that water softener filters typically need replacement between every 3 to 12 months, depending on your water usage and the level of sediment in your water supply. Failing to replace a clogged filter can lead to reduced softener performance and even potential damage to the system. Let’s walk through the steps to get your system back to its peak performance.
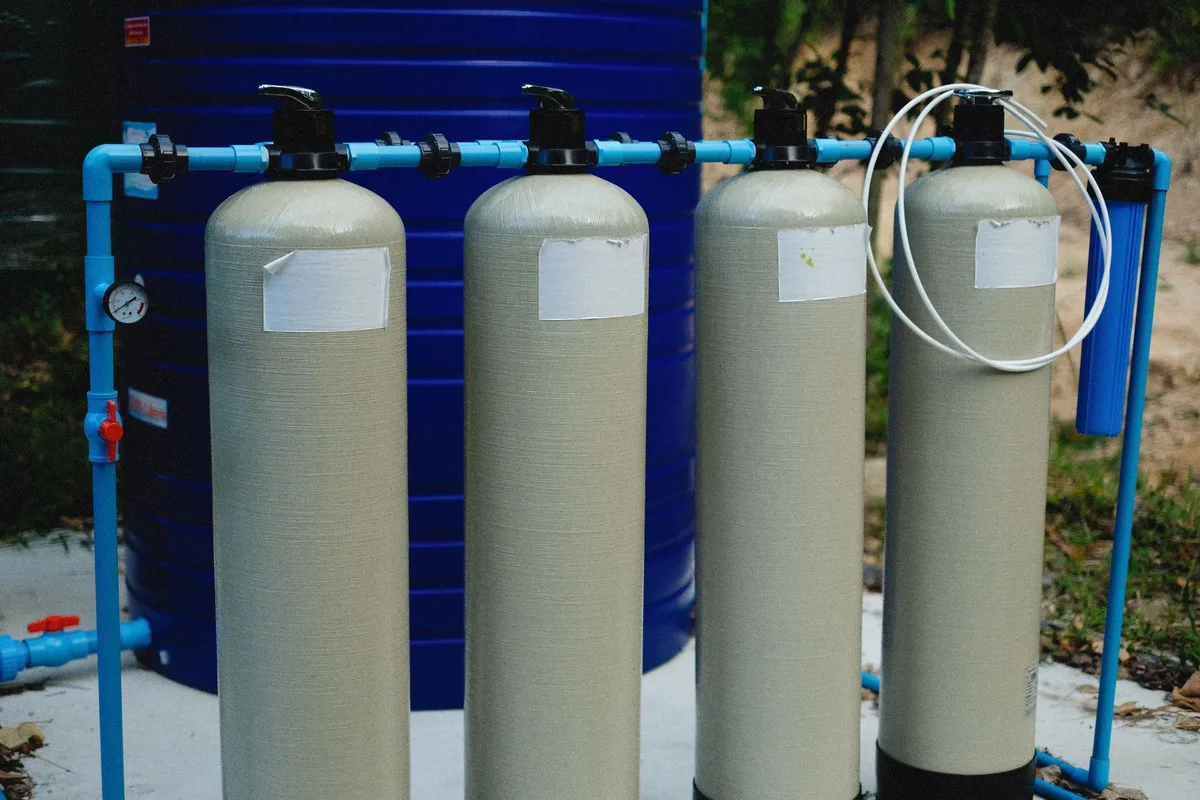
Why Your Water Softener Filter Needs Changing
Your water softener's filter acts as the first line of defense against impurities present in your water supply. Over time, these filters capture a significant amount of sediment, such as sand, silt, and rust particles, and eventually become saturated. This saturation is what necessitates a replacement.
Signs Your Filter is Clogged
If your water softening system is due for a filter change, you'll often see clear indicators. These aren't always dramatic, but they're noticeable if you know what to look for.
- Reduced Water Flow: A heavily clogged filter creates resistance, slowing down the overall water pressure throughout your home. You might notice showers having less force or taps taking longer to fill.
- Return of Hard Water Symptoms: The most obvious sign is the reappearance of hard water issues. This includes increased soap scum in bathrooms, spots on glassware after washing, and drier skin and hair, despite having a water softener.
- Visible Sediment in Water: While less common for the softener filter itself to be the sole cause, if the filter is completely overwhelmed, some sediment might pass through. This can manifest as cloudy or discolored water from your taps.
- Unusual Noises from the Unit: A struggling filter can sometimes cause your water softener to make different sounds than usual.
Gathering Your Supplies for the Filter Swap
Having all your necessary tools and replacement parts ready before you start will make the entire filter change process much smoother and quicker. Rushing to find something mid-job is when mistakes tend to happen.
- New Filter: The most crucial item is the correctly sized and type of replacement filter for your specific water softener model. Consult your owner's manual or the existing filter for part numbers.
- Wrench or Pliers: A monkey wrench or pipe wrench is often needed to loosen the water softener housing if it's secured tightly.
- Bucket or Towels: Expect some residual water to drain from the housing when you open it. Placing a bucket or laying down old towels underneath will catch spills and protect your flooring.
- Gloves (Optional): For hygiene and to keep your hands clean, especially if the old filter is particularly dirty.
- Owner's Manual: Always recommended to have handy for model-specific instructions or diagrams.
The Step-by-Step Filter Change Process
This process is designed to be straightforward. By following these steps carefully, you can confidently replace your water softener's filter.
Shutting Off the Water Supply
The absolute first step is to stop the flow of water into your softener unit to prevent a flood. Locate the main water line valve that feeds into your softener. Turn this valve clockwise until it is fully closed. If you're unsure which valve this is, your unit's manual will provide a clear diagram.
Bypassing the Softener Unit
Many water softener systems are equipped with a bypass valve. This valve allows you to isolate the softener from your home's main water supply without shutting off water to the entire house. If your system has one, turn it to the bypass setting. This effectively reroutes water around the softener, allowing you to work on it safely.
If your unit does not have a bypass valve, simply shutting off the main inlet valve (as described above) is sufficient.
Releasing Pressure from the System
Even with the water supply off, there can still be residual pressure in the lines connected to the softener. To release this, open a faucet on the lowest level of your home or the closest available sink. Let it run until the water flow stops completely, indicating that the pressure has been relieved.
Removing the Old Water Softener Filter
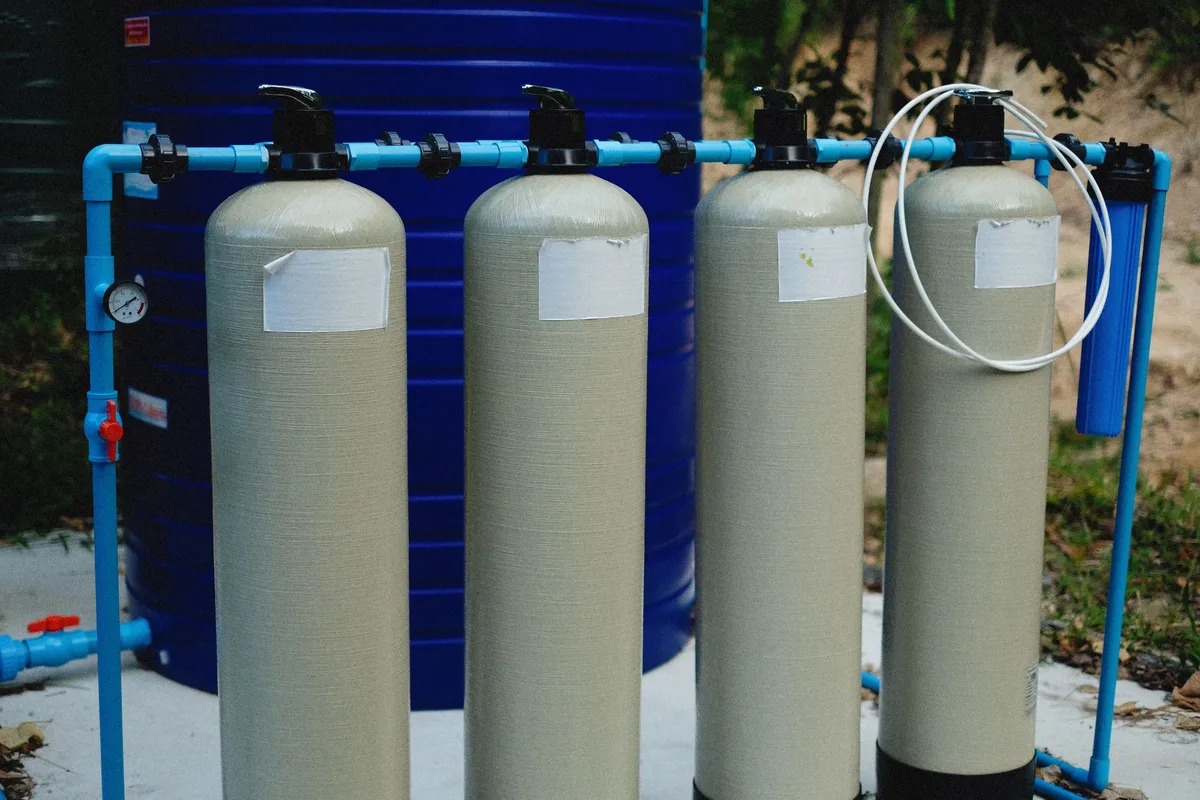
Now you'll access the filter itself, which is usually housed within a cylindrical canister attached to the softener unit. You'll likely need to unscrew this housing. For most units, this can be done by hand by turning the housing counter-clockwise. However, if it's stuck, use your wrench or pliers for a gentle grip and turn.
Remember to apply steady pressure and avoid sudden jerks, which could damage the threads.
Cleaning Out the Filter Housing
Once the housing is detached, carefully remove the old filter cartridge. You might be surprised by the amount of sediment it has collected. Tip the housing over your bucket to drain any remaining water. It’s a good practice to rinse out the inside of the housing with clean water and wipe it down with a cloth or paper towel to remove any lodged debris or mineral buildup before inserting the new filter.
This ensures the new filter has a clean environment to work in.
Inserting the New Water Softener Filter
With the old filter removed and the housing clean and dry, it's time to install the replacement. Take your new filter and carefully slide it into the housing. Make sure it’s seated correctly; some filters have a notch or specific orientation. You don't want to force it, but ensure it's snug.
This step is critical for proper filtration and preventing leaks.
Reattaching the Filter Housing
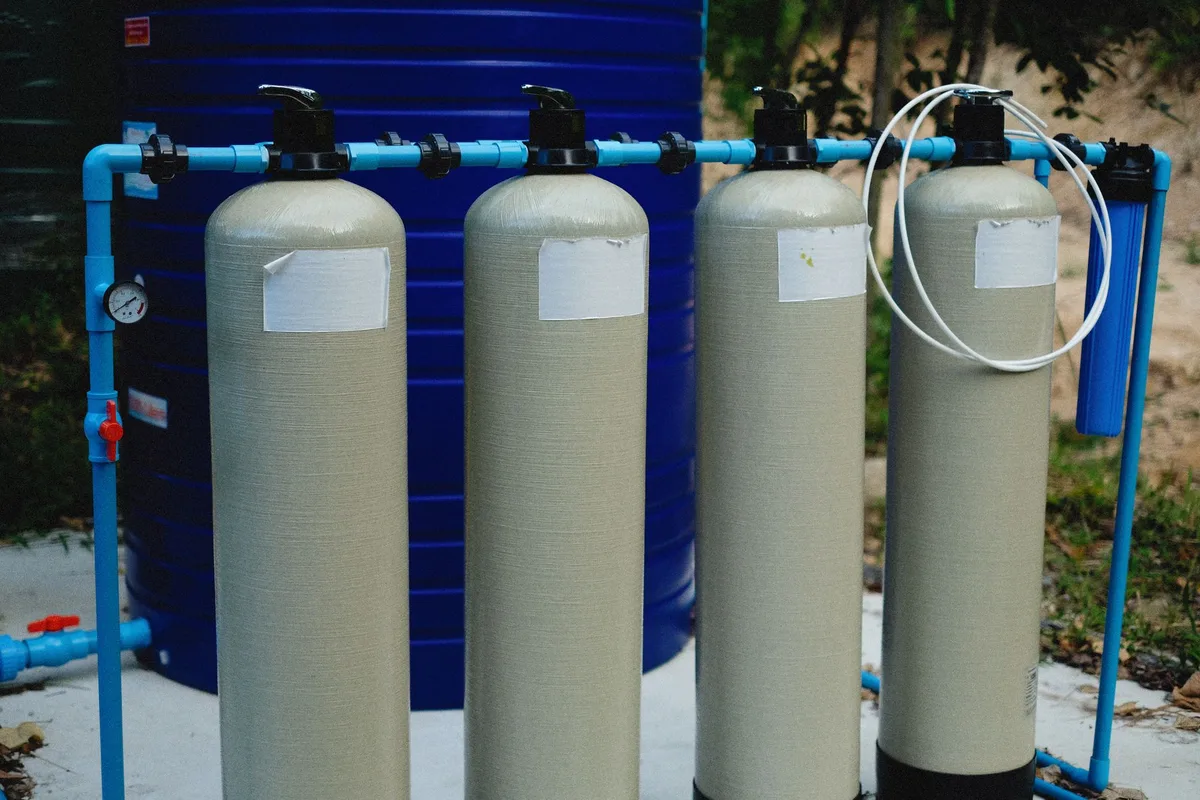
Now, you'll screw the housing back onto the water softener unit. Begin by hand-tightening it to ensure the threads catch properly. Once it's snug, you can use your wrench or pliers for a slight additional turn, typically about a quarter to a half turn. It's important not to overtighten, as this can crack the housing or damage the O-ring, leading to leaks later on.
Reopening the Water Supply
With the new filter in place and the housing secured, you can cautiously reintroduce water into the system. Slowly turn the main water supply valve back on. You'll likely hear gurgling sounds as the system begins to refill with water. This is a normal part of the process and indicates that water is once again flowing through your softener.
Purging Air and Debris from the System
As water fills the softener and the new filter, air can become trapped within the lines. To clear this air, and any tiny bits of loose sediment from the filter, open a faucet in your home. Let the water run for a few minutes. You may notice cloudy or discolored water initially; this is expected.
Keep the water running until it clears to a consistent, transparent stream. This step is essential for ensuring clean water and preventing air pockets in your plumbing.
Checking for Leaks Around the Housing
After you've purged the system and the water is running clear, it's time for a thorough check. Carefully inspect the water softener housing and all the connections you worked on. Look for any drips or signs of moisture. If you find a small leak, try gently tightening the housing another eighth of a turn.
If a leak persists, you may need to re-check the O-ring's position or consider if the housing was overtightened or damaged.
Expert Tips for a Smooth Filter Change
Making sure you're prepared and aware of common practices can make the filter replacement process go even more smoothly. These tips come from understanding how these systems operate over time and common user experiences.
Filter Replacement Frequency
The exact timing for replacing your water softener filter can vary. While manufacturer guides often suggest a new filter every 6 to 12 months, your specific situation matters. Homes with high water usage or particularly gritty water might need replacements more frequently. Many users find that checking visible signs of reduced flow or increased hard water symptoms is a more reliable indicator than a strict calendar schedule.
Using Your Owner's Manual
Your water softener's owner's manual is your best friend when it comes to maintenance. It contains specific details about your unit’s components, diagrams of the water flow, and exact part numbers for replacement filters. It's always worth a quick review before you start, especially if it's your first time changing the filter.
Troubleshooting Common Filter Change Issues
Sometimes, despite following the steps, you might run into a snag. Knowing what to look for can help you resolve minor issues quickly and ensure your softener is working correctly again.
- Persistent Leaks: If you've checked the housing and O-ring and still have a leak, the O-ring itself might be damaged or misaligned. Ensure it's properly seated and free of debris. In some cases, a worn O-ring might need replacement.
- No Water Flow After Change: This usually means a valve was not fully reopened or the filter is completely blocked. Double-check that all bypass and inlet valves are in the correct open position. Rerun the purging step to clear any potential blockages.
- Cloudy Water After Purge: A small amount of cloudiness can occur if sediment was disturbed. If it persists after running water for 10-15 minutes, it might indicate a larger issue with the filter or the system's overall integrity.