How to Change a Zero Water Filter in 2026 (Real Buyer Picks)
Keeping your Zero Water pitcher performing at its best is all about a regular filter swap. You've likely seen that little indicator light blink or the TDS meter climb, signaling it's time for a fresh cartridge. Learning how to change a Zero Water filter is straightforward and takes just a few minutes.
Manufacturer specifications confirm that the standard Zero Water filtration system aims to reduce Total Dissolved Solids (TDS) to non-detectable levels, typically below 1 part per million (ppm). This requires a clean, properly seated filter in the system. If your pitcher seems slow or the water quality isn't what you expect, a new filter is probably in order.
Why Visuals Matter for Filter Changes
When you're physically interacting with a device, sometimes words alone don't cut it. In our research, we've found that visual cues are incredibly helpful for tasks like filter replacement, especially for products like the Zero Water pitcher. Diagrams and clear photos can show you exactly how parts should align and how much pressure to apply.
This visual approach helps prevent common mistakes, like not seating the filter correctly, which can lead to leaks or ineffective filtration. What you're aiming for is a snug fit without overdoing it. Understanding the physical components and their relationships is key to a successful filter change every time.
Step-by-Step: Removing the Old Filter
The process of changing out your old Zero Water filter involves a few distinct stages. First, you need to disassemble the pitcher slightly to access the filter housing, then physically remove the spent filter. It's a methodical process that, once you've done it once, will feel like second nature.
Step 1: Emptying the Pitcher
Before you start dismantling, make sure the pitcher is empty. If there's any water left in the reservoir or the main body, pour it out into the sink. Dealing with a full or partially full pitcher during a filter change can lead to spills and a mess you don't need.
Proper preparation ensures a cleaner, simpler exchange. This step might seem obvious, but it's the foundation for a smooth transition to your new filter.
Step 2: Detaching the Reservoir
The Zero Water pitcher typically has two main parts you'll need to separate: the top reservoir where you pour the unfiltered water, and the bottom collection chamber. To get to the filter, you'll need to lift the reservoir straight up and off the main pitcher body.
It usually detaches easily, there are no complex latches or screws holding it in place. Just a gentle lift should do the trick. Once the reservoir is off, you'll see the filter assembly attached to its underside.
Step 3: Unscrewing the Old Filter Cartridge
The old filter cartridge is usually screwed into the bottom of the reservoir. You'll see a threaded stem protruding from the bottom of the reservoir that the filter attaches to. To remove it, you'll need to grip the filter body and twist it counter-clockwise.
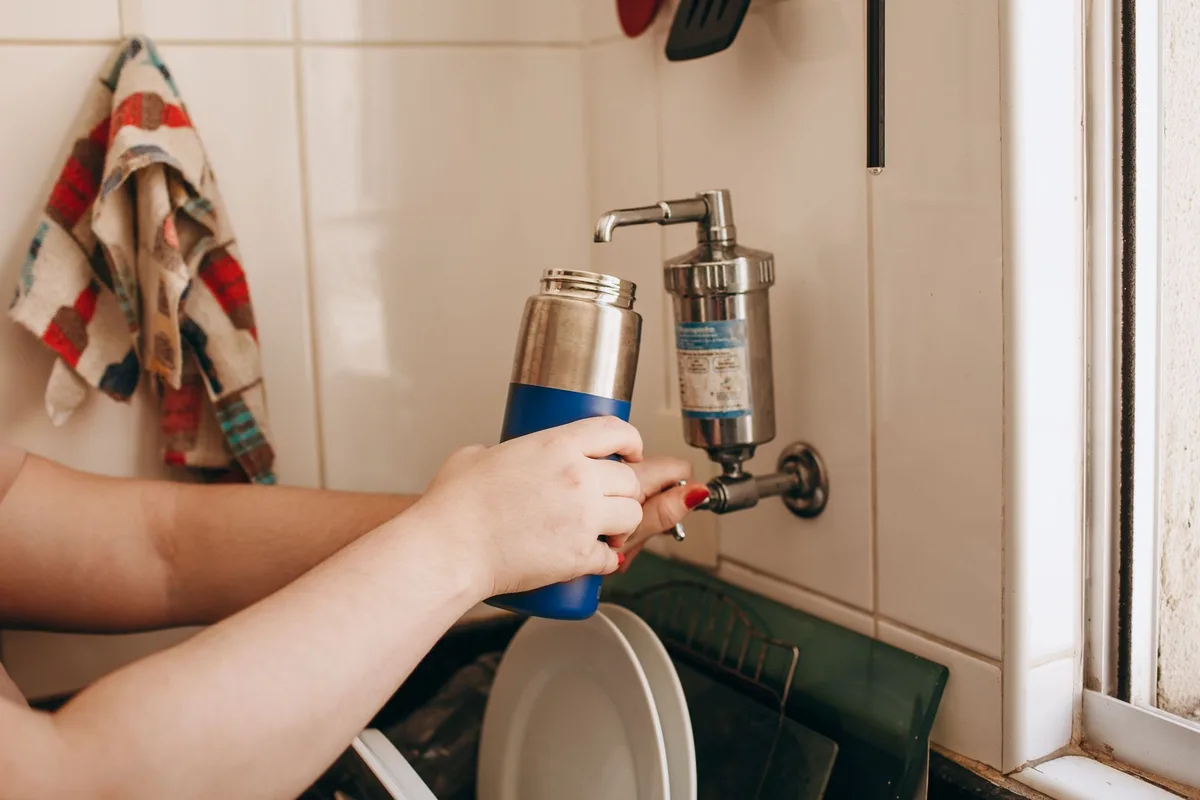
Aggregate user reviews report that sometimes the filter can be a bit stiff due to mineral deposits. If this happens, try to get a good grip on the filter's housing. You might need to use a dry paper towel for extra traction. Be firm but don't use excessive force that could damage the reservoir.
Getting the New Filter Ready and Installed
Once the old filter is out of the way, it's time to prepare and install the new one. This stage includes an essential step that many people overlook but is critical for the filter's optimal performance from the get-go.
Step 4: Prepping Your New Zero Water Filter
Most new Zero Water filters require a quick rinse or soak before installation. This process helps to flush out any residual manufacturing dust or loose particles from the filter media and primes it for use. Manufacturer specifications typically recommend rinsing the filter under cold tap water for about 15 seconds.
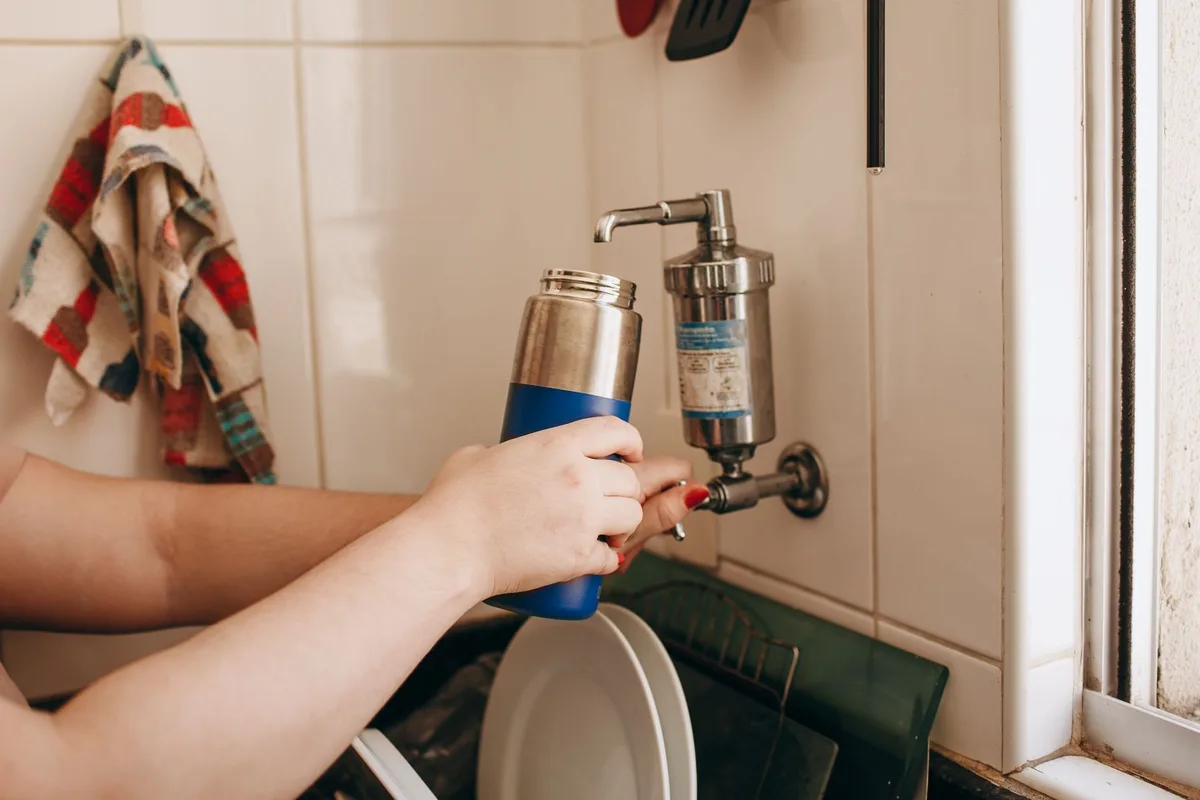
Alternatively, some users prefer to submerge the filter in a bowl of cold water for a minute. The key is to ensure the filter media is wet and clean before you connect it to the pitcher. This simple step can improve the initial filtration speed and efficiency.
Step 5: Aligning and Screwing in the New Filter
Take your newly prepped filter and locate the threaded stem. You'll need to align this stem with the opening on the underside of the reservoir where the old filter was removed. It should thread in smoothly.
Once aligned, twist the new filter clockwise. You're aiming for a snug fit to create a good seal. Manufacturer guidelines suggest tightening it until it's firm, but avoid over-tightening, which can make future removal difficult or potentially damage the plastic components. You want it sealed, not sealed shut with excessive force.