How To Replace Water Filter Whirlpool Fridge: Quick 2026 Guide
Swapping out a Whirlpool fridge water filter is a quick, tool-free job you can finish in under five minutes. It takes just a twist and a flush, and your ice and water will taste fresh again.
If you've noticed your ice cubes smelling off or your water tasting a little metallic, there's a good chance your refrigerator's water filter is past its prime. After working on home appliances for years and helping friends troubleshoot everything from leaky dishwashers to noisy fridges, I can tell you this is one of the easiest fixes you'll ever tackle. You don't need a plumber, you don't need special tools, and you definitely don't need to call for service. Let me walk you through the whole process the way I would if you were standing right next to me in the kitchen.

Why Your Whirlpool Fridge Water Filter Needs Changing
Your Whirlpool refrigerator works hard to give you clean water and ice, but the filter inside can only do its job for so long. Most filters are designed to handle about 200 gallons of water or roughly six months of regular use. After that, the activated carbon inside stops trapping contaminants as effectively.
You might notice chlorine taste creeping back in, or your ice might look cloudy. Sometimes the filter indicator light on your fridge will turn on as a friendly reminder. Ignoring these signs means you could be drinking water with reduced filtration, which defeats the whole point of having a filtered dispenser in the first place.
Think of your filter like a sponge. It can only absorb so much before it needs to be swapped out for a fresh one.
What You Need Before You Start
The good news here is that the supply list is incredibly short. You only need a few things, and most of them are probably already in your kitchen.
- A genuine Whirlpool refrigerator water filter (check your model number to confirm the right one, like the EveryDrop EDR1RXD1 or similar)
- A clean towel or paper towels
- A cup or container to catch drips
- About 10 minutes of your time
Avoid off-brand filters if you can. I've seen cheaper knockoffs leak or fail to seal properly, which can cause water damage to your fridge interior over time.
Finding Your Filter Location
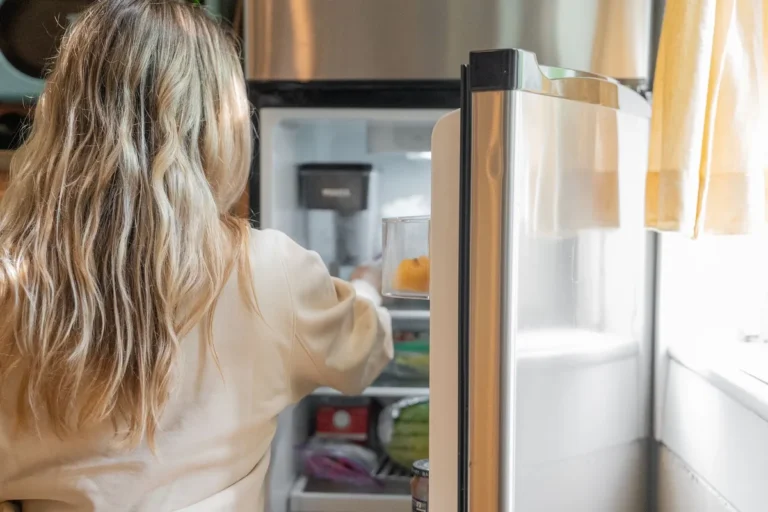
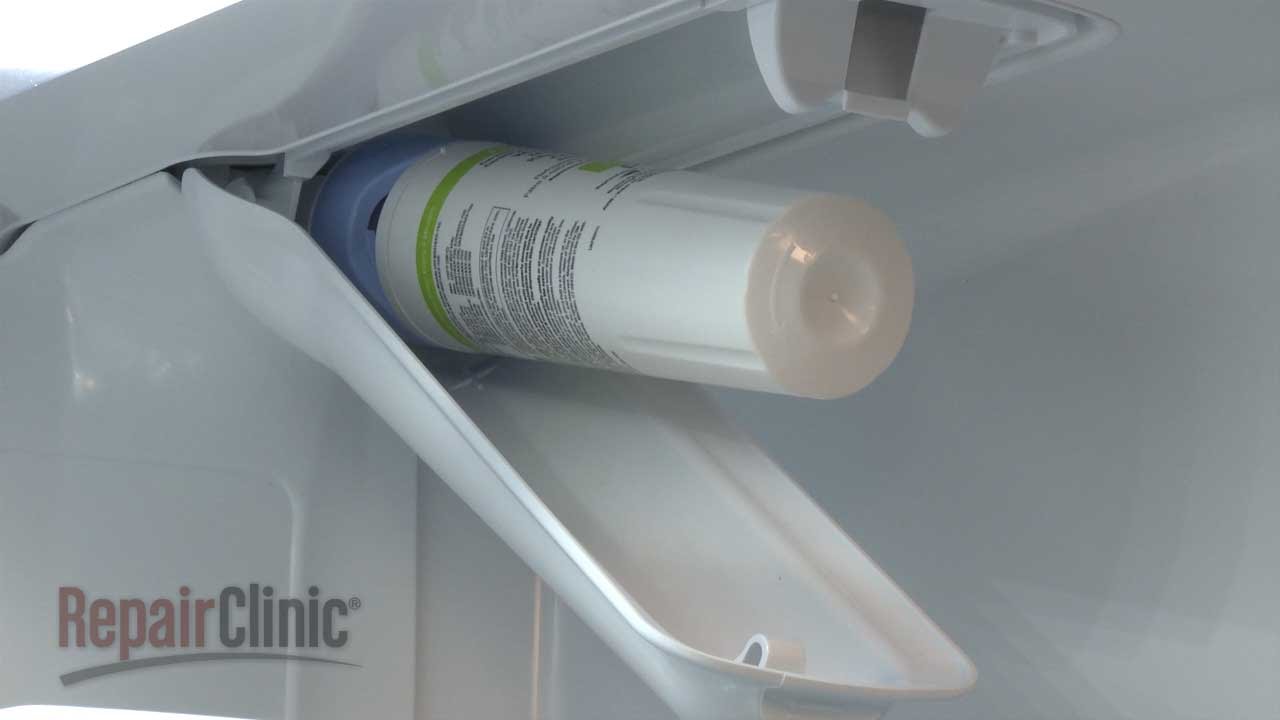
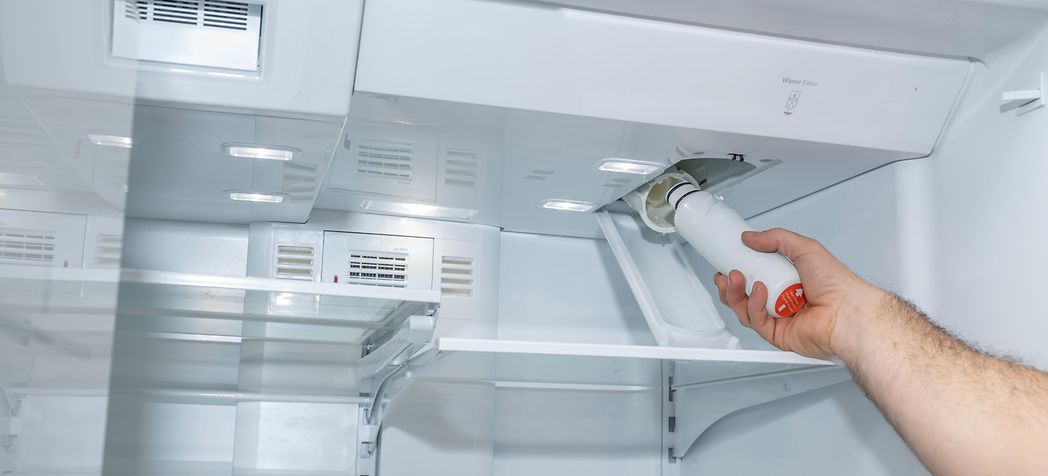
Whirlpool puts their water filters in one of two spots, depending on your model. Most newer side-by-side and French door fridges have the filter inside the upper right corner of the fresh food compartment. You'll see a small plastic cover or a push-button release.
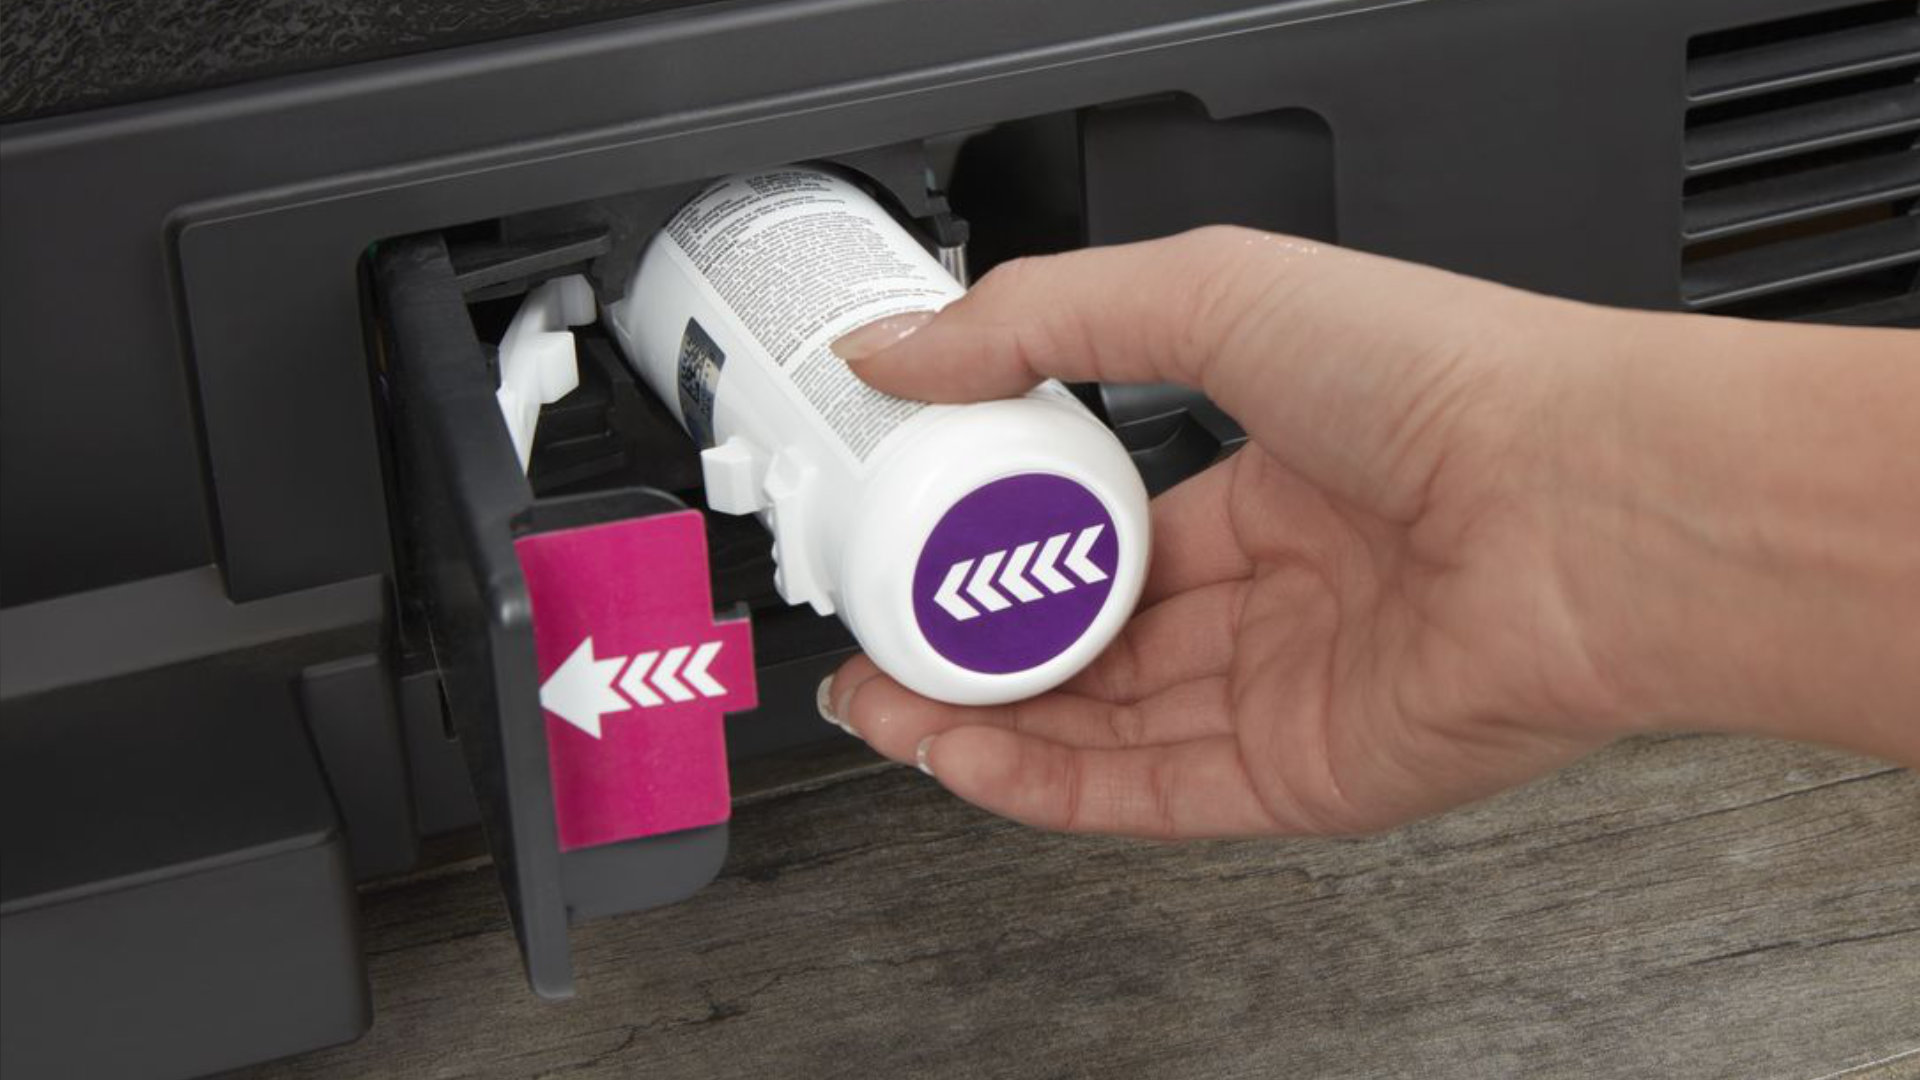
Some models, especially older top-freezer styles, have the filter in the base grille at the bottom front of the fridge. You simply open the flip-up door and you'll see it sitting right there.
Before you do anything else, make sure you know which style you have. Open your fridge and look around, or peek at the bottom front. Knowing this saves you the frustration of starting the process twice.
Step-by-Step Replacement Process
Step 1: Turn Off the Water Supply
Look behind your fridge for the water line shut-off valve. Turn it clockwise until it stops. This stops water flow and prevents a small flood when you pull the old filter out.
Step 2: Remove the Old Filter
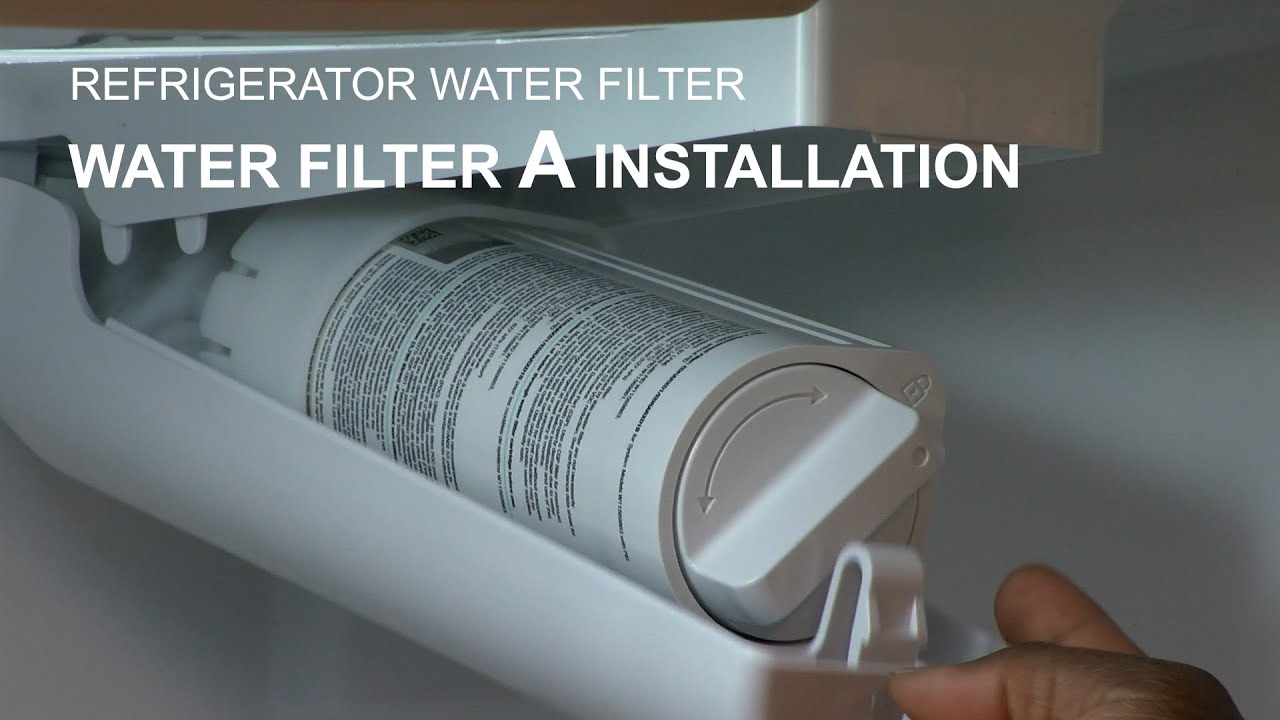
If your filter is inside the fridge, press the release button or turn the filter counterclockwise about a quarter turn. It should pop right out. If it's in the base grille, twist it counterclockwise and pull it forward. Some models just pull straight out without any twisting.
Step 3: Prep the New Filter
Take your new filter out of the packaging. Remove any plastic caps or protective covers from the O-rings. Don't skip this step. Those caps are there to keep the seal clean during shipping, but they will absolutely stop your filter from seating properly if left on.
Step 4: Insert the New Filter
Match the arrows on the filter with the arrows inside the housing. Slide it in and turn it clockwise until it locks or clicks into place. Give it a gentle tug to make sure it's secure.
Step 5: Turn the Water Back On
Slowly open the shut-off valve behind the fridge. Listen for any hissing sounds. If you hear anything odd, turn it back off and double-check the filter seating.
Step 6: Flush the System
This part is crucial. Run about 4 gallons of water through the dispenser before you drink any. Clear the ice maker by dumping the first batch of ice. The flushing process clears out carbon fines and air bubbles. It's normal for the water to look cloudy or gray at first, but it clears up quickly.

Resetting the Filter Light
Most Whirlpool fridges have a filter indicator light that needs to be reset after a replacement. The exact method varies by model, but here's what works for most.
- Press and hold the filter reset button for 3 seconds. It's usually on the control panel.
- If there's no dedicated button, check your owner's manual for the specific button combination. Many models use the "Options" and "Filter" buttons together.
The light should turn off, and your countdown to the next replacement starts fresh.
Common Mistakes to Avoid
I've helped plenty of people troubleshoot filter installs gone wrong. Here are the slip-ups I see most often.
- Forgetting to flush the new filter. People get excited and fill a glass right away, then wonder why the water tastes funky.
- Not removing the protective caps. I've seen filters pushed in with caps still on, and they never seal correctly.
- Using too much force. If the filter won't turn, double-check the alignment. Forcing it can crack the housing.
- Skipping the reset. The light stays on, and people think the filter is defective when it's just the indicator needing a reset.
Choosing the Right Replacement Filter
Whirlpool uses several filter models across their lineup. The EveryDrop brand is their official line, and you can find replacements online or at major retailers. Look at your old filter for a part number, or check your fridge's documentation.
Some third-party filters are certified to work, but I always recommend sticking with the manufacturer's brand when possible. The few extra dollars are worth the peace of mind, especially when it comes to something you drink from every day.
How Often to Replace Your Filter
A good rule of thumb is every six months, but your usage matters. A family of five running multiple water pitchers a day will wear out a filter faster than a single person who only uses the dispenser occasionally. If you notice changes in taste, odor, or flow rate, it's probably time even if the light hasn't come on yet.
Set a phone reminder or mark your calendar. Future you will thank present you when the water still tastes great six months from now.
What to Do With the Old Filter
Don't toss it in the regular trash. The plastic housing and activated carbon inside can usually be recycled. Many local recycling centers accept them, and some manufacturers offer take-back programs. A quick search online for water filter recycling near me usually points you in the right direction.
Benefits of Staying on Top of Filter Changes
Keeping your filter fresh does more than improve taste. It actually protects your fridge's internal water lines from sediment buildup. Over time, a clogged filter can slow water flow to the ice maker and dispenser, leading to smaller ice cubes and longer dispense times. Regular replacements keep everything running smoothly and extend the life of your appliance.
I remember one customer who hadn't changed their filter in two years. The ice maker was barely producing cubes, and they thought the fridge was dying. A $30 filter swap fixed the issue completely. Sometimes the simplest solution is the right one.

Troubleshooting After Installation
Sometimes things don't go perfectly on the first try. If you notice water leaking around the filter area, turn off the water supply and remove the filter. Check that the O-rings are intact and seated properly. A misaligned O-ring is the usual culprit.
If the dispenser is sputtering or making strange noises, you likely have air in the lines. Run more water through until the flow steadies. It usually takes about 2 minutes of continuous dispensing to clear all the air.
When to Call a Professional
Most filter replacements are straightforward, but if you've followed the steps and still have leaks or no water flow, there might be a deeper issue. A kinked water line, a frozen supply tube, or a faulty inlet valve could be the real problem. At that point, calling a Whirlpool service technician is your best bet.

Frequently Asked Questions
How do I know which water filter my Whirlpool fridge takes?
Check the owner's manual or look at your current filter for the model number. You can also find the fridge's model number on a sticker inside the fresh food compartment and cross-reference filters online.
Can I use a non-Whirlpool brand water filter?
Yes, as long as it's certified to fit your specific model. However, off-brand filters may have different filtration capabilities and lifespans. Stick with reputable brands for the best results.
Do I need to shut off the water before changing the filter?
It's highly recommended. Shutting off the water prevents small spills and makes the process cleaner. The valve is usually located behind the fridge on the supply line.
Why does my new filter make the water look cloudy?
Cloudy water usually means there are tiny air bubbles trapped in the filter and lines. This is completely normal and clears up after running a few gallons through the dispenser.
How long does a Whirlpool water filter really last?
Most filters are rated for 6 months or 200 gallons, whichever comes first. Heavy usage can shorten this window, while light use might let you stretch it slightly.

Final Thoughts
Changing your Whirlpool fridge water filter is one of those home maintenance tasks that feels intimidating until you actually do it. Once you've swapped your first one, you'll wonder why you ever stressed about it. The whole job takes less time than brewing a pot of coffee, and the payoff is fresh, clean-tasting water every time you fill a glass.
Grab the right filter for your model, set aside ten minutes, and you'll have it done before your favorite show finishes its intro. Stay on a six-month replacement schedule, and your fridge will keep delivering great-tasting water and crystal-clear ice for years to come.
If you found this guide helpful, drop a comment below with your own tips or questions. Happy filtering!