How Often to Change Well Water Filter (2026) — Worth Buying
Figuring out how often to change your well water filter can feel like a guessing game, but it doesn't have to be. Getting this right is crucial for maintaining clear, good-tasting water and protecting your home's plumbing and appliances. The actual frequency isn't fixed; it depends heavily on your specific well water conditions and how much water you're using each day.
Our research indicates that filter replacement schedules can vary significantly, but manufacturer specifications for typical whole-house sediment filters often suggest changes every 3 to 6 months. Pushing that timeframe too far can lead to more than just less-than-perfect water quality; it can actually damage your system. Let’s dive into what really makes a difference.
Understanding Your Well Water Filter Needs
When you're a homeowner with a private well, managing your water filtration is a key part of responsible home maintenance. It’s not just about aesthetics; it's about the long-term health of your plumbing and the appliances that rely on that water. Your well water filter acts as a frontline defense, catching sediment, rust particles, and other debris before they can travel through your pipes and cause issues.
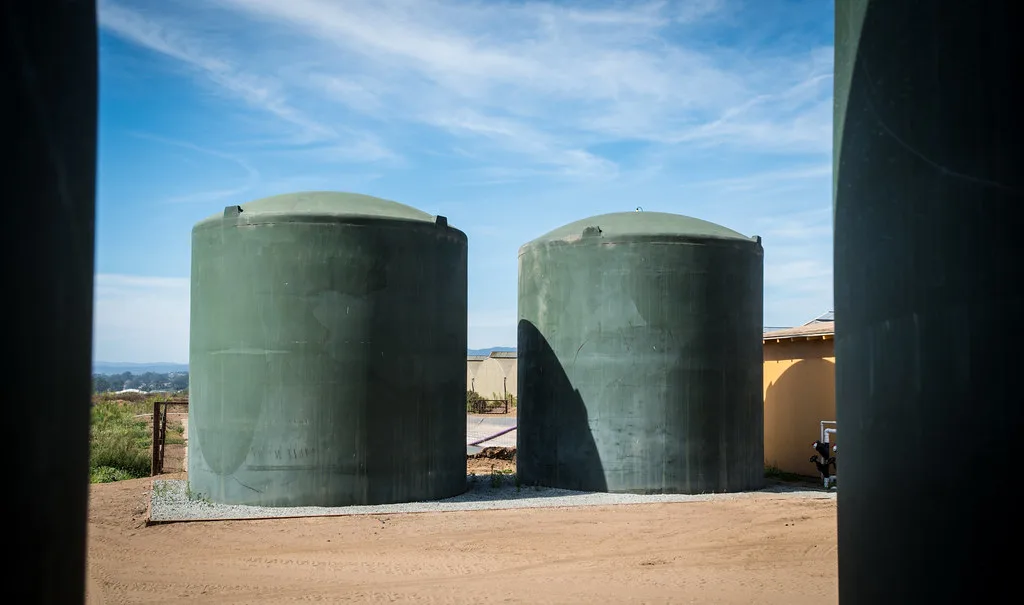
The main challenge is that "well water" isn't a universal standard. What comes out of your tap depends on the geology, potential runoff, and even the condition of your well itself. Because of this variability, a one-size-fits-all answer to "how often to change well water filter" just doesn't cut it. We need to look at the factors that impact your filter's performance.
What's Really Clogging Up Your Filter?
The lifespan of your water filter isn't dictated by a calendar date as much as it is by the volume and type of contaminants it's catching. Think of the filter cartridge as a container with a finite capacity for capturing particles. Once that capacity is reached, the filter’s effectiveness plummets.
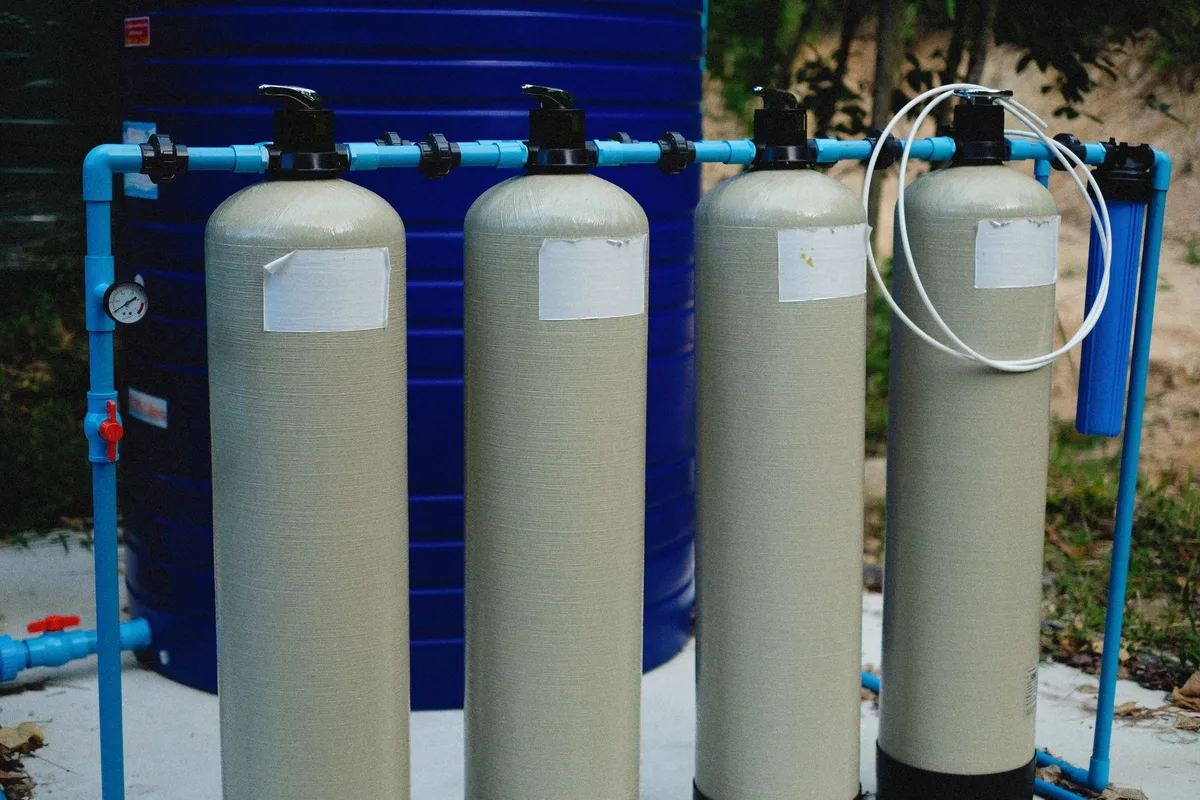
Several factors contribute to how quickly your filter fills up:
- Sediment Load: If your well water is naturally high in silt, sand, or clay, these abrasive particles will accumulate in the filter much faster. This is often the primary reason for frequent filter changes.
- Iron and Manganese: Water with high iron or manganese content can cause filters to clog rapidly, sometimes forming a coating that reduces flow.
- Chlorine (if applicable): While less common in untreated well water, if you're treating your well water for bacteria with chlorine, the filter will work to remove it, eventually becoming saturated.
- Usage Habits: The more water your household consumes, the more water passes through the filter, accelerating the clogging process.
Your Water Quality: The Biggest Factor
This is the linchpin of filter longevity. The composition of your well water directly dictates how hard your filter has to work and how quickly it will become saturated. If your water has a tendency to be cloudy or has a rusty hue, that’s a clear indicator of suspended particles that your sediment filter is actively removing.
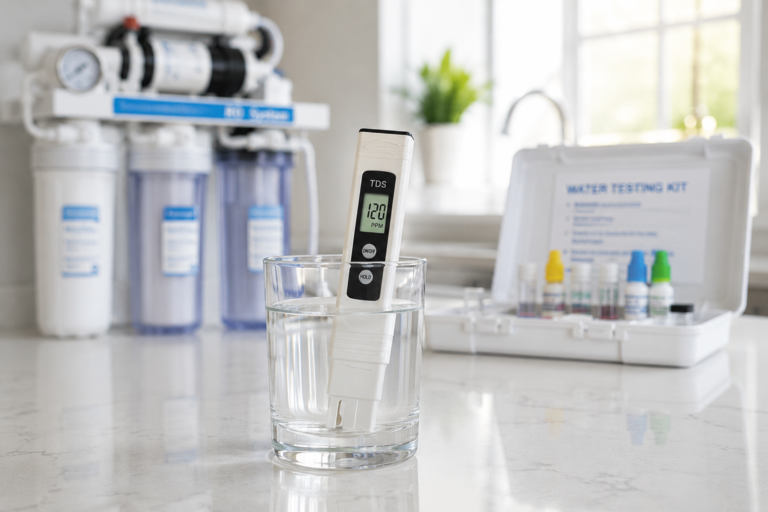
Water testing is your best friend here. Regularly testing your well water (at least annually, or more often if you notice changes) for common contaminants like sediment, iron, manganese, and hardness will give you precise data. This information allows you to select the right type of filter and provides a baseline for predicting how often it will need attention. For example, water with over 5 parts per million (ppm) of total suspended solids (TSS) would necessitate more frequent filter changes than water with less than 1 ppm.
How Much Water Are You Actually Using?
The sheer volume of water flowing through your filtration system is a major determinant of filter life. A household with multiple occupants, frequent laundry cycles, and daily dishwasher runs will place a far greater demand on the filter compared to a single individual or a couple.
Consider this: if your family of four uses, on average, 100 gallons of water per person per day, that’s 400 gallons daily going through your filter. Over a month, that’s nearly 12,000 gallons. A filter designed to handle, say, a certain number of gallons before significant pressure drop will reach its limit much faster in a high-usage home than in a low-usage one. Manufacturer specifications often provide a rated capacity in gallons, which, when combined with your estimated daily usage, can help you calculate a more personalized replacement interval.
Common Filter Types and Their Lifespans
Not all well water filters are created equal, and their intended purpose directly impacts how long they last. Understanding the type of filter system you have is crucial for setting realistic replacement expectations.
Basic Sediment Filters: A General Guideline
These are your workhorses for general particle removal. They come in various micron ratings, with lower numbers (e.g., 5-micron) catching finer particles than higher numbers (e.g., 50-micron). For typical whole-house sediment filters found in residential settings, manufacturer data and aggregate user reviews generally point to a replacement interval of 3 to 6 months. This range is a good starting point if your water quality is generally good and free from excessive sediment.
Specialty Filters: For Iron, Chlorine, and More
If your water has specific issues identified in testing, you’ll likely have specialized filters.
- Iron Filters: These are designed to remove dissolved or precipitated iron. Depending on the iron concentration and the filter's media, they might need cleaning or replacement more frequently, sometimes as often as every 1 to 3 months, especially when first implemented.
- Carbon Filters: Activated carbon filters are great for removing chlorine, volatile organic compounds (VOCs), and improving taste and odor. Their lifespan is often measured in gallons filtered or months, with typical whole-house carbon filters lasting 6 to 12 months, but this can be shorter if there are high levels of chlorine or other contaminants being absorbed.
Spotting the Signs: When Your Filter Is Telling You It's Time
Beyond following a schedule, your senses and your home’s performance can give you direct clues that your well water filter needs attention. Ignoring these signs can lead to bigger problems and reduced water quality.
Reduced Water Pressure: The First Warning
This is often the most noticeable symptom. If you’ve observed a significant drop in water pressure at your faucets, showerheads, or other outlets, it’s a strong indicator that your filter is clogged.
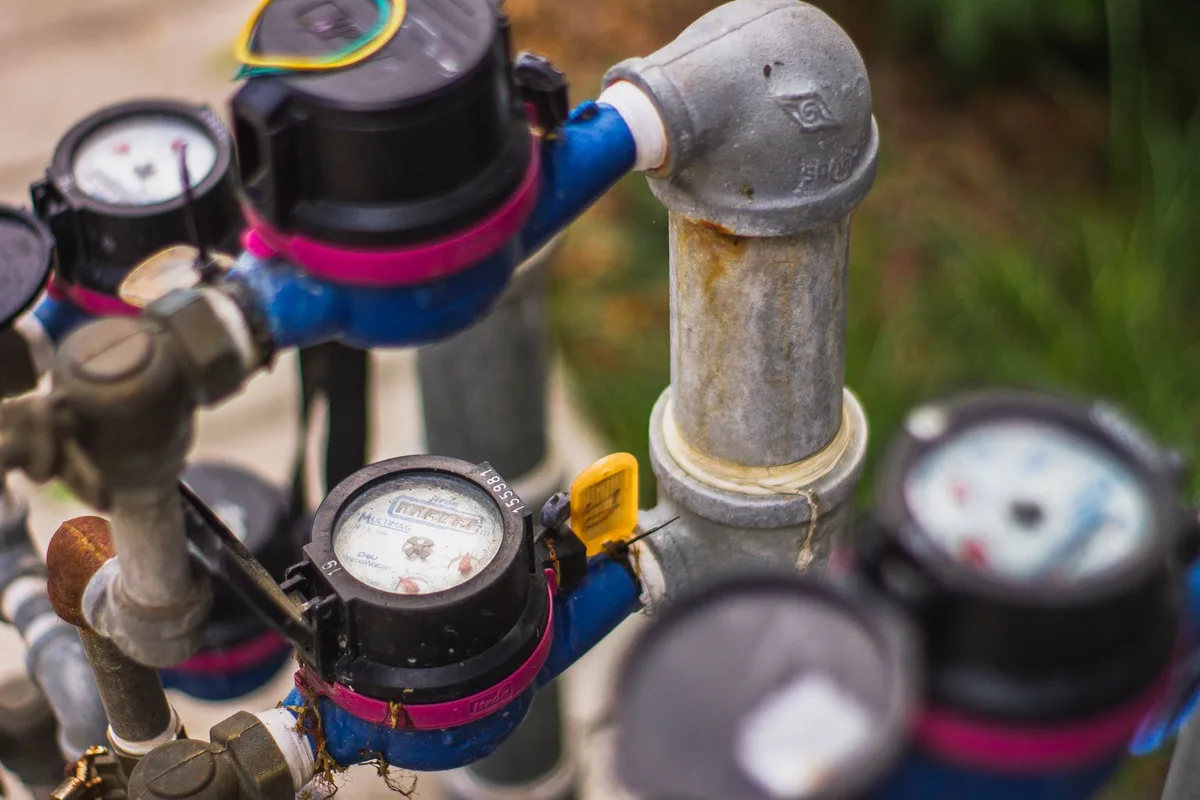
A clogged filter restricts water flow. The fewer pores available for water to pass through, the harder the system has to work, and the more pressure you lose. This isn't just inconvenient; it can strain your well pump and other components. If you notice this happening consistently and unexpectedly, it’s time to check and likely replace the filter cartridge.
Visible Changes: Cloudy or Discolored Water
If your water starts to look less clear, hazy, or even takes on a brownish or yellowish tint, your filter is almost certainly overwhelmed. This means it's no longer effectively capturing the suspended particles that are present in your water. The discoloration is a direct visual cue that the filter media is saturated and incapable of performing its job.
Taste and Odor: Your Filter's Last Stand
A decrease in water quality often manifests through taste and smell. If your water suddenly develops a metallic, earthy, or even a chemical-like taste or odor, it suggests that the filter has reached its capacity to remove or neutralize these compounds, or that contaminants are now bypassing the saturated media. For filters designed to improve taste and odor, this is a critical signal that replacement is due.
Your Filter Replacement Action Plan
It’s great that you’re proactive about your well water. Now that you know the signs and what affects filter life, let’s lay out a simple, actionable plan. This isn't about guesswork; it's about informed maintenance that saves you hassle and money in the long run.
Step 1: Get Your Well Water Tested
This is the bedrock of smart filter management. Without knowing what’s in your water, you’re essentially flying blind. Many local health departments offer water testing services, or you can find certified independent laboratories. The test should cover common well water issues like sediment levels (total suspended solids or TSS), iron, manganese, and hardness.
Armed with this data, you can choose the most appropriate filter type for your needs. For instance, if your TSS is consistently above 5 ppm, you know a standard sediment filter will clog faster than if it were under 1 ppm. This information is also invaluable when talking to filter manufacturers about expected lifespans for their products under your specific conditions.
Step 2: Know Your Filter Model
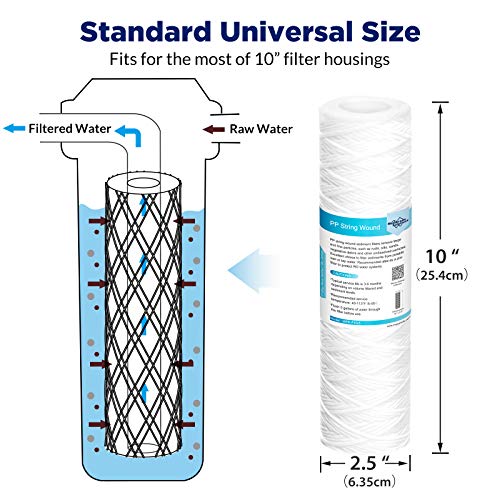
When it comes time to swap out a filter, you can't just grab any cartridge off the shelf. Different filter housings require specific sizes and types of cartridges. It’s essential to identify the exact make and model of your whole-house water filter system. This information is usually found on a label on the filter housing itself or in your home's original paperwork.
Knowing your filter model allows you to:
- Purchase the correct replacement cartridges.
- Consult the manufacturer’s specific recommendations for that model’s capacity and expected lifespan.
- Ensure you’re using a filter that’s appropriate for the contaminants identified in your water test.
Manufacturer specifications, such as those published by companies like Pentair or Culligan, often provide detailed performance data and recommended replacement intervals based on filter rating and target contaminants.
Step 3: Observe and Adjust Your Schedule
While 3 to 6 months is a common interval for basic sediment filters, don't treat it as an unbreakable rule. Your actual usage and water quality will dictate the precise timing. Start by setting a reminder for the 3-month mark after your initial installation or last change.
Around this time, pay close attention to the signs discussed earlier:
- Is your water pressure noticeably lower than it was when the filter was new?
- Have you seen any cloudiness or color changes in the water?
- Are there any new tastes or odors?
If you observe any of these issues before the 3-month mark, it means your filter is working overtime and needs replacement sooner. Conversely, if your water remains crystal clear and pressure is strong at 5 months, you might be able to slightly extend the interval, but always err on the side of caution and check the filter’s condition.
Tip: Keeping a Maintenance Log
A simple logbook or a digital note on your phone can be incredibly helpful for tracking filter changes. Record the date of replacement, the type of filter cartridge used, and any observations you made about water quality or pressure around that time.
This ongoing record allows you to see patterns specific to your home. After a year or two, you'll have a much clearer picture of how long filters actually last for you. This personalized data is far more reliable than generic advice and ensures you're replacing filters optimally, not too soon, not too late, but just right.
Mistakes to Avoid When Changing Your Well Water Filter
Making a mistake during filter replacement can lead to leaks, improper filtration, or even damage to your system. One common oversight is not flushing the system after installation. Manufacturer specifications often recommend running water through the system for several minutes after a new filter is installed to clear out any manufacturing residue or air pockets.
Another pitfall is overtightening the filter housing. While you want a tight seal to prevent leaks, overtightening can damage the O-ring or crack the housing, leading to costly repairs. Always follow the manufacturer's instructions regarding tightening procedures. Finally, failing to inspect the O-ring for cracks or damage before reassembling the housing is a recipe for leaks.
A damaged O-ring will prevent a proper seal, regardless of how tightly the housing is screwed on.