How To Replace A Brita Water Filter: Easy 2026 Guide
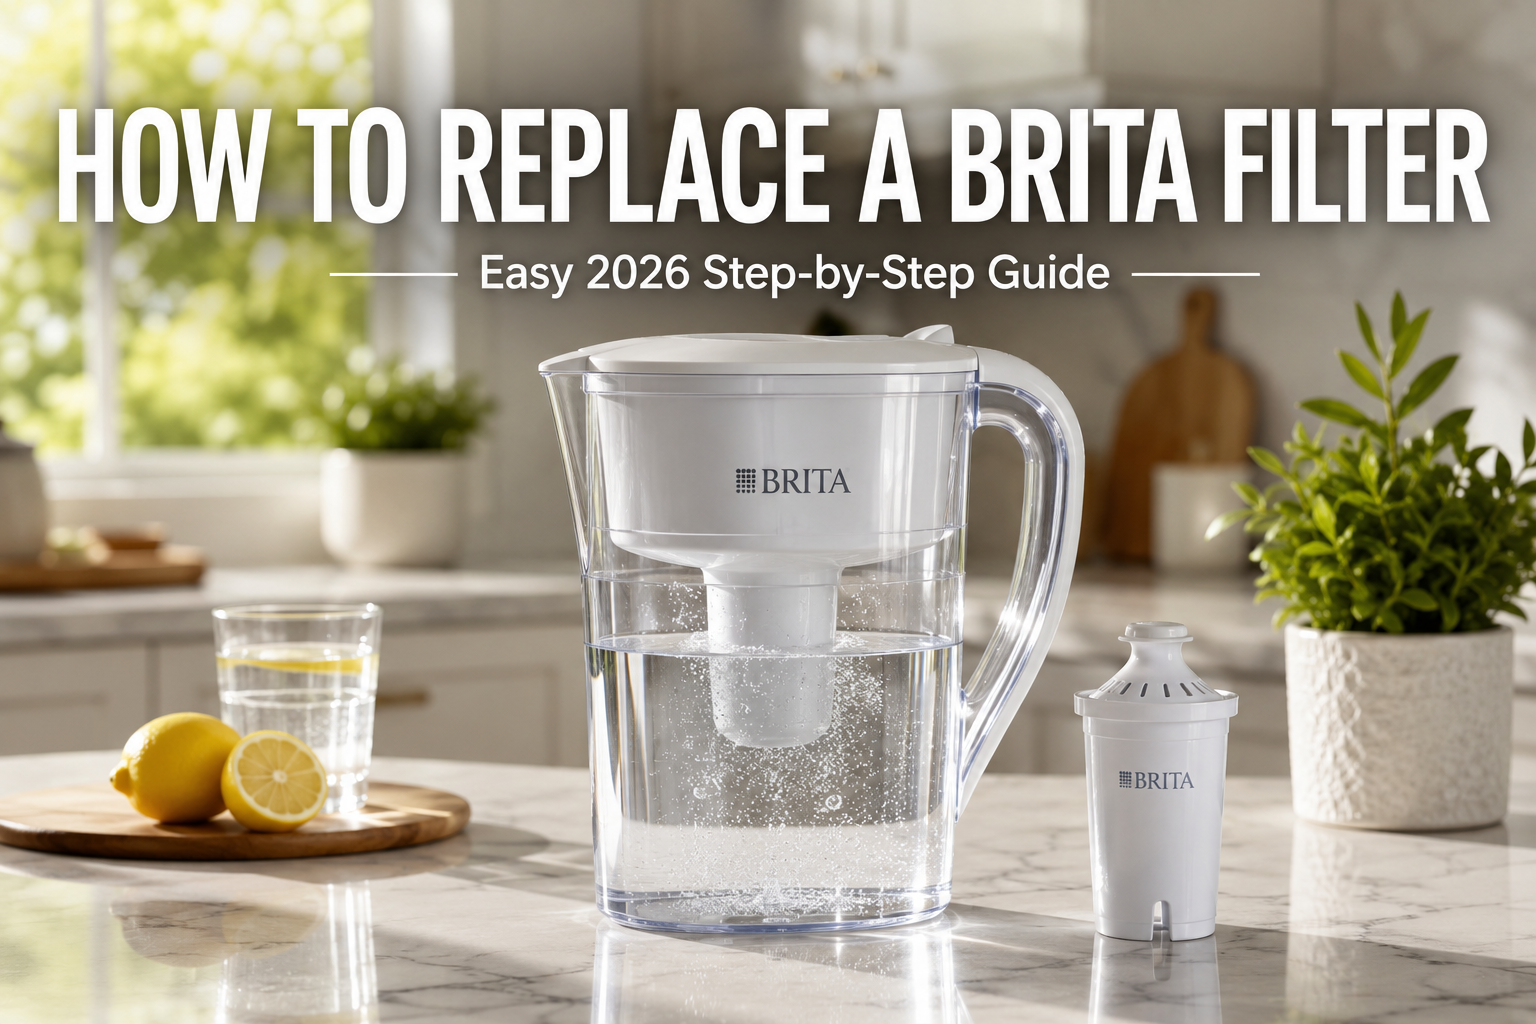
Replacing a Brita water filter takes about five minutes: twist out the old cartridge, rinse the new one, drop it in the reservoir, and reset the indicator light. It's one of those small home tasks that feels oddly satisfying once you do it, and knowing exactly how to replace a Brita water filter keeps your drinking water tasting clean every single day.
I've been writing about kitchen gear and home maintenance for years, and I still remember the first time I stared at my Brita pitcher wondering if I was doing it right. Turns out, almost everyone overcomplicates it. The truth is, swapping a filter is a simple habit that pays off in better-tasting water, fewer plastic bottles, and a small but meaningful upgrade to your daily routine. Stick with me, and I'll walk you through every step, plus the little tips that make the process smoother.

Why Replacing Your Brita Filter Actually Matters
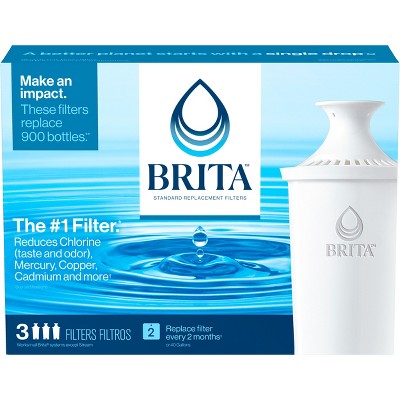
Brita filters don't last forever. Most standard cartridges are designed to handle around 40 gallons of water, which works out to roughly every two months for the average household. Once the filter reaches its limit, it can't trap chlorine, copper, cadmium, and mercury as effectively. Your water might start tasting slightly off, or you may notice the indicator light signaling it's time.
Think of it like changing the oil in your car. You can technically drive a little past the recommended interval, but performance drops and long-term wear adds up. A fresh filter keeps your water crisp, your ice cubes clear, and your coffee tasting like it should.
Here are a few signs your filter needs swapping sooner rather than later:
- The indicator strip on your pitcher or dispenser shows it is time.
- Water flow slows down noticeably when you fill the reservoir.
- Your water tastes flat or has a faint plastic or metallic edge.
- It's been two months since your last change, regardless of usage.
Keeping a mental note (or a phone reminder) makes this feel effortless. Once it becomes part of your routine, you won't even think about it.
What You'll Need Before You Start
You don't need much. Brita designs the replacement process to be tool-free, which is one of the reasons these pitchers have stuck around for decades.
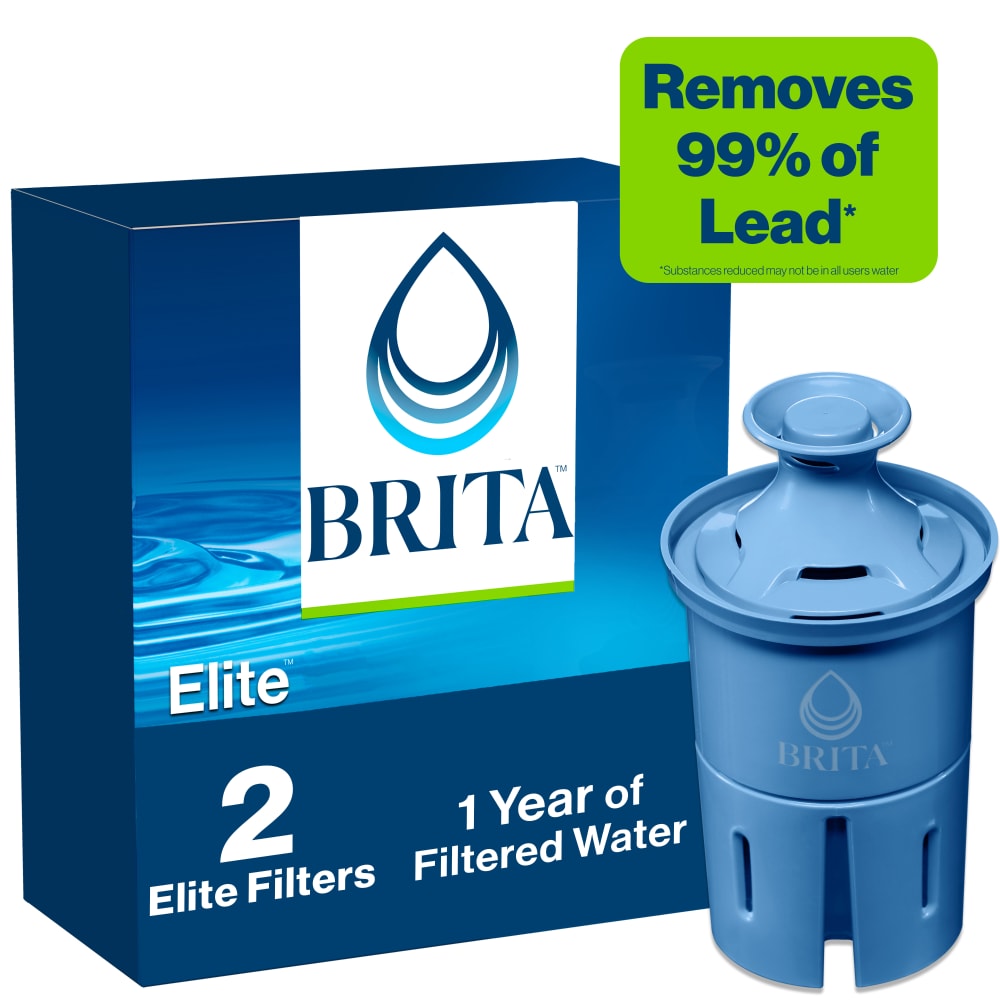
- A new Brita replacement filter (make sure it matches your pitcher model).
- Cold tap water for rinsing.
- A sink or countertop you're comfortable working over.
If you have a Brita dispenser or bottle-style filter, the steps look almost identical. The only difference is where the cartridge seats inside the unit. Double-check the packaging so you grab the right filter type, since there are several variants on the market, including standard, longlast, and stream.
Step-by-Step Guide: How to Replace a Brita Water Filter
Here's the part most people overthink. I've done this dozens of times across different Brita models, and the process is refreshingly consistent.
- Remove the lid from your Brita pitcher and set it aside.
- Pull out the old filter by gripping it firmly and lifting straight up. Some models have a small tab or notch that makes this easier.
- Discard the used cartridge in your regular trash. There is no special disposal requirement.
- Rinse the new filter under cold running water for about 15 seconds. This step activates the carbon and clears out any loose carbon dust.
- Submerge the new filter in a cup of cold water for a few minutes if your model recommends it. Some filters benefit from a short soak.
- Insert the new cartridge into the reservoir, making sure it sits flush in the filter holder.
- Fill the top reservoir with cold tap water and let it run through the filter a couple of times before you drink any.
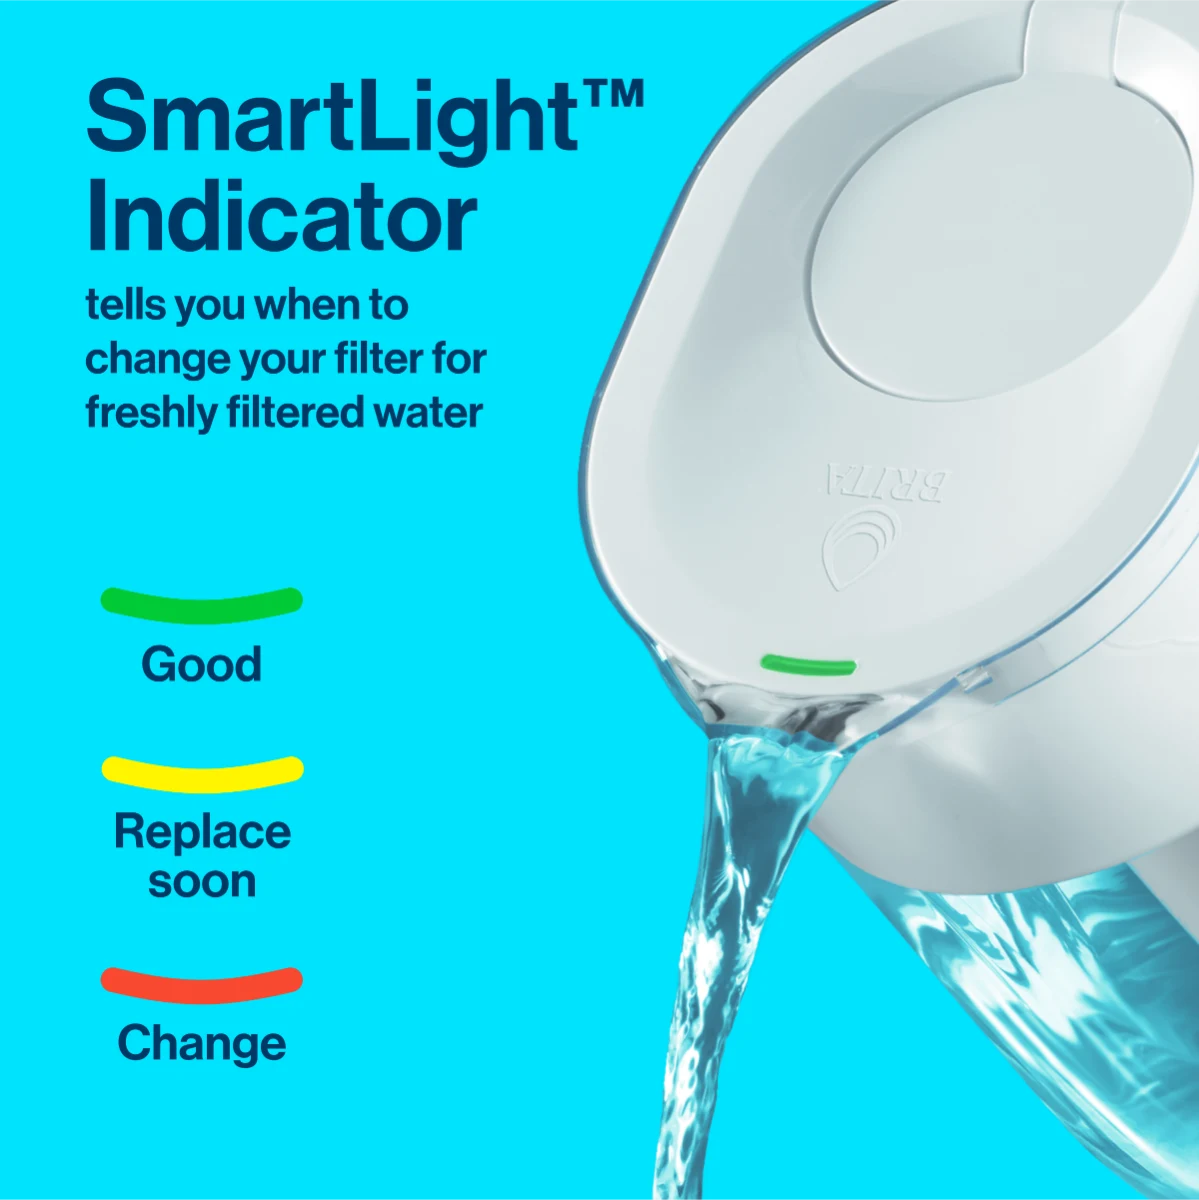
- Reset the indicator light if your pitcher has one. Most Brita models have a small dial or electronic sensor on the lid that you adjust manually.
That last step catches people off guard. If you forget to reset the indicator, it will keep telling you the filter is old, even though you've just installed a fresh one. It's a tiny detail, but it saves you from second-guessing yourself later.
Common Mistakes to Avoid When Swapping Your Brita Filter
Even though the process is simple, a few habits can shorten the life of your new cartridge or reduce water quality.
- Forgetting to rinse the new filter. Skipping this step can release fine black carbon particles into your first few glasses of water. It's harmless but looks off-putting.
- Using hot water. Brita filters are designed for cold water only. Hot water can damage the carbon media and warp the plastic housing.
- Ignoring the indicator light. The electronic sensors on newer models are surprisingly accurate. Trust them.
- Buying the wrong replacement cartridge. Brita makes several filter lines, and they aren't always interchangeable.
I learned the hot water lesson the hard way early on. I figured warm water would filter faster, which it does, but the taste afterward was noticeably worse. Cold water always wins here.

How Often Should You Really Change a Brita Filter?
The official recommendation is every 40 gallons or roughly two months. But real life doesn't always follow the manual. If you live alone and barely use the pitcher, you might stretch it a bit longer. If you have a big family and refill the reservoir multiple times a day, you may hit that limit sooner.
Here is a quick way to estimate your schedule:
- Light use (1-2 refills per week): change every 10-12 weeks
- Average use (daily refills): change every 6-8 weeks
- Heavy use (multiple refills per day): change every 4 weeks
The indicator light removes all guesswork if your model has one. I rely on mine because it tracks actual water volume, not just time.
Benefits of Staying on Top of Filter Changes
Once you build the habit, the payoff is subtle but consistent. Fresh filters mean better-tasting water, which usually leads to drinking more water overall. That alone is a win if you're trying to stay hydrated.
There are a few other benefits worth mentioning:
- Reduced chlorine taste in coffee and tea
- Clearer ice cubes for cocktails and cold drinks
- Less plastic bottle waste, which is easier on your wallet and the environment
- A small sense of order in your kitchen, which honestly feels great
Replacing a Brita filter is one of those tiny maintenance moments that reminds you that small habits shape your daily life. It takes less time than brewing a cup of coffee, and the reward is immediate.
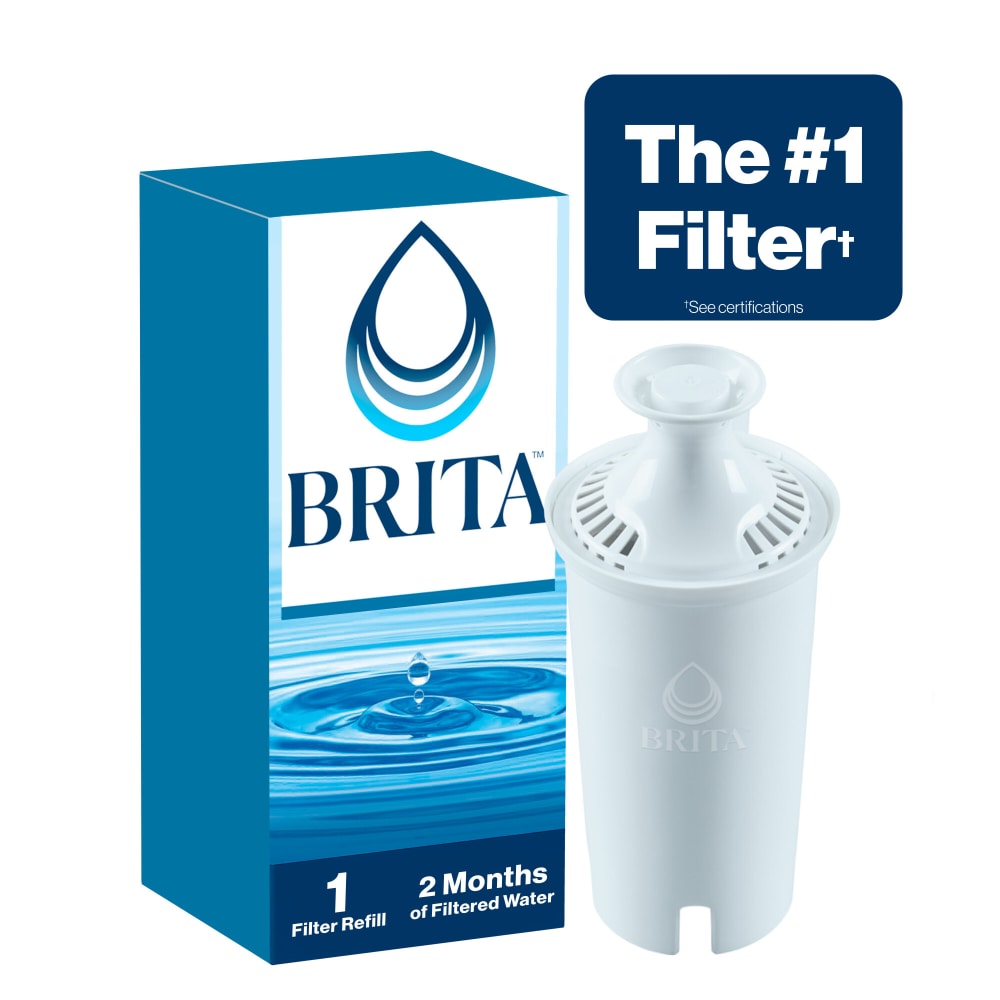
What If Your Brita Filter Won't Fit or Won't Stay in Place?
This is a rare issue, but it happens, especially if you switched filter brands by accident or picked up an older cartridge at a discount store. Brita has updated its filter design over the years, and older pitchers sometimes need older filters.
If your new cartridge seems loose or won't seat properly, check the following:
- The plastic wrapper is fully removed
- The rubber gasket at the bottom is intact and clean
- You're using the correct filter model for your specific pitcher
When in doubt, Brita's customer support is genuinely helpful. I once had a stubborn filter that wouldn't lock in, and a quick chat with their team confirmed I had grabbed the wrong replacement at the store. They sent the correct one free of charge.
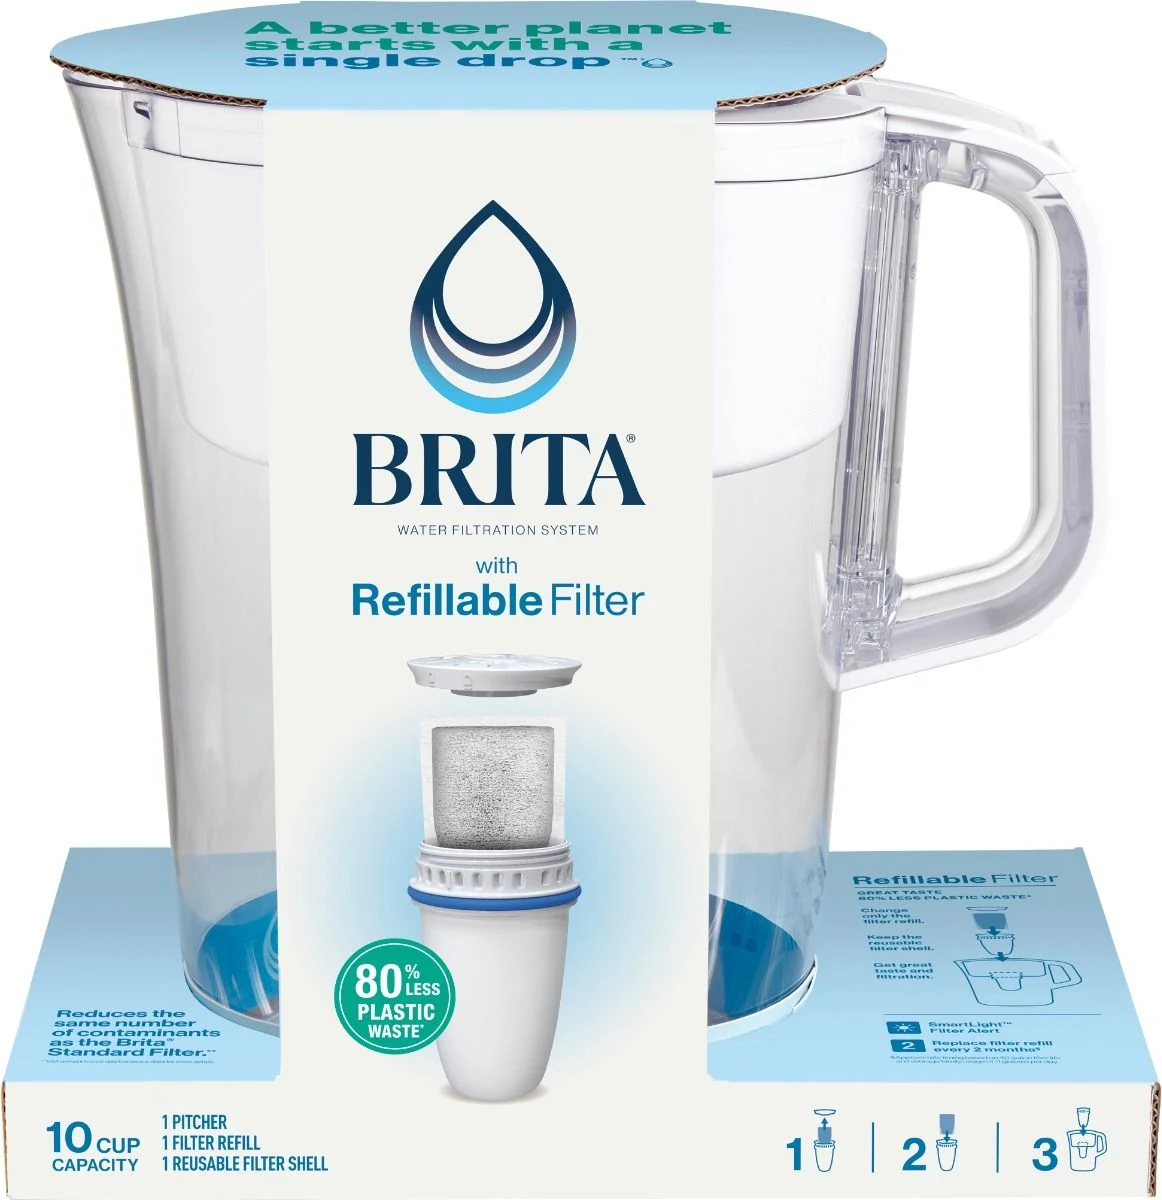
Frequently Asked Questions About How to Replace a Brita Water Filter
Do I need to soak a new Brita filter before using it?
Yes, a quick rinse and short soak helps activate the carbon and removes loose particles. Most Brita filters just need 15 seconds under cold running water before installation.
Can I reuse an old Brita filter after cleaning it?
No. Once a Brita filter is spent, it's done. The carbon media inside cannot be recharged, and cleaning it won't restore its filtration ability.
What happens if I forget to change my Brita filter?
Your water will gradually lose its clean taste, and the filter will stop reducing chlorine and heavy metals. It's not dangerous, but you won't be getting the full benefit of the system.
Is it okay to use a Brita pitcher without a filter?
You can, but there's no real reason to. Without the cartridge, it's just a regular pitcher. The filter is what makes the Brita system worth owning.
How do I reset the Brita indicator light?
Most models have a small dial on the lid that you rotate, or an electronic button you press and hold for a few seconds. Check your manual for the exact method, since it varies by model.
Final Thoughts on Keeping Your Brita Pitcher in Top Shape
Replacing a Brita water filter is one of the easiest home maintenance habits you can build. It takes a few minutes, costs just a few dollars, and delivers clean, fresh-tasting water every day. Once you settle into a rhythm, whether that's tied to the indicator light, a calendar reminder, or just a gut feeling, it becomes second nature.
Think of your Brita as a small ritual. Every couple of months, you give it a little attention, and it quietly takes care of you in return. There's something grounding about that kind of routine in a busy life. If you've been putting off a filter change, take five minutes today and do it. Your water, your coffee, and your taste buds will thank you.
And if you found this guide helpful, feel free to share it with a friend who still hasn't figured out their pitcher yet. Or drop a comment below with your own Brita tips and tricks. I'd love to hear how you make it part of your routine.