How Do You Change A Water Filter: Easy 2026 Guide
Changing a water filter is a simple process that involves turning off the water supply, relieving pressure, swapping the old filter for a new one, and flushing the system.
I still remember the first time I tried to change a water filter under my kitchen sink. I had no idea what I was doing, and the whole thing looked like a tangled mess of pipes and plastic. But once I got the hang of it, I realized it was one of the easiest home maintenance tasks out there. If you have been putting off changing your filter because it seems too technical or intimidating, I am here to walk you through every step. Think of this guide as a friendly chat with someone who has changed hundreds of filters and made all the mistakes so you do not have to.
Why Changing Your Water Filter Matters More Than You Think
Your water filter works quietly in the background, trapping sediment, chlorine, lead, and other things you do not want in your drinking water. Over time, the filter gets clogged and loses its ability to clean water effectively. A clogged filter can slow down water flow, change the taste of your water, and even let contaminants slip through.
Think of it like a coffee filter. If you keep reusing the same coffee filter, the water will not taste as good, and the grounds will end up in your cup. The same idea applies to your home water filter. Replacing it on time keeps your water clean, your appliances safe, and your family healthy.
I learned this the hard way when I neglected my refrigerator filter for almost a year. The water started tasting like a swimming pool, and my ice had a strange odor. Once I swapped in a fresh filter, the difference was night and day. Fresh, crisp water that actually tasted like water again.
Different Types of Water Filters You Might Have at Home
Before you learn how to change a water filter, it helps to know what kind of filter you are dealing with. Not all filters are built the same, and the replacement process can vary slightly depending on the system.
Pitcher and Faucet-Mounted Filters
These are the simplest options. Pitcher filters sit in a water jug, and faucet filters attach directly to your tap. Most of these use a drop-in cartridge that you swap out every one to three months.
Under-Sink Filtration Systems
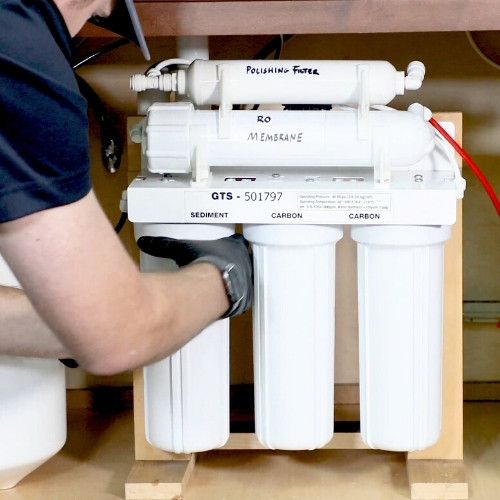
These are installed beneath your kitchen sink and connect directly to the cold water line. They usually have a dedicated filter cartridge inside a housing canister. These typically need a change every six to twelve months.
Refrigerator Water Filters
Most modern fridges with water dispensers or ice makers have built-in filters. These are usually twist-off or pull-out cartridges located either inside the fridge or at the back.
Whole-House Filtration Systems
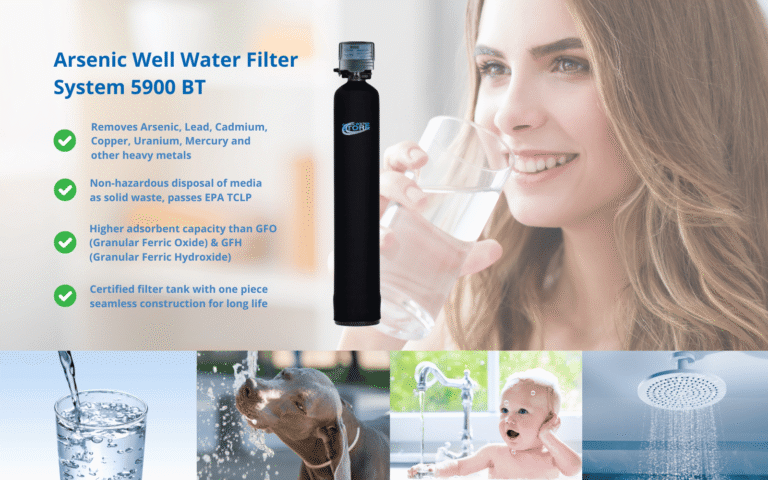
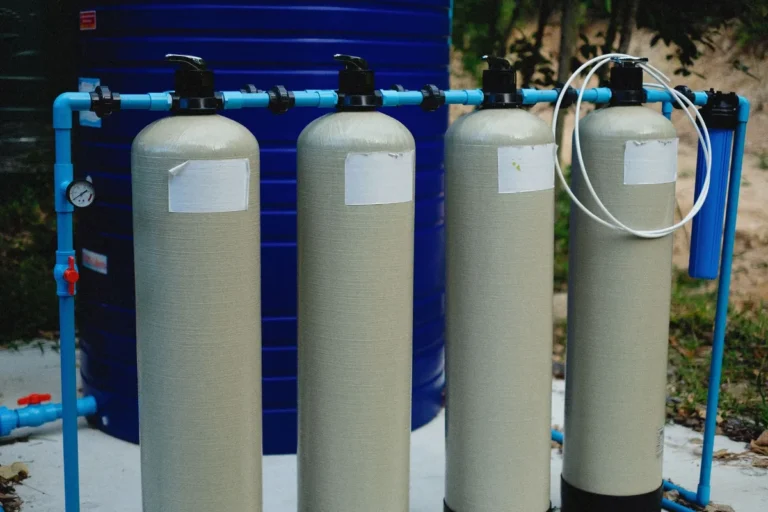
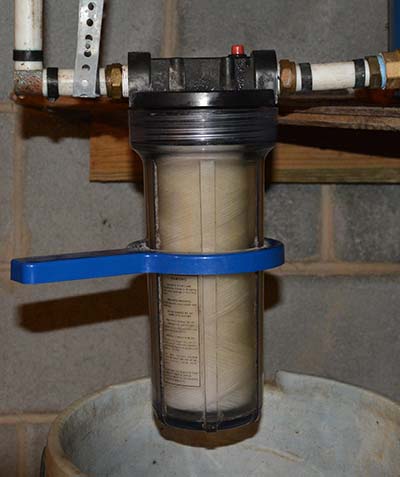
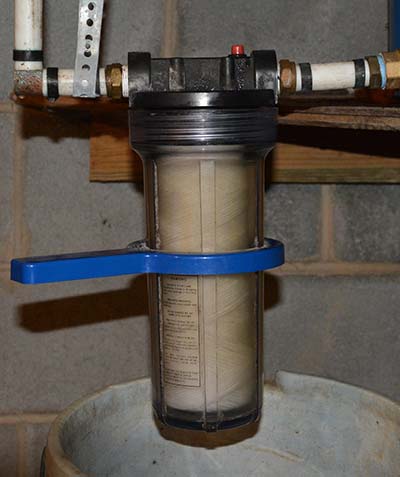
If you want filtered water from every tap in your home, you might have a whole-house system. These are installed at the point where water enters your house. They usually use larger canisters and last longer, but they require a bit more effort to replace.
How to Change a Water Filter: Step-by-Step Guide
Now for the part you came here for. I will walk you through the general process, and then I will break down the specific steps for each type of filter.
Step 1: Find Out What Filter You Need
The first thing you need to do is figure out the make and model of your filter. You can usually find this information on the old filter itself, in the owner's manual for your fridge or filtration system, or on the manufacturer's website.
When I bought my first replacement filter, I grabbed whatever looked similar at the hardware store. Big mistake. It did not fit properly, and I had to make a second trip. Save yourself the hassle and double-check the model number before you buy.
Step 2: Gather Your Tools
Most filter changes require very few tools. Here is what you will likely need:
- A new replacement filter
- A towel or rag to catch drips
- A wrench or filter housing wrench (for under-sink models)
- A bucket or container for any spilled water
Step 3: Turn Off the Water Supply
Locate the shut-off valve for your filter system and turn it off. For under-sink filters, the valve is usually on the cold water line. For refrigerators, look for the water supply line behind or under the fridge.
If you are changing a pitcher filter or faucet-mounted filter, this step does not really apply. Just remove the old cartridge and move on.
Step 4: Relieve the Pressure
Before you remove the old filter, open the faucet or dispenser to release any built-up pressure in the system. You will hear a hiss, and some water might dribble out. That is completely normal.
Step 5: Remove the Old Filter
Now comes the part that varies depending on your filter type:
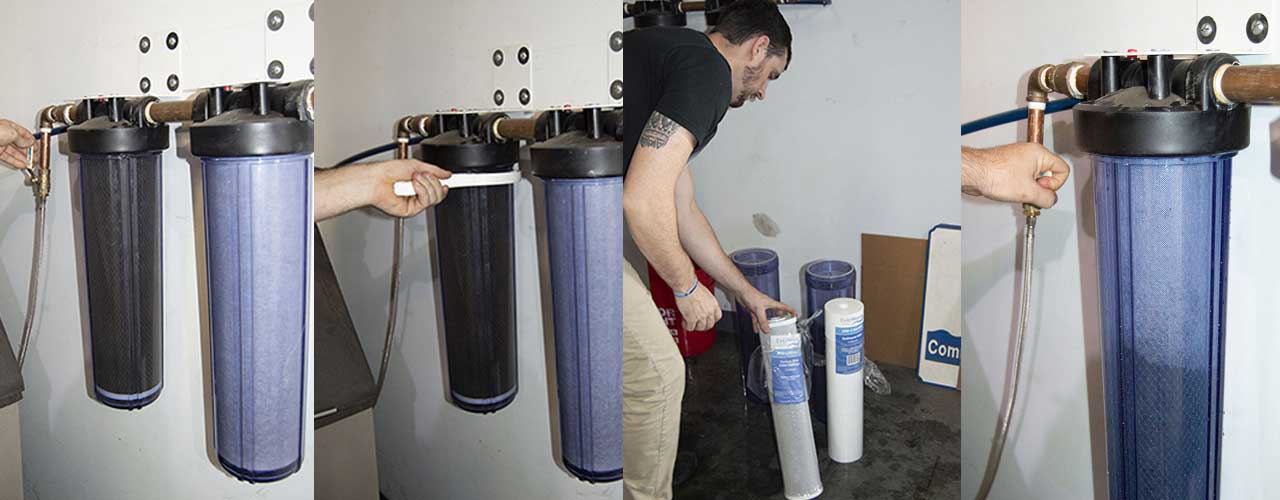
For twist-off filters, simply rotate the old cartridge counterclockwise until it releases. For push-in filters, press the release button or tab and pull the filter straight out. For under-sink canisters, use the filter wrench to loosen the housing, then unscrew it by hand.
Step 6: Install the New Filter
Take your new filter and insert it the same way the old one came out. Make sure it clicks or locks into place. For under-sink canisters, put the new filter inside the housing, screw the canister back on, and tighten it with the wrench. Do not overtighten, as this can crack the plastic.
Step 7: Turn the Water Back On
Slowly open the shut-off valve and check for leaks. If you see any dripping, tighten the connections a little more.
Step 8: Flush the System
Run water through the new filter for three to five minutes. This clears out any loose carbon dust or manufacturing residue. The water might look cloudy at first, but it should clear up quickly. Do not drink this water; let it go down the drain.

Common Mistakes to Avoid When Changing a Water Filter
After years of helping friends and family with their filters, I have seen the same handful of mistakes pop up again and again. Here is what to watch out for.
Skipping the Flush Step
Many people install the new filter and immediately drink the water. That first batch often contains carbon fines, which can make your water look black or gray. Always flush the filter as directed by the manufacturer.
Using the Wrong Replacement
Filters are not universal. Using a generic filter that does not match your system can lead to poor filtration or even leaks. Stick with the manufacturer-recommended cartridge.
Forgetting to Reset the Indicator Light
Many refrigerators and filtration systems have an indicator light that tells you when it is time to change the filter. After installing a new one, hold down the reset button for a few seconds so the system knows you have a fresh filter.
Overtightening the Canister
It is tempting to crank down on the filter housing as hard as you can, but this can damage the O-ring or crack the plastic. Hand-tight plus a quarter turn with the wrench is usually enough.
How Often Should You Change Your Water Filter?
The answer depends on your filter type and how much water you use. Here are some general guidelines:
- Pitcher filters: every one to two months
- Faucet-mounted filters: every two to three months
- Refrigerator filters: every six months
- Under-sink filters: every six to twelve months
- Whole-house filters: every three to six months
If your water suddenly tastes different, the flow slows down, or your filter indicator light turns on, do not wait for the calendar. Change it sooner.
Benefits of Regularly Changing Your Water Filter
You might think a filter change is just a chore, but the benefits go far beyond clean water.
Better Taste and Odor
Old filters lose their ability to remove chlorine and other compounds that affect taste and smell. A fresh filter makes water taste crisp and clean.
Healthier Water
Filters are designed to remove contaminants like lead, mercury, chlorine byproducts, and microbial cysts. Over time, they stop working as efficiently. Replacing them ensures you get the protection you paid for.
Longer Appliance Life
If your fridge or under-sink system has a clogged filter, it forces the system to work harder. This can shorten the life of pumps, valves, and other parts.
Less Plumbing Hassle
Sediment and buildup can clog your faucets, showerheads, and ice makers. A good filter catches this debris before it becomes a problem.

What to Do With the Old Filter
Once you have swapped in the new filter, do not just toss the old one in the trash. Many filter components can be recycled. Check with your local recycling program or the filter manufacturer for take-back options. Some companies even offer prepaid shipping labels so you can mail in used cartridges for proper disposal.
Tools and Supplies That Make the Job Easier
If you change your filter regularly, it is worth investing in a few helpful items:
- A filter housing wrench
- A small bucket that fits under your sink
- A pack of spare O-rings
- A permanent marker to write the date of replacement on the new filter
These little tools turn a five-minute job into a one-minute job.
When to Call a Professional
Most filter changes are simple enough to handle on your own. However, there are times when it makes sense to call in a plumber or water treatment specialist.
If your system is leaking heavily, if the filter housing is cracked or corroded, or if you have a whole-house system that involves complex plumbing, professional help can save you time and prevent water damage. There is no shame in asking for backup when the job is beyond your comfort level.

Frequently Asked Questions About Changing a Water Filter
How do I know which replacement filter to buy?
Check the model number on your current filter, your appliance's manual, or the manufacturer's website. Buying the exact match ensures proper fit and filtration performance.
Can I change a water filter without turning off the water?
It is best to turn off the water to prevent leaks and spills. For some faucet-mounted or pitcher filters, turning off the water is not necessary, but for under-sink and refrigerator systems, always shut off the supply first.
Why does my new filter make the water cloudy?
Cloudy water usually means there is trapped air in the filter. Run water through the filter for a few minutes to flush it out. The water should clear up quickly.
How long does it take to change a water filter?
Most filter changes take between five and fifteen minutes. Pitcher and faucet filters are the quickest, while under-sink and whole-house systems take a bit longer.
Is it safe to drink water right after installing a new filter?
Most manufacturers recommend flushing the filter for several minutes before drinking the water. This removes carbon dust and other loose particles from the new cartridge.
Final Thoughts on Changing Your Water Filter
Changing a water filter is one of those small home tasks that pays off in a big way. It keeps your water tasting great, protects your appliances, and gives you peace of mind about what is coming out of your tap. Once you do it a few times, it becomes second nature, almost like tying your shoes.
If you have never changed a filter before, give it a try this weekend. Grab a towel, watch a quick video for your specific model if you need to, and dive in. You will feel like a home maintenance pro in no time.
If you found this guide helpful, feel free to share it with a friend or family member who might be putting off their own filter change. And if you have any questions or stories about your own filter adventures, drop them in the comments below. I would love to hear how it went.