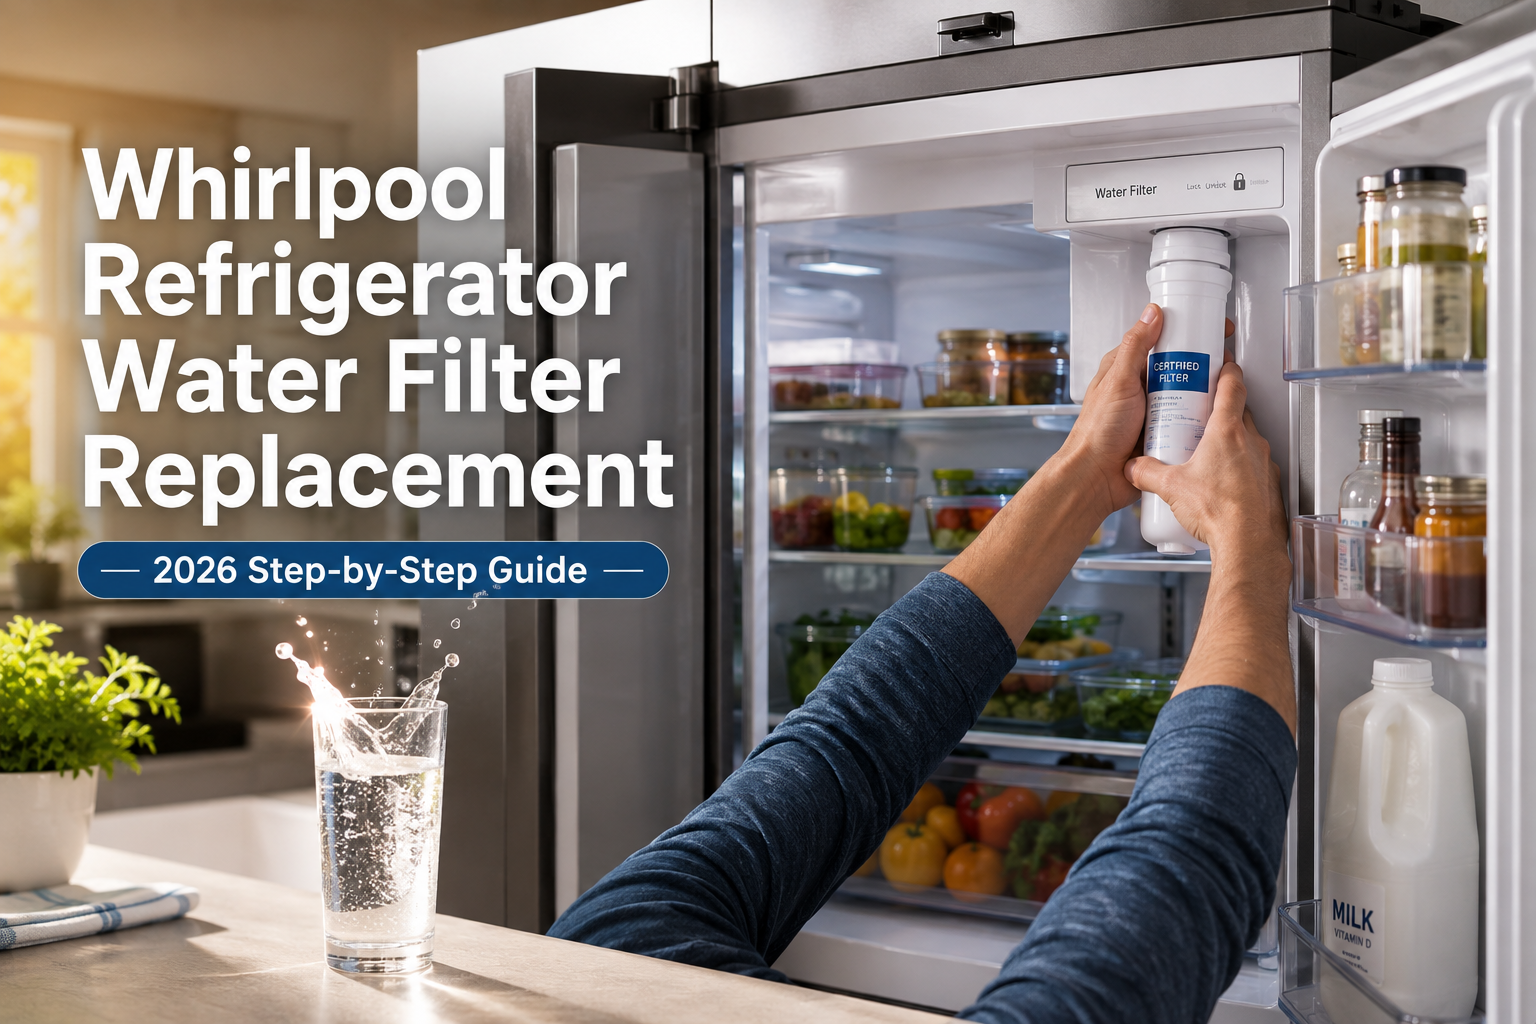
How To Change A Water Filter In a Whirlpool Refrigerator: 2026 Guide
Replacing a Whirlpool refrigerator water filter takes about five minutes and needs no tools—just a quarter-turn twist and a steady hand. Once you've swapped the old cartridge for a fresh one, you'll notice cleaner, better-tasting ice and water almost immediately.
I've been helping families maintain their kitchen appliances for over a decade, and I can tell you that the water filter is one of those small components that makes a huge difference. Most folks don't realize how much sediment, chlorine, and microscopic impurities they've been sipping until they taste what filtered water actually is. Changing the filter on a Whirlpool refrigerator is one of those chores that sounds intimidating but is genuinely a breeze once you know where to look and what to do. Stick with me here, and I'll walk you through every step, plus share some hard-earned tips I've picked up along the way.

Why Changing Your Whirlpool Water Filter Matters
Think of your refrigerator's water filter like the air filter in your car. You can drive for a while without changing it, but eventually, performance suffers and so does the quality of what you're getting. The same logic applies to your fridge. Over months of use, that little filter cartridge traps chlorine, lead, mercury, cysts, and other contaminants so they never end up in your drinking glass or ice tray. But once it's saturated, it stops doing its job, and worse, it can actually start growing bacteria or releasing trapped gunk into your water supply.
Whirlpool recommends swapping the filter every six months, or sooner if you notice your water tasting funky or your ice looking cloudy. In homes with hard water or well water, you might need to replace it more frequently. I learned this the hard way when I ignored my own fridge for almost a year and ended up with ice that tasted like a swimming pool. Lesson learned.
Beyond taste and safety, a clogged filter also forces your refrigerator's water system to work harder. That can translate into slower water dispensing, smaller ice cubes, and even premature wear on your appliance. So really, this small maintenance task protects both your health and your wallet.
Identifying Your Whirlpool Refrigerator Filter Type
Before you twist anything, you need to know which filter your Whirlpool fridge takes. Not all models are created equal, and grabbing the wrong cartridge is a surprisingly common mistake. The good news is that figuring this out is pretty painless.
Most Whirlpool refrigerators use one of a few filter models. The most common is the EveryDrop Filter, which comes in versions 1, 2, 3, 4, and 5. Then there are the older UKF8001 and UKF9001 filters used in many Whirlpool-made fridges, including Maytag, Amana, and Kenmore units that share the same internal components. Side-by-side Whirlpool fridges and French door models often have the filter tucked inside the upper right corner of the fridge compartment, while top-freezer and some bottom-freezer models have it in the grille at the base.
You can find your exact filter type by checking your owner's manual, looking at the old filter itself (it usually has a model number printed on the side), or visiting Whirlpool's website and entering your model number. If you're staring at your fridge right now wondering which one you have, just pull out the old filter and look. It will have a part number printed right on it.
One quick tip from experience: order replacement filters from a reputable source. I made the mistake once of buying a knockoff brand from a third-party seller, and the water tasted plasticky. Genuine filters or well-reviewed aftermarket options from trusted brands are worth the few extra dollars.
Tools and Supplies You'll Need
Here's the beautiful thing about this job: you need almost nothing. Seriously, your tool kit for today is just a towel and maybe a glass of water.
You'll want:
- A new, correct replacement water filter for your specific Whirlpool model
- A clean towel or paper towels to catch any drips
- A glass to run water through after installation to flush the system
- A marker or your phone to note the date you replaced the filter (I do this with a small piece of tape on the fridge)
That's it. No wrenches, no screwdrivers, no plumber's tape, nothing. If anyone tells you otherwise, they're overcomplicating things.
Step-by-Step Guide to Changing a Whirlpool Refrigerator Water Filter
Now let's get to the actual swap. I'll break this down by filter location because Whirlpool uses two main configurations.
Changing a Filter Inside the Refrigerator Compartment
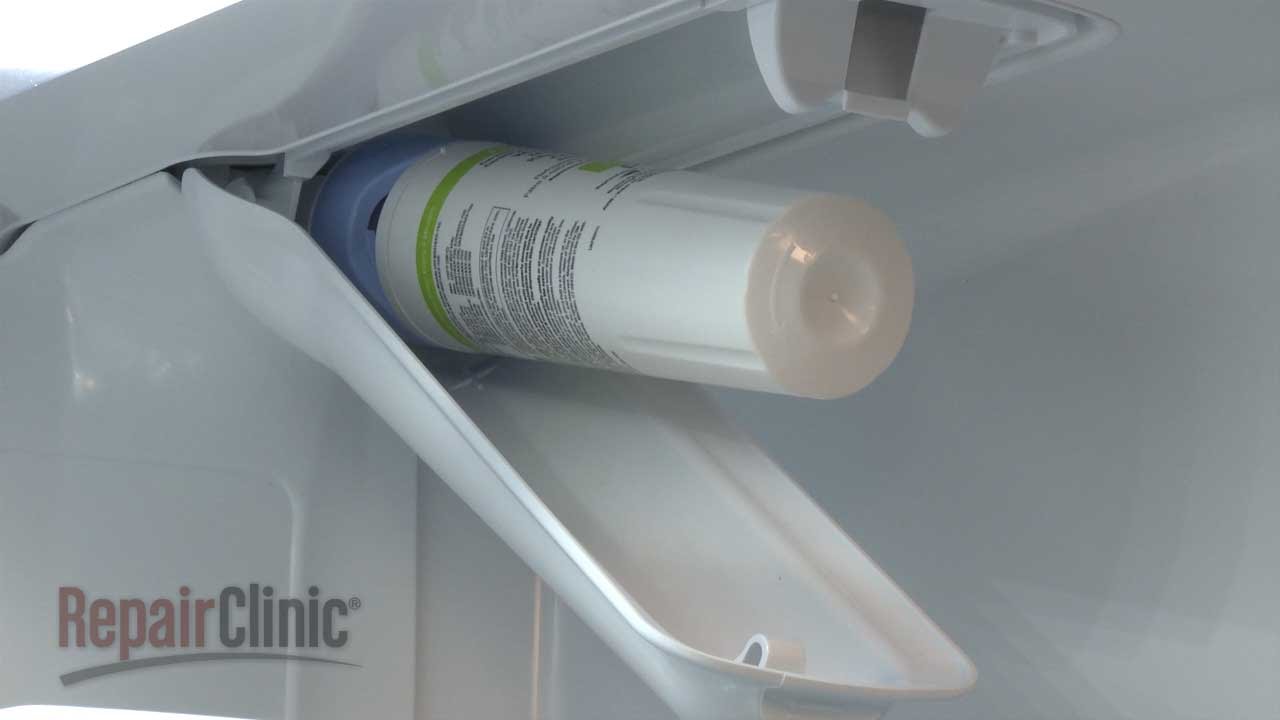
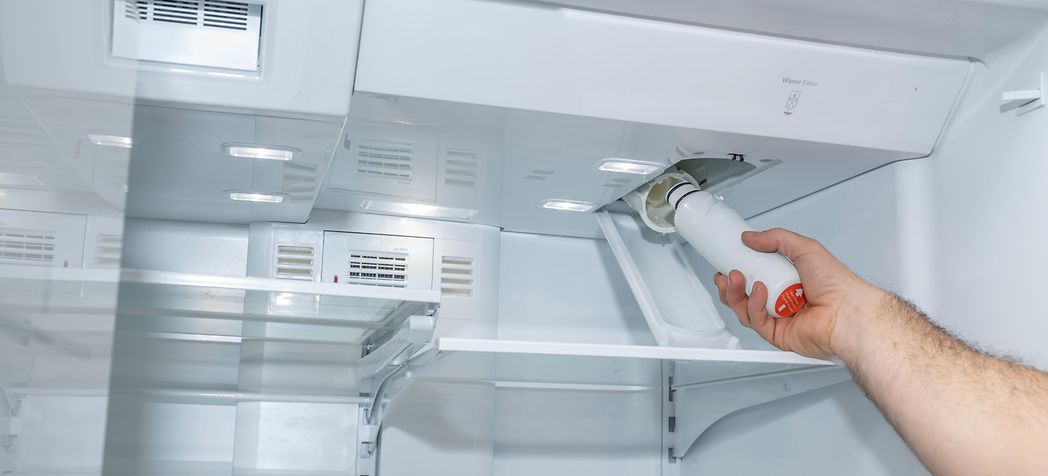
If your filter lives inside the fridge, usually in the upper right corner near the ceiling of the fresh food section, here's how to change it.
- Open the refrigerator door and locate the filter housing. It looks like a small cylinder or puck with a pull tab or a round cap.
- Press the release button or pull the tab. Many models have an "Eject" button or a small lever that releases the filter.
- Pull the old filter straight out. You might need to wiggle it gently, but it should slide right out. Have your towel handy because a few drops of water will likely drip out.
- Remove the protective caps from the new filter. Most filters have plastic caps covering both ends that need to come off before installation.
- Insert the new filter into the housing. Make sure the orientation matches the diagram on the filter or inside the housing. Arrows or labels usually indicate which way is up or in.
- Push until it clicks. You'll feel a satisfying snap when the filter locks into place. Give it a gentle tug to confirm it's secure.
- Replace the cover if your model has one.
Changing a Filter in the Base Grille
If your Whirlpool has the filter in the base grille, the process is slightly different but just as easy.
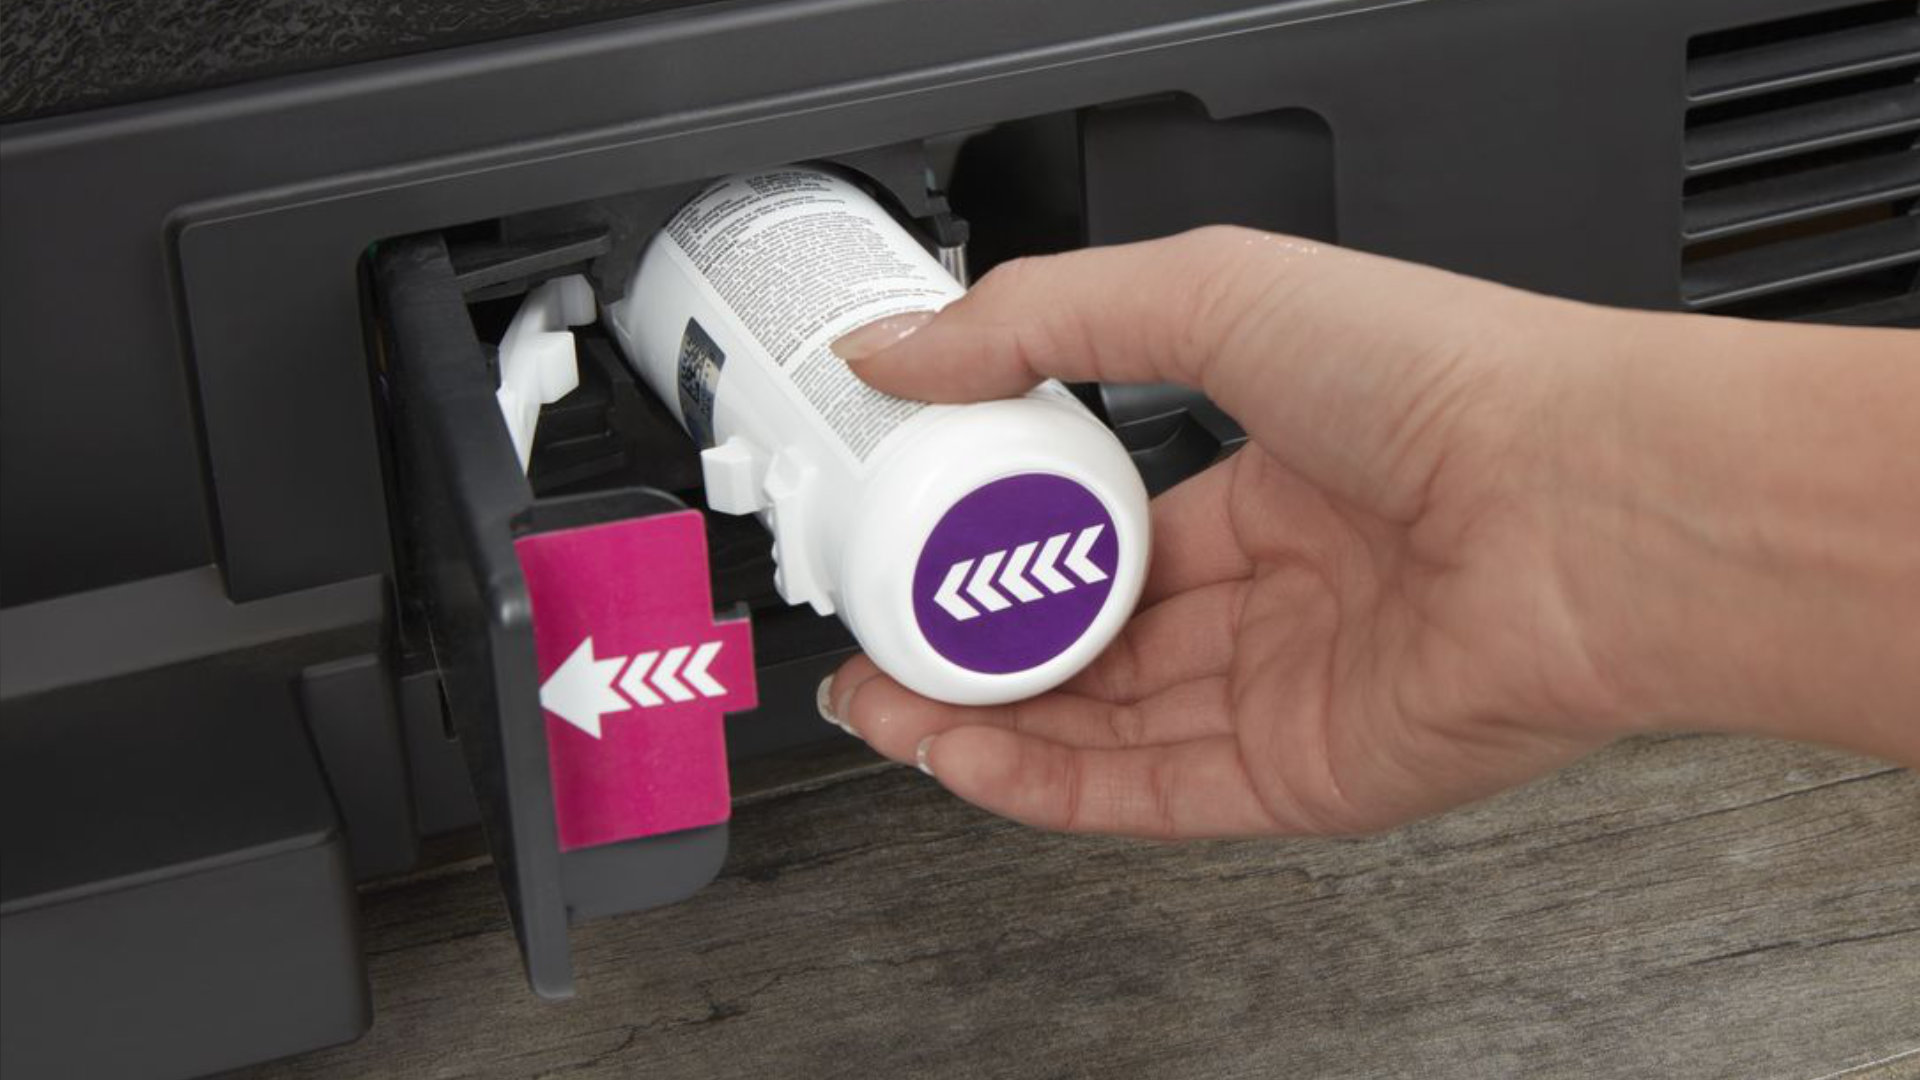
- Open the bottom grille by gently pulling it away from the fridge. Most grilles pop off with a little pressure or have small tabs you press.
- Locate the filter cap, which is usually a round knob or handle.
- Turn the cap a quarter turn counterclockwise. It will pop out slightly when unlocked.
- Pull the filter straight out. Again, expect a few drips.
- Remove caps from the new filter.
- Insert the new filter with the arrows pointing in the correct direction.
- Push it in and turn clockwise a quarter turn until it locks.
- Snap the grille back into place.
After either installation method, the real magic happens next.
Flushing the System After Installation
This is the step that everyone skips, and it's the reason so many people call me saying their new filter tastes weird. You absolutely must flush the new filter before drinking any water from the dispenser.
Once the new filter is locked in place, grab a glass and dispense water continuously for about three to five minutes. Most filters require you to run somewhere between 2 and 4 gallons of water through them before the carbon media is fully saturated and any loose particles are washed away. I usually run two full glasses, wait five minutes, then run two more to confirm the water runs clear and tastes clean.
Some Whirlpool models have an indicator light or filter status display. After replacement, you'll need to reset it. Usually, you press and hold a button labeled "Filter Reset" or press the options button until the filter light blinks, then hold the reset button for three seconds. Check your owner's manual for the exact sequence, as it varies by model.
If you have an ice maker, toss out the first batch of ice after installing the new filter. Those first cubes will be cloudy and may taste off. Within an hour or two, you'll have perfectly clear, fresh-tasting ice.
Common Mistakes to Avoid When Changing Your Whirlpool Filter
After watching hundreds of people do this, I've seen the same handful of mistakes crop up again and again.
Forgetting to flush the system tops up the list. That protective coating on new filters and loose carbon particles will end up in your water and ice if you skip this step. The water might look black or gray at first, which is normal, but you need to keep flushing until it runs clear.
Mixing up the filter orientation is another classic. If the water barely flows after installation, the filter is probably installed backward. Pull it out, flip it around, and try again.
Not resetting the indicator is a small mistake with annoying consequences. That little red light will keep nagging you even though the filter is fresh, and after a while, you might start ignoring actual problems because you assume it's just the filter reminder.
Using the wrong filter model happens more often than you'd think. Even if it physically fits, a mismatched filter might not seal properly, could allow contaminants to bypass it, or simply won't filter effectively. Always double-check the part number.
Over-tightening the base grille filter is a mistake I made myself once. I thought I needed to crank it down tight, but a quarter turn is all that's required. Forcing it can crack the housing, and then you're looking at a much more expensive repair.
How Often Should You Change Your Whirlpool Refrigerator Filter?
Whirlpool's official recommendation is every six months, but real-world conditions can shift that timeline. If you use a lot of water or ice, you might want to replace it every four months. If your household is small and you don't use the dispenser much, you might get away with eight months, though I'd still lean toward six to be safe.
Watch for these warning signs that your filter is overdue:
- Water tastes flat or has a chemical aftertaste
- Ice cubes are cloudy or have particles floating in them
- Water flow from the dispenser is noticeably slower
- The filter indicator light is red or blinking
- Your fridge has started making weird noises when dispensing water
I keep a small log on my phone with the date I changed the filter. It's simple, but it takes the guesswork out of maintenance. You can also stick a small magnet on your fridge with the date written in marker. Whatever system works for you.
Benefits of Regularly Replacing Your Refrigerator Water Filter
The advantages go way beyond just better-tasting water, though that's certainly the most noticeable perk.
Health-wise, you're reducing the amount of chlorine, lead, mercury, and microbial cysts in your drinking water. For families with kids, this is especially important because children are more sensitive to contaminants and they drink more water per pound of body weight than adults.
Your appliances will thank you, too. A fresh filter means your water valve, dispenser tubing, and ice maker stay cleaner and last longer. I've seen ice makers fail because of years of sediment buildup from forgotten filters. Replacing a $50 filter beats replacing a $400 ice maker every time.
There's also a real environmental angle. By filtering tap water at home, you're reducing plastic bottle waste. A good filter plus a reusable water bottle is one of the easiest eco-friendly swaps you can make.
And let's talk about cost. Bottled water adds up fast, and a Whirlpool refrigerator filter typically costs between $30 and $60 depending on the model. Even if you buy the more premium option, you're still saving money compared to bottled water within a few months.
Limitations and Things to Keep in Mind
Refrigerator water filters, including Whirlpool's, aren't industrial-grade purification systems. They don't remove every possible contaminant, and they're not a substitute for proper municipal water treatment or, in the case of well water with known contamination, a more comprehensive home filtration system.
Filters also have a finite capacity. Once they're saturated, they stop filtering effectively and can even become breeding grounds for bacteria. So even if you don't use much water, you still need to swap the filter on schedule. Time alone will exhaust the filter media.
Another limitation is flow rate. As filters trap more particles, the water flow naturally decreases. If you live alone and barely use the dispenser, this might not bother you, but larger households might find the flow gets frustrating toward the end of a filter's life.
Lastly, keep in mind that not all aftermarket filters are created equal. Some third-party filters are excellent, while others cut corners on materials or certification. Look for filters certified by NSF International to standards 42, 53, 401, or P473 for assurance that they actually do what they claim.
Tips From My Own Experience
A handful of small habits have made this chore almost invisible in my routine. I buy filters in bulk so I always have a replacement on hand. The worst time to discover you're out of filters is when the indicator light comes on at 9 PM and you have guests arriving the next morning.
I also set a calendar reminder for every six months. It's a tiny action that prevents the whole "wait, when did I last change this?" confusion. Some newer Whirlpool fridges let you set reminders through the app, which is even easier.
One more thing: don't toss the old filter in the trash immediately. Most filters have a recyclable plastic housing, and Whirlpool has a recycling program through their partnership with TerraCycle. Just a small way to keep plastic caps and cartridges out of landfills.
Frequently Asked Questions
How do I reset the filter light on my Whirlpool refrigerator?
Press and hold the "Filter Reset" button for about three seconds. On some models, you need to press the "Options" or "Water Filter" button until the light blinks, then hold the reset button. The exact method varies by model, so check your manual.
Do I need to turn off the water before changing the filter?
No, you don't need to shut off the water supply. The filter housing has a built-in shutoff that closes automatically when you remove the old filter. Just have a towel ready for the small amount of water that spills out.
Can I use a generic filter instead of the Whirlpool brand?
Yes, as long as it's certified to NSF standards and fits your model. Many third-party filters work just as well as the brand-name versions at a lower price. Just avoid suspiciously cheap no-name options that lack proper certification.
Why does my water taste funny after changing the filter?
You probably didn't flush it long enough. Run water through the dispenser for three to five minutes to clear out carbon dust and saturate the filter media. The taste should return to normal quickly.
How do I know if my new filter is installed correctly?
It should click or lock firmly into place with no gaps, and water should flow normally when you press the dispenser. If flow is weak or you see leaks around the filter, remove it, check the orientation, and reinstall it.
Maintaining Your Whirlpool Refrigerator's Water System
Once you've mastered changing the filter, the rest of your fridge's water system is low maintenance. Every few months, wipe down the dispenser nozzle with a damp cloth to prevent mildew buildup. If your model has a water reservoir, you can't usually access it for cleaning, but the regular filter flushes help keep things fresh.
If you ever notice a sulfur or rotten egg smell from your water, that's usually a different issue, possibly related to your home's water heater or well water, and not something the refrigerator filter can fix. In that case, a whole-house filtration system might be worth investigating.
Changing the water filter in your Whirlpool refrigerator is one of those small acts of homeownership that pays off in a big way. Better-tasting water, clearer ice, longer-lasting appliances, and peace of mind knowing your family is drinking cleaner water. It takes just a few minutes, costs relatively little, and doesn't require any special skills.
Set yourself up for success by stocking up on filters, marking your calendar, and making it part of your home care routine. The next time you fill a glass of crisp, cold water from your fridge dispenser, you'll know that the few minutes you spent swapping that filter were absolutely worth it. Take care of this small detail, and your refrigerator will keep rewarding you with fresh water every single day.