How To Change Water Filter: Easy 2026 DIY Guide
Replacing a water filter is one of the easiest home maintenance tasks you can do, and it takes just a few minutes with no special tools required. Whether you have a fridge filter, under-sink system, or whole-house setup, the process is straightforward once you know what to do.
Over the years, I've helped dozens of friends and family members swap out their filters for the first time, and I can tell you the same thing every time: it's way simpler than you think. The hardest part is usually figuring out which filter to buy. In this guide, I'll walk you through the entire process, covering the most common filter types, the exact steps to follow, and the small mistakes that can turn a 5-minute job into a frustrating afternoon. By the end, you'll feel confident enough to handle it on your own, no plumber required.
Why Changing Your Water Filter Matters More Than You Think
Let's talk about something most people overlook: the water filter sitting quietly in your fridge or under your sink is doing a lot of heavy lifting. It's removing chlorine, lead, sediment, and all sorts of microscopic nastiness from your drinking water. But here's the thing: filters don't last forever. Once they're saturated with contaminants, they stop working and can actually make things worse.
I learned this the hard way about six years ago. I was renting a place with a fridge filter I kept forgetting to replace. One day, I noticed the water tasted a little off, almost metallic. I changed the filter, and the difference was night and day. That was the moment I realized: a clogged or expired filter isn't just less effective, it's a breeding ground for bacteria.
Beyond taste, there are real health reasons to stay on top of this. Old filters can release trapped contaminants back into your water. They can also reduce water flow, making your fridge work harder and your ice maker sluggish. Most manufacturers recommend changing filters every 6 months or after filtering about 300 gallons, whichever comes first. Some newer filters have indicator lights that tell you when it's time, which is honestly the best invention since sliced bread.
If you want clean, safe-tasting water and a system that actually performs, regular filter changes aren't optional. They're essential.
Tools and Supplies You'll Need Before You Start
Before you even think about touching that filter, gather everything you need. Trust me, running back and forth to the kitchen drawer mid-job is the fastest way to turn a simple task into an annoying one.
Here's your checklist:
- A new replacement water filter (the correct model for your system)
- A clean towel or paper towels
- A small bucket or shallow pan (just in case of drips)
- Pliers or a filter wrench (only for older or stubborn filters)
- Your owner's manual or smartphone for reference
That last one might sound obvious, but I'd guess 80% of people don't bother checking which filter model they need before starting. They either guess, or they bring the old filter to the store and hope for the best. Don't be that person. The model number is usually printed right on the existing filter or listed in your appliance's manual. If you've lost both, most manufacturer websites let you look it up by your fridge or system model number.
One more tip from experience: lay down that towel before you start. Even a small water spill can leave marks on countertops or seep into places you don't want it. I keep a dedicated microfiber cloth just for filter changes. It's saved my wood cabinets more times than I can count.
Step-by-Step Guide: How to Change a Refrigerator Water Filter
This is the most common type of filter change, so let's start here. Most modern fridges have filters located in one of two places: inside the fridge at the back wall, or in the grille at the bottom front.
Finding Your Filter Location
Open your fridge and look around. Check the upper right corner inside first, that's where about 60% of filters live. If you don't see it there, check the lower left. Still nothing? Head to the bottom front of the fridge and pop off the grille. Some models hide the filter behind a small door or panel.
Removing the Old Filter
Once you've located it, most fridge filters either twist out or push in and release. Here's how to tell which you have:
- Twist-out filters usually have a symbol showing a curved arrow. You turn the filter a quarter to a half turn counterclockwise, then pull it straight out.
- Push-button filters have a small button or tab. Press it, and the filter should pop out or release so you can pull it free.
If it feels stuck, don't force it. Check your manual for the exact motion. Some filters, especially in older Frigidaire or GE models, need to be pushed in slightly before they'll release. Forcing it can crack the housing, and now you've got a much bigger problem.
Installing the New Filter
Take your new filter out of the packaging and remove any protective caps or covers. There's usually a plastic cap on the O-rings to keep them clean during shipping. Don't forget this step, or your filter won't seat properly.
Insert the new filter the same way the old one came out. For twist-in filters, push it in and turn clockwise until it locks. You should feel a small click or resistance when it's in place. For push-in filters, just slide it in until the button pops back up or the filter clicks into position.
Flushing the System
This step is the one most people skip, and it's a mistake. You need to flush the new filter before drinking the water. Run about 2 to 4 gallons through the dispenser to clear out any loose carbon dust and air pockets. Yes, it feels wasteful. Yes, you should still do it.
I always keep a large pitcher handy during this step. I fill it up, use it for watering plants, and repeat. By the third cycle, the water runs clear and tastes fresh. Skip this, and your first glass of water will look cloudy and taste like a swimming pool.

How to Change an Under-Sink Water Filter
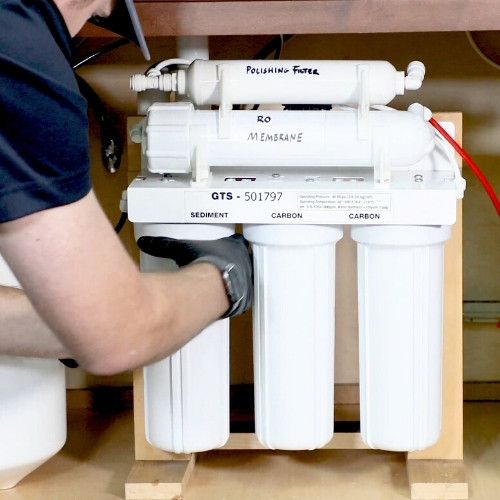
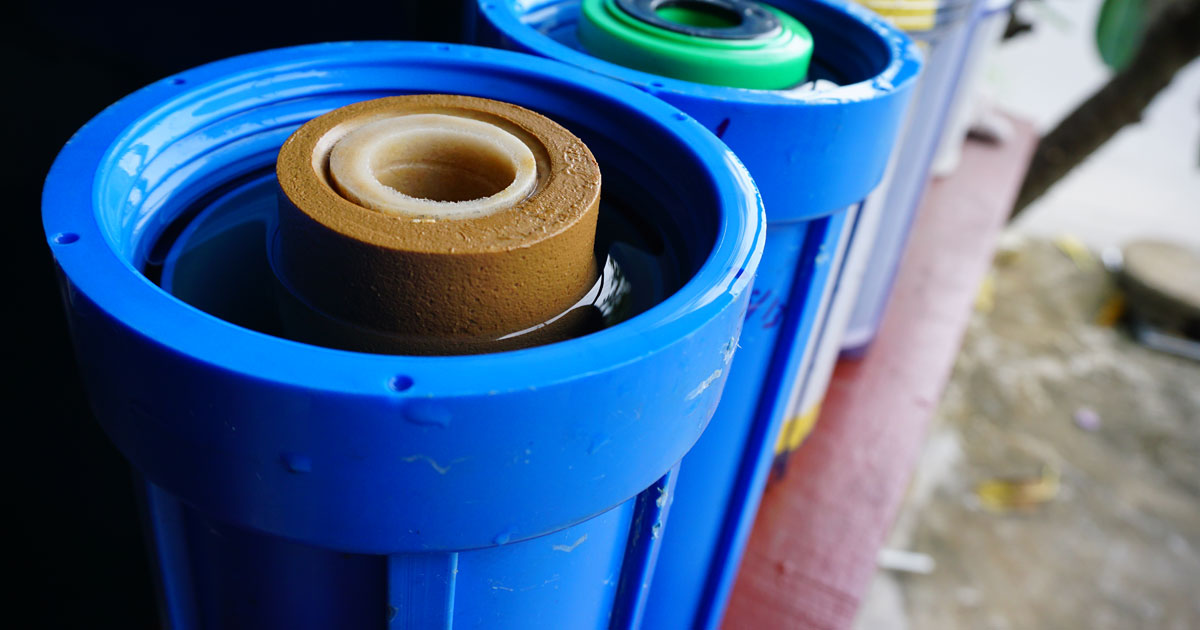
Under-sink filters are a little more involved, but still very manageable. These are usually part of a multi-stage filtration system, and the filters are housed in vertical canisters mounted to the cabinet wall or the side of the cabinet.
Shutting Off the Water Supply
Before you touch anything, turn off the cold water supply valve under the sink. Turn the handle clockwise until it stops. Then, open your faucet to release any pressure in the lines. I cannot stress this enough: if you skip this step, you're going to get wet.
Relieving Pressure and Removing the Old Filter
The filter housing is the round or cylindrical container that holds the filter cartridge. Most have a button or lever on top. Press it to release any remaining pressure. You might hear a hiss or see a small spurt of water. That's normal.
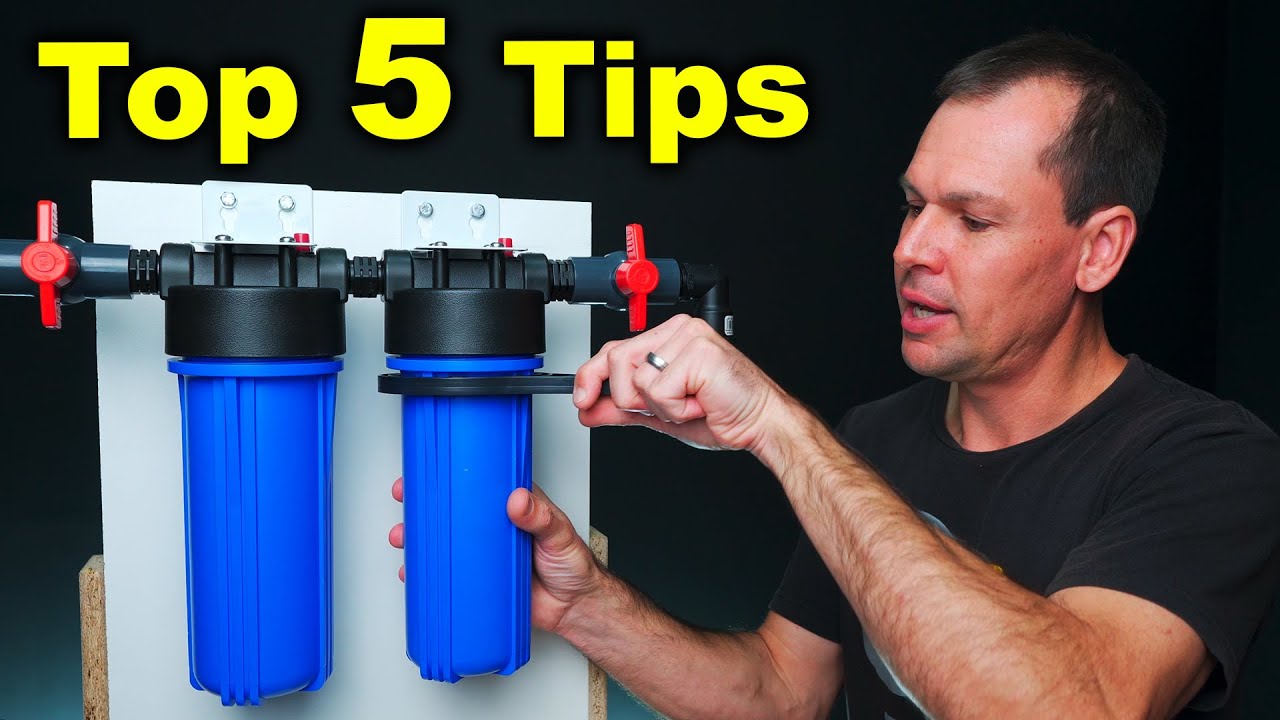
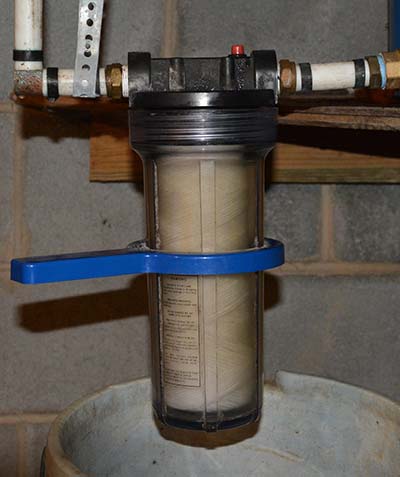
Place your bucket under the housing, then unscrew the canister. Some housings unscrew by hand, others require a filter wrench. Turn it counterclockwise. The canister will be full of water, so have that bucket ready.
Replacing the Cartridge and Reassembling
Dump out the old cartridge and any water in the canister. Drop in the new cartridge, making sure it sits properly in the base. Then screw the housing back on. Hand-tight is fine. If you crank it down too hard, you can crack the plastic, and now you need a whole new housing.
Turn the water supply back on slowly. Open the faucet and let it run for about 5 minutes to flush the new filter. Check for leaks around the housing. If you see any, tighten the canister just a touch more.
Pro tip from my own kitchen remodel days: wrap a few layers of Teflon tape around the housing threads before you screw it back on. It creates a better seal and prevents those tiny, slow leaks that you don't notice until your cabinet floor is warped.
Changing a Whole-House Water Filter
Whole-house filters are the big boys. They're usually located where the main water line enters your home, often in the basement, garage, or utility closet. These filters typically last longer (sometimes 3 to 6 months), but when it's time to change them, the process is similar to an under-sink filter, just on a larger scale.
Safety First: Turn Off the Main Water
You'll need to shut off the water to your entire house. There's usually a main shutoff valve near where the water line comes in. Once it's off, open a few faucets in the house to drain the lines and relieve pressure.
Draining the Filter Housing
Most whole-house systems have a pressure release button or a small drain valve. Use these to empty the housing. Place a bucket under it because there will be several gallons of water. Trust me, I once underestimated this and ended up with a small flood in my basement. Not fun.
Swapping the Filter and Restarting
Unscrew the housing using the appropriate wrench. Lift out the old filter, drop in the new one, and reassemble. Tighten the housing securely but not crazy tight. Turn the main water back on slowly and check for leaks.
Run water through every faucet in the house for a few minutes to clear the lines. Your water might look cloudy at first, which is normal. It'll clear up once the system is fully flushed.
One thing I've learned from helping my dad with his well water system: whole-house filters can be heavy and awkward. If you're not comfortable lifting them, ask someone to help. There's no shame in that.

Common Mistakes to Avoid When Changing Your Water Filter
Even though this is a simple task, there are a few pitfalls that can trip people up. Let me save you the trouble of learning these the hard way.
Using the wrong filter model is the number one mistake. Filters look similar, but they're not interchangeable. A filter that doesn't fit properly can leak or fail to seal, leading to contaminated water flowing right past it. Always double-check the part number before you start.
Forgetting to flush the new filter is mistake number two. I know I mentioned this already, but it bears repeating. The carbon dust in new filters can make water taste awful and look cloudy. A few minutes of flushing fixes this completely.
Overtightening the housing is mistake number three. Many people think "tighter is better" when it comes to plastic housings. It's not. You can crack the housing or strip the threads, turning a $30 filter change into a $200 repair. Hand-tight plus a small turn with a wrench is plenty.
Last but not least, don't ignore the filter schedule. Set a reminder on your phone or write the date on the new filter with a marker. Filters work best when changed on time, and it's easy to forget. I've started using the manufacturer's app for my fridge, and it sends me a push notification when it's time. Game changer.
How Often Should You Change Your Water Filter?
The general rule of thumb is every 6 months for most refrigerator and under-sink filters. But this can vary based on your water quality and usage. If you have hard water or use a lot of water, you might need to change it more often. Some signs that it's time include:
- Water flow from the dispenser slows down noticeably
- Water tastes or smells different than usual
- The filter indicator light changes color or comes on
- It's been more than 6 months since the last change
Whole-house filters typically last longer, often 3 to 6 months, but again, check your specific model's guidelines.
I keep a small log on the inside of my utility cabinet door with the date of each filter change. It takes two seconds and saves me from having to guess. If you're not the writing-things-down type, set a recurring calendar reminder. Future you will be grateful.
Frequently Asked Questions
How do I know which water filter to buy for my fridge?
Check the model number on your current filter or in your owner's manual. You can also find it on the manufacturer's website by entering your fridge's model number. The filter packaging and the filter itself will list compatible models.
Can I change a water filter without turning off the water?
For most refrigerator filters, yes, since they have automatic shutoff valves. For under-sink and whole-house filters, you absolutely need to turn off the water first to avoid leaks and flooding.
Why does my water look cloudy after changing the filter?
Cloudy water is usually caused by trapped air in the new filter and loose carbon particles. Run a few gallons of water through the dispenser to flush it out. It should clear up within 2 to 4 gallons.
What happens if I don't change my water filter?
An old filter can become clogged, reducing water flow and allowing bacteria to grow. It can also release trapped contaminants back into your water, affecting taste and potentially your health.
How long does it take to change a water filter?
For a refrigerator filter, the whole process takes about 5 to 10 minutes. Under-sink and whole-house filters take a bit longer, around 15 to 30 minutes, especially if you include flushing time.
Conclusion
Changing your water filter is one of those small home tasks that pays off in a big way. Cleaner water, better-tasting drinks, and peace of mind knowing your system is working as it should. The process is simple, the tools are basic, and the learning curve is minimal. Whether you're dealing with a fridge, under-sink, or whole-house system, you now have everything you need to handle it like a pro.
Start by checking your filter's model and condition, gather your supplies, and give yourself 15 minutes of uninterrupted time. Follow the steps for your specific system, don't skip the flush, and set a reminder for the next change. You'll be surprised how satisfying it is to do it yourself.
If you found this guide helpful, share it with a friend or family member who's been putting off their own filter change. And if you have any questions or run into a snag during the process, drop a comment below. I'd love to help you troubleshoot.