How to Filter Rain Water: Honest Review 2026
So, you're thinking about tapping into that free, natural resource falling from the sky, rainwater. That's awesome! It's a smart move for so many reasons, whether you're trying to be more self-sufficient, reduce your water bill, or just get a taste of something pure. But here's the thing: that rain, as clean as it looks, can pick up a few things on its journey down.
We’re not talking about big, scary monsters in your water, but things like dust, pollen, bird droppings, and sometimes even a bit of pollution from the air or your roof.
So, if you're even thinking about drinking it, or using it for sensitive things like cooking or watering your garden where you'll be eating the produce, we need to talk filtering. Think of it like this: you wouldn't drink water straight from a puddle, right? Rainwater needs a little help to be safe for various uses. The good news is, it's totally doable, and not as complicated as it might sound.
We just need to follow a bit of a plan, and that plan can change a little depending on what you want to do with that water. Manufacturer specifications for potable water filtration often reference standards like NSF/ANSI 42 for aesthetic effects and NSF/ANSI 53 for health effects, which guide the expected performance of different filter types.
What's Your Goal? This Changes Everything.
Before we even think about filters, let's nail down what you're planning to use this rainwater for. This is the most important question, because it dictates how clean your water needs to be, and therefore, what kind of filtering system you'll need. See, the complexity and cost of filtering significantly increases when you move from preparing water for your petunias to preparing water for your morning coffee.
For Garden Watering vs. For Drinking
If your primary goal is to supply water for your garden, and perhaps for flushing toilets or washing cars, the filtration needs are relatively simple. The main objective here is to remove visible debris that could clog sprinkler heads or unsightly particles. This usually involves keeping out leaves, twigs, and larger bits of grit.
For drinking, cooking, or brushing your teeth, the standards are much higher. We're talking about removing not just visible particles but also microscopic contaminants like bacteria, protozoa, and potentially viruses. This requires a more robust, multi-stage approach to ensure the water is safe for human consumption as of 2026.
What Rainwater Can Pick Up On Its Journey
Rain isn't born dirty, but it travels through a lot to reach us. As it falls, it can pick up atmospheric pollutants, dust, and soot. Once it hits your roof, it then washes over surfaces that might hold bird droppings, insect debris, pollen, and even chemicals from roofing materials like asphalt shingles or treated wood. These contaminants aren't just unsightly; some can pose health risks if consumed without proper treatment.
Step 1: The Catch – Keeping Out the Big Stuff
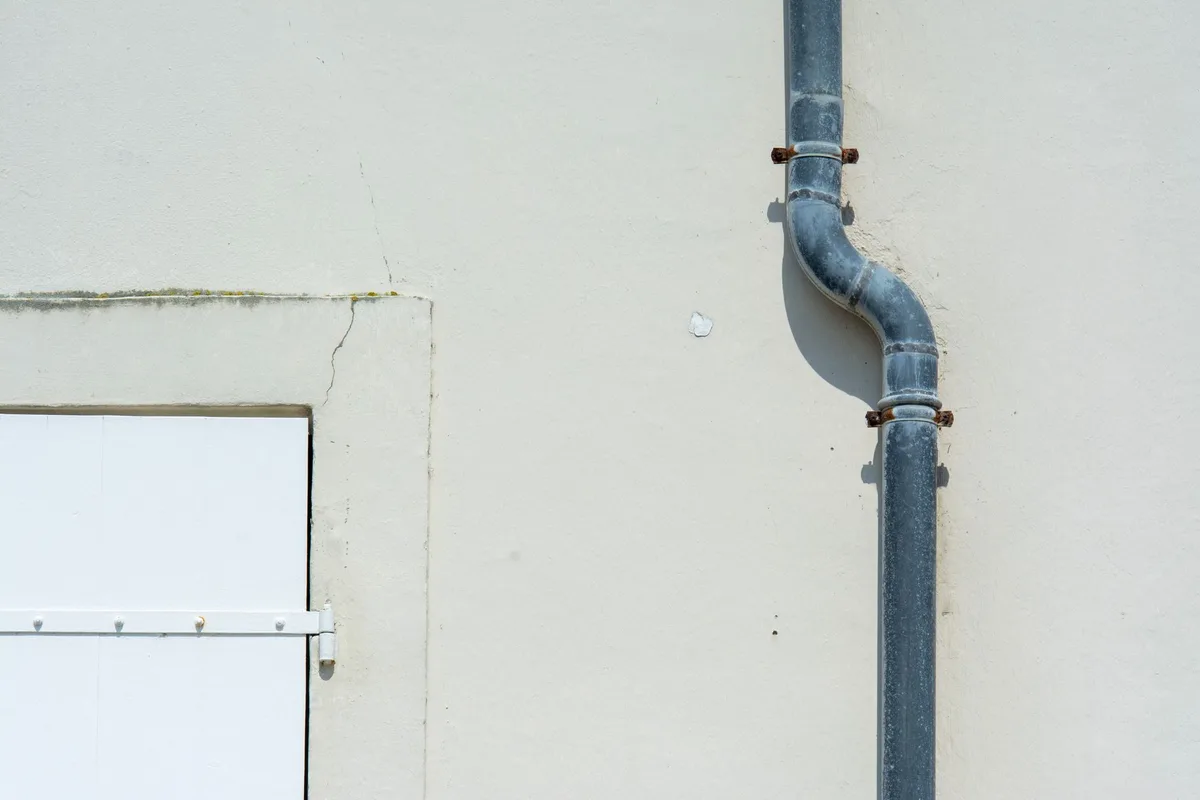
First things first, you've gotta collect the rainwater. Most people do this with a rain barrel connected to their roof gutters. This first stage is about preventing the really large, obvious offenders from even making it into your water storage. Think of it as a preliminary defense line.
Gutter Screens & Leaf Guards
These are your first line of defense. They're essentially mesh barriers that sit on or in your gutters. Their job is straightforward: to stop leaves, twigs, seeds, and other sizable organic debris from getting washed down your downspouts and into your rain barrel. While not a sophisticated filter in themselves, they save your subsequent filters a lot of work and prevent your rain barrel from filling up with sludge too quickly.
First Flush Diverters: Your First Line of Defense
This is a pretty clever gadget that automatically handles the dirtiest water. When it starts raining, the very first bit of water running off your roof is usually the most contaminated. This initial "first flush" washes away accumulated dust, pollen, and pollutants from the roof and gutter surfaces. A first flush diverter is designed to capture and divert this initial, dirtier water away from your main storage.
Once a certain volume of cleaner water has passed, the diverter automatically channels the runoff into your rain barrel. This significantly improves the quality of the water you collect, reducing the load on your main filtration system.

Step 2: The Barrel – Letting Things Settle
Once the water is in your rain barrel, a couple of natural processes begin. While it's not actively filtering in the mechanical sense, the barrel itself acts as a passive clarifier, allowing certain impurities to separate out.
How Sedimentation Works in Your Rain Barrel
As the water sits in the barrel, gravity does its work. Heavier particles that managed to get past your gutter screens and first flush diverter will slowly settle down to the bottom of the barrel. This layer at the bottom is often referred to as sediment. On the flip side, lighter materials, like pollen or fine dust, might even float on the surface.
This settling process is a crucial, simple step in pre-filtering.
Drawing Water Wisely
To make the most of this sedimentation, it's important to draw water from your rain barrel in a way that doesn't stir up that settled sediment. Most rain barrels come with a spigot. Ideally, this spigot is installed a few inches up from the very bottom of the barrel. This way, you can access the cleaner water above the sediment layer.
Alternatively, if you're using a pump with a hose, you can position the intake hose higher up in the barrel to avoid siphoning off the settled gunk.
Step 3: The Filtering – Getting It Clean
Now, this is where the process really starts to vary, depending entirely on what you want to do with the water. The complexity and type of filters you'll need depend on whether you're aiming for basic garden use or safe drinking water.
Filtration for Non-Potable Water (Garden, etc.)
If your rainwater is solely for non-potable applications like watering plants, irrigating your lawn, or flushing toilets, the filtration requirements are generally much simpler. Often, water that has passed through a first flush diverter and settled in a clean rain barrel might be sufficient. If you want to be a bit more cautious or have very fine spray nozzles, you could opt for a simple mesh filter attached to your hose or spigot. This is designed to catch any stray small particles that might have remained suspended or were disturbed during collection.
Filtration for Potable Water (Drinking, Cooking)
Okay, if you want to drink this stuff, we need to get serious about filtration. This isn't just about aesthetics anymore; it's about health and safety. Preparing rainwater for consumption typically involves a multi-stage process that systematically removes various types of contaminants. Moving from general use to potable use often requires investing in more sophisticated filter cartridges and potentially a UV purification unit as a final safeguard.
Choosing Your Potable Filtration Path
Deciding between different filtration setups really boils down to a few key factors, primarily your intended use and your budget. We've outlined the basic needs, but let's be direct about who each approach is best suited for.
Option A: Basic Potable Filtration (Sediment + Carbon)
This is a solid starting point for many and can provide good quality drinking water if your source is relatively clean. It's often the most straightforward and cost-effective multi-stage setup.
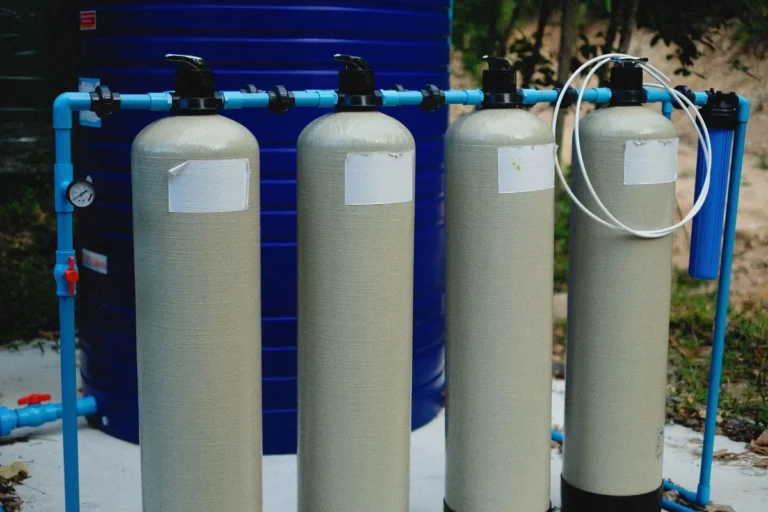
- Sediment Filter: This is your first essential step after the rain barrel. It removes visible particles like sand, silt, rust, and other suspended solids. You'll typically find these rated in microns, with smaller numbers indicating finer filtration. A common starting point for this stage is a 5-micron sediment filter.
- Activated Carbon Filter: Following the sediment filter, an activated carbon filter tackles a different set of issues. It's excellent at reducing chlorine (if present from atmospheric pollution), odors, and unpleasant tastes. It also removes many organic compounds and some pesticides. These filters don't remove dissolved solids or microbes effectively on their own.
This two-stage system is good, but it’s always wise to understand its limitations. For instance, it might not effectively capture all bacteria or viruses on its own, which is why extra safeguards are often recommended for true potable use.
Option B: Advanced Potable Filtration (Multi-Stage + UV)
If you want the highest level of assurance for your drinking water, or if your rainwater source is known to be more challenging, an advanced system is recommended. This builds on the sediment and carbon stages with additional layers of purification.
- Sediment Filter: As in Option A, this is crucial for larger particles. Aggregated buyer feedback suggests starting with a 5-micron filter here.
- Activated Carbon Filter: Again, this handles taste, odor, and many chemicals.
- Microfiltration or Ultrafiltration: This is where microbial removal really kicks in. These filters have extremely small pore sizes, often down to 0.1 or 0.2 microns. At this level, they can effectively remove bacteria (like E. coli and Salmonella) and protozoa (like Giardia and Cryptosporidium). This is a critical step for making rainwater truly potable, meeting stringent health guidelines.
- UV Sterilization: This is often the final step before water is used or stored for drinking. A UV sterilizer passes water through a chamber where it's exposed to ultraviolet light. This light inactivates any remaining bacteria, viruses, or other microorganisms by damaging their DNA, rendering them unable to reproduce or cause illness. It’s a chemical-free way to ensure a high level of microbial safety, often recommended for any potable water source that isn't municipally treated.
Key Filter Components Explained
Understanding what each type of filter actually does helps you build or choose the right system. It’s not just about buying filters; it’s about understanding their specific roles in sequential treatment.
Sediment Filters: Removing the Gritty Stuff
These are typically made from spun polypropylene fibers or pleated material. Their sole purpose is mechanical filtration, trapping solid particles as water passes through their porous structure. Sediment filters are rated by their pore size in microns. A 1-micron filter is much finer than a 20-micron filter.
For rainwater, it’s common to start with a 5 or 10-micron sediment filter, followed by a 1-micron filter in a multi-stage system, to progressively remove smaller particles and protect subsequent filters.
Activated Carbon Filters: For Taste, Odor, and More
Activated carbon, often made from coconut shells or coal, has an incredibly porous structure. This vast surface area acts like a sponge, adsorbing impurities. It's particularly effective at removing chlorine, volatile organic compounds (VOCs), and compounds that cause bad tastes and smells. There are two main types: Granular Activated Carbon (GAC) and Carbon Block.
Carbon blocks tend to offer finer filtration and more contact time than GAC filters, often performing similarly to a 0.5-micron sediment filter while also adsorbing chemicals.
Micro & Ultrafilters: Tackling Bacteria and Protozoa
These filters are your workhorses for pathogen removal. Microfilters typically have pore sizes ranging from 0.1 to 1 micron, capable of straining out the vast majority of bacteria and protozoa. Ultrafilters are even finer, with pore sizes generally between 0.01 and 0.1 microns, which can also remove viruses. According to standards like NSF/ANSI 53, a filter must meet specific claims for cyst reduction, and for bacterial removal, pore sizes are critical.
Using these filters is key to making rainwater safe for consumption.

UV Sterilizers: The Final Barrier for Microbes
UV sterilizers are not technically filters in that they don't remove particles. Instead, they use ultraviolet light (specifically UV-C germicidal light) to inactivate microorganisms without adding chemicals or changing the water's taste or odor. This is a critical disinfection step. For effective sterilization, the water must be clear, which is why it’s crucial to have sediment filtration in place before the UV unit.
Manufacturer specifications typically outline the required flow rate for effective disinfection; for example, some units are rated for 2 gallons per minute.
Making the Choice: What's Right For You?
Deciding between different filtration setups really boils down to a few key factors, primarily your intended use and your budget. We've outlined the basic needs, but let's be direct about who each approach is best suited for.
Comparing Non-Potable vs. Potable Filtration Needs
- Non-Potable Use: If your primary aim is watering a vegetable garden or non-edible plants, a simple mesh filter on your spigot after water has settled in the rain barrel is often sufficient. This keeps out leaves and larger debris. The cost is minimal, and setup is very straightforward. It’s a DIY-friendly option for basic water management.
- Potable Use: For drinking, cooking, or anything that involves ingestion, the stakes are significantly higher. A basic two-stage system (sediment + carbon) might suffice in areas with very clean air and roofs, but for reliable safety, a multi-stage system incorporating micro/ultrafiltration followed by UV sterilization is strongly recommended. This approach offers more peace of mind, but it comes with a higher initial cost and more involved maintenance. Verified buyer feedback often shows increased confidence with these advanced systems.
Important Caveats from My Experience
As you get into rainwater harvesting, a few practical points can save you a lot of hassle down the road. These are lessons learned from reviewing countless systems and user reports.
Maintenance is Key: Filters Don't Last Forever
This is the single most important rule for any filtration system, potable or not. Filters have a finite lifespan, and their effectiveness diminishes as they capture contaminants. Manufacturer specifications will provide recommended replacement intervals, usually based on either time (e.g., every 3, 6 months) or volume of water treated (e.g., every 5,000 gallons). For potable systems, adhering to these timelines is crucial for health.
Skipping filter changes means your water might gradually become less safe.
Regular Testing for Peace of Mind
Especially if you're drinking your filtered rainwater, getting it tested periodically can offer invaluable peace of mind. While good filters and UV systems are highly effective, external testing can confirm your system is performing as expected. Look for local or regional accredited laboratories that can test for bacteria, common contaminants, and even heavy metals. This isn't a replacement for good filtration but acts as a verification step.
Roof Material Matters for Water Quality
Our research consistently shows that the material of your roof significantly impacts the quality of harvested rainwater. Metal roofs (like aluminum or stainless steel) and certain types of tile are generally considered excellent choices as they are inert and don't leach chemicals. Asphalt shingles, while common, can be a source of VOCs and other compounds, especially as they age. If you have asphalt shingles, robust carbon filtration becomes even more important for potable use.
Storing Your Filtered Rainwater Safely
Even perfectly filtered water needs to be stored properly to remain safe. Food-grade, opaque storage tanks are essential. Opaque tanks prevent sunlight from penetrating, which inhibits algae growth. Algae can not only make water taste bad but can also clog filters and potentially harbor harmful bacteria.
Ensure any storage tank, bottle, or container is thoroughly cleaned regularly. It’s also wise to consider the shelf-life of filtered rainwater; it’s best used relatively fresh, typically within a few days to a week, depending on storage conditions.