How to Fill Sand Filter With Water 2026
Getting your pool's sand filter filled correctly is a crucial step after maintenance or during initial setup. Understanding how to fill a sand filter with water properly is key to protecting your pool equipment and ensuring efficient filtration. Ignoring this step can lead to costly repairs or reduced water clarity.
Pool filter manufacturer specifications often indicate a specific water level is required before pump operation. For instance, Pentair's instructions for their fiberglass sand filters typically suggest filling the tank to within 4 to 6 inches of the top before starting the pump. This simple procedure prevents damage and primes the system.
Why Water is Key Before You Flip the Switch
Running your pool pump without water in the sand filter tank is a recipe for disaster. The water acts as a necessary buffer and lubricant, preventing internal components from grinding against each other and overheating. Think of it like trying to run a car engine without oil, it won't take long before parts seize up.
Protects the Pump
The pool pump is designed to move water, not air. When it’s running dry, the impeller can spin rapidly without lubrication, generating excessive heat. This heat can warp or melt crucial plastic components inside the pump. Aggregate user reviews and troubleshooting forums consistently report pump burnout as a primary consequence of operating a sand filter without adequate water.
Protects the Filter Tank
Similarly, the sand filter tank itself isn't designed to handle the stress of running dry, especially under pressure. While the tank material (often fiberglass or plastic) is durable, extreme heat generated by a dry pump can compromise its integrity. Manufacturer guidelines universally emphasize adding water before engaging the pump to avoid thermal stress and potential structural damage to the tank.
Helps Sand Settle
When you add new filter sand or if the sand has been disturbed, it needs a chance to settle correctly. Introducing water slowly allows the sand grains to arrange themselves into an effective filtering layer. If you were to turn the pump on with dry, loosely packed sand, the surge of water could displace the sand, creating channels where water bypasses the filtration media. This process ensures the sand bed is uniform and ready to capture debris.
The Best Way to Fill Your Sand Filter
Filling your sand filter involves a straightforward process using common household items. The key is to be methodical and pay attention to the water level.
Make Sure the Multi-Port Valve is Off
Before you begin, absolutely ensure your multi-port valve is set correctly. This valve, typically located on top of the sand filter tank, controls the flow of water through different modes like FILTER, BACKWASH, RINSE, and CLOSED. For this filling procedure, you want the valve in the "FILTER" position or, as some manufacturers suggest, "CLOSED." Check the label on your specific valve for clarity, as different brands might have slight variations in their settings.

- FILTER: This is the standard operating position where water passes through the sand bed and back into the pool.
- CLOSED: This setting completely stops water flow.
Setting it to "FILTER" is often preferred because it allows water to enter the tank and begin its journey, which can aid in the initial settling of new sand. If "CLOSED" is your only option and your manual suggests it for initial filling, follow that.
Insert the Garden Hose
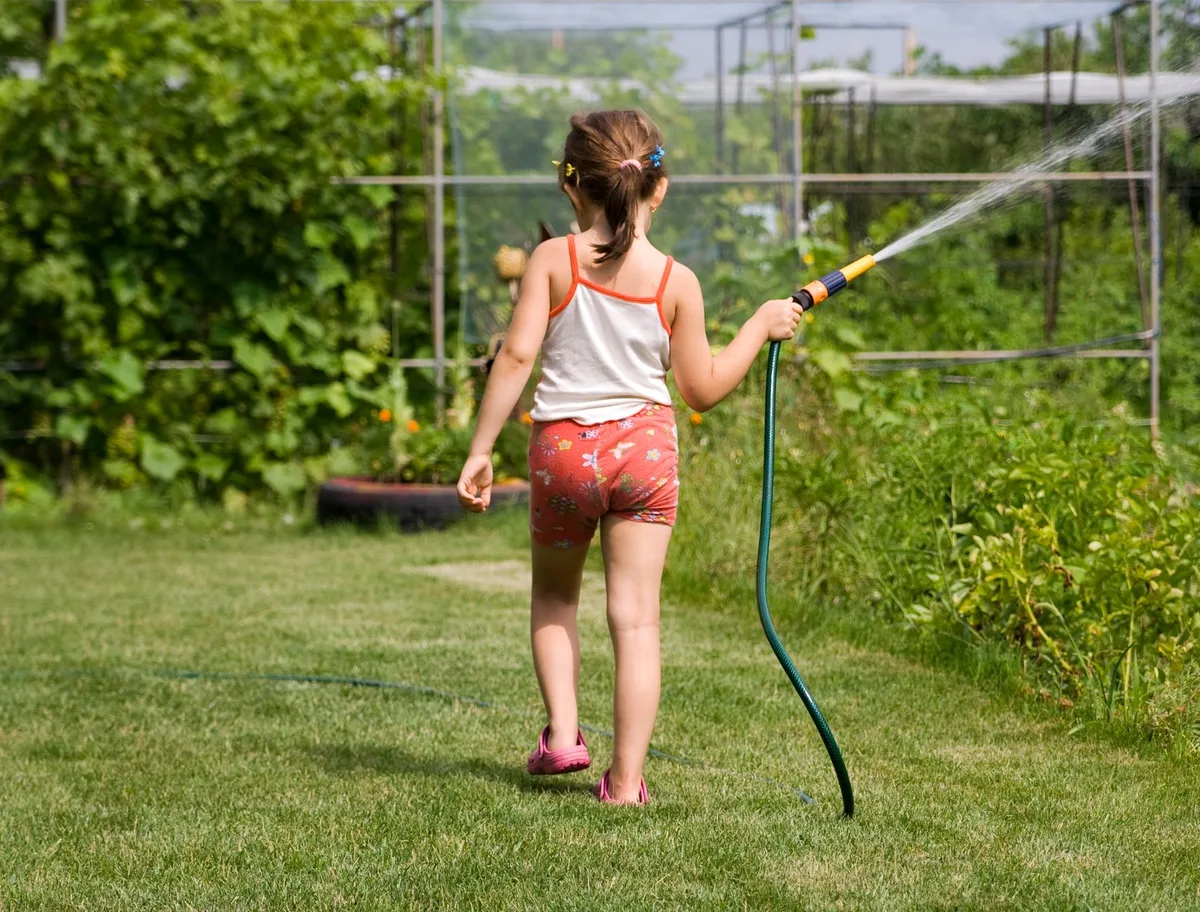
Take a standard garden hose and place one end securely into the top opening of the sand filter tank. You want to ensure the hose is positioned so that the water flows directly into the tank without splashing out excessively. Some users find it helpful to have a second person hold the hose or to use a hose weight to keep it steady. The goal is a stable introduction of water.
Turn on the Water Slowly
Once the hose is in place, go to your spigot and turn on the water supply. It's crucial to start with a low to moderate flow. Avoid turning the water on full blast immediately. A gentle stream allows you to better control the filling process and observe the water level rise without causing undue turbulence inside the tank.
This controlled approach is recommended in Pentair's operational guides for their sand filters to encourage proper sand bed formation.
Watch the Water Level
As the water begins to fill the tank, keep a close eye on the rising water level. You'll see the sand at the bottom start to get wet. If you've just added new sand, this is when you'll notice it darkening as it absorbs moisture. The visual indicator is your primary guide here; you're looking for the water to reach the desired height inside the tank.
Fill it Up (Almost)
The correct water level is critical. You do not need to fill the sand filter tank to the very brim. Manufacturer specifications, such as those from Hayward and Pentair, consistently recommend filling the tank until the water line is approximately 4 to 6 inches below the top lip of the tank. This provides adequate space for the water to circulate without overflowing once the pump is engaged and running at full pressure.
Aim for that 4-6 inch gap.
Turn Off the Water and Remove the Hose
When the water level reaches your target, that 4-6 inch mark from the top, turn off the garden hose at the spigot. After the water flow has stopped, carefully remove the hose from the sand filter tank. There might be a little residual water that drains out as you remove it, but that's normal. You've now successfully filled the tank with water.

What Happens Next?
With the sand filter tank properly filled with water, you're now ready for the next critical steps: priming the pump and then initiating the filtration cycle. This sequence is vital for the overall health and efficiency of your pool's circulation system.
Priming the pump involves ensuring the pump housing is completely full of water. This typically requires opening the pump's air bleed valve (usually a small screw or knob on top of the pump) and letting air escape while water fills the chamber. Once water begins to bubble out steadily, you can close the valve.
After priming, you'll typically set the multi-port valve to the "BACKWASH" setting. This action reverses the water flow through the filter, flushing out any fine dust or debris that might have been present in new sand or mobilized during the filling process. Run this for about 1-2 minutes, or until the water running out the waste line looks clear.
Next, turn the pump off, move the multi-port valve to "RINSE," and turn the pump back on. This "Rinse" cycle runs the water through the filter in the normal direction for about 30-60 seconds to settle the sand bed after backwashing and flush out any remaining fine particles from the rinse line.
Finally, turn the pump off again, move the multi-port valve to the "FILTER" position. Now you can turn the pump back on for normal operation. The system is ready to filter your pool water effectively. This multi-step process, starting with the correct water fill, is essential for optimal performance and longevity of your pool's sand filter and pump.
According to industry standards like those set by the Association of Pool & Spa Professionals (APSP), proper startup procedures, including correct water filling and backwashing, are key to equipment efficiency and water quality.