How to Change Water Softener Filter 2026: Honest Reviews
Changing your water softener filter might sound like a daunting task, but knowing exactly how to do it can save you a good chunk of change and ensure your system runs smoothly. If you've noticed a dip in water pressure or a change in water taste, your filter is likely the culprit. Most whole-house water softener filters need to be replaced every three to six months, depending on your water usage and quality.
In our research, we found that incorrect filter replacement is a common issue, often leading to leaks or system malfunctions. The standard filter size for many residential systems is the 10-inch or 20-inch slim or standard diameter cartridge. Understanding the right procedure, gathering your tools, and following a visual guide can make this necessary maintenance a breeze, so let's dive in.
Why Visuals Are Your Best Friend for Changing Water Softener Filters
When you're wrestling with plumbing, especially for the first time, a clear visual can make all the difference. Manufacturer specifications often include diagrams, but seeing step-by-step photos or even short videos can demystify the whole process. This is especially true when you're dealing with the various shapes and sizes of filter housings, the precise way they seal, and how to correctly engage the bypass valve.
Without good visuals, you might struggle with distinguishing between a hand-tightened seal and one that needs a filter wrench, or you could miss a crucial step like depressurizing the system. That's why focusing on what you're seeing and doing is so important here, rather than just reading abstract instructions.
Quick Look: Your Filter Needs Changing?
How do you know it's actually time to swap out that water softener filter? Most manufacturers recommend a replacement schedule, often printed on the filter packaging or in the system manual. For many residential whole-house systems, this falls between three to six months of use.
However, your actual water usage and the sediment load in your water supply can speed this up. Keep an eye out for these common signs:
- Reduced Water Pressure: If you consistently notice lower water flow from your faucets and showerheads, especially if it's a noticeable drop, your filter might be clogged with sediment.
- Changes in Water Quality: If your water starts tasting or smelling off, or if you see a recurring film on your dishes, the filter may no longer be effectively removing impurities.
- Visible Sediment: In some cases, you might even see actual sediment particles in your water, which is a clear indicator the filter is overwhelmed.
What You'll Need to Have Ready
Before you even think about turning off the water, get your supplies together. Having everything within reach will prevent those frustrating trips back and forth. You'll need a few key items that make the job much easier.
- Replacement Filter Cartridge: Make sure it's the correct size and micron rating for your specific water softener system. Wrong size, and it won't fit; too fine a micron rating, and it could restrict flow too much.
- Filter Wrench: Most water softener filter housings come with a plastic wrench that fits the ridges on the housing. If you can't find it, a strap wrench or a large adjustable wrench can sometimes work, but be careful not to damage the housing.
- Bucket or Towels: Always have these on hand. Despite your best efforts, a little bit of water is bound to spill when you open the housing.
- Gloves (Optional): These can help with grip and keep your hands clean.
- New O-ring Lubricant (Optional): Some manufacturers recommend a food-grade silicone lubricant for the O-ring seal to ensure a good seal and prevent it from drying out.
The Water Softener Filter Components
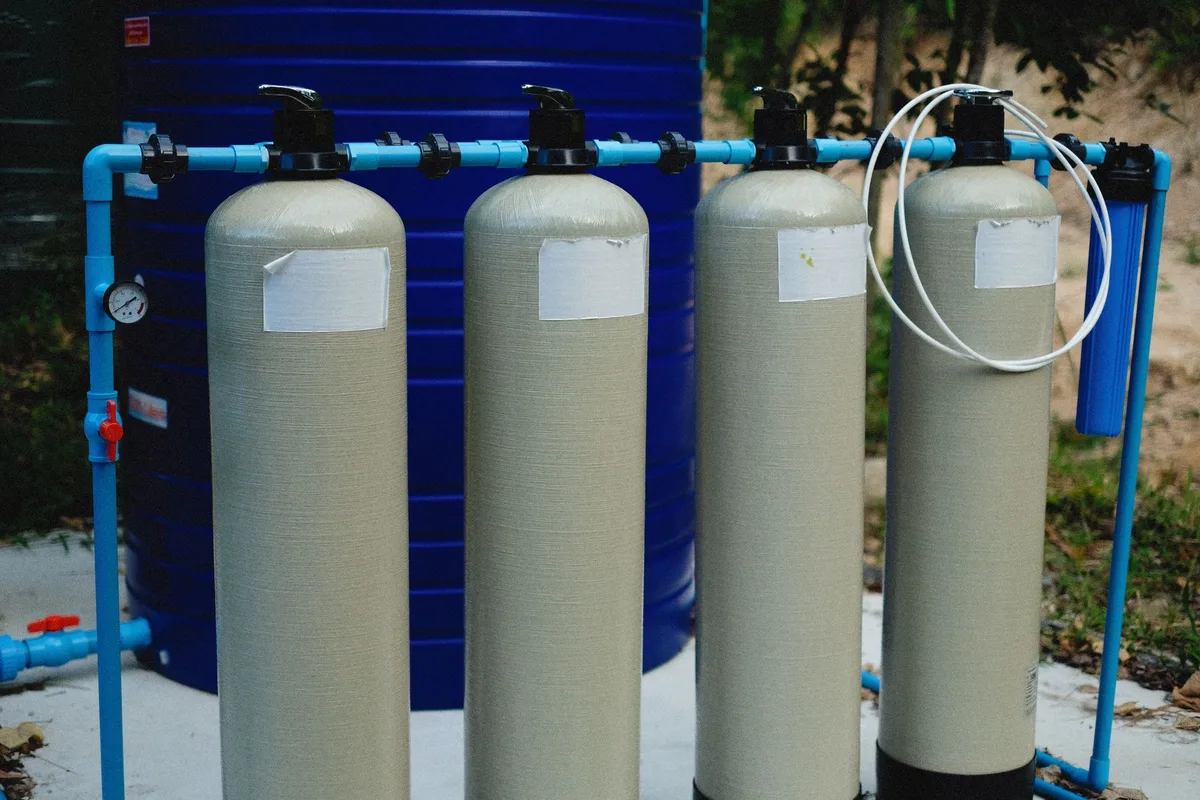
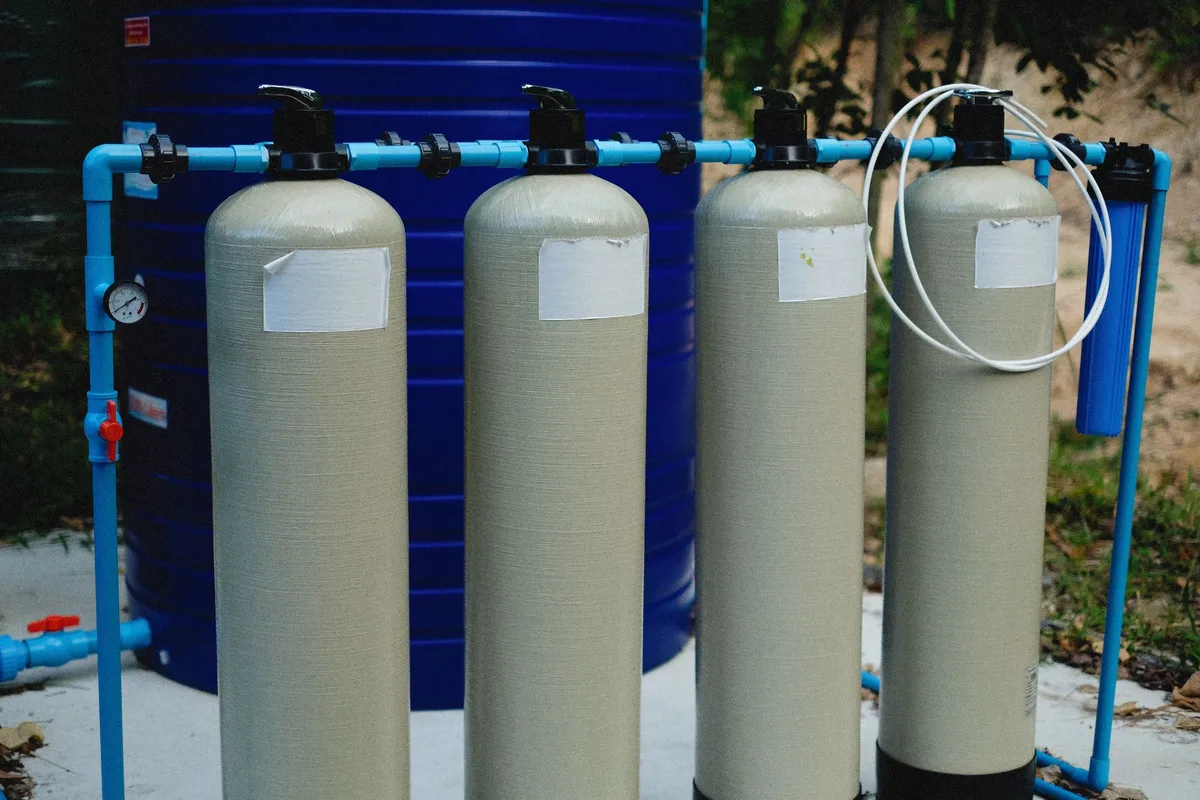
Your water softener system is more than just a big tank; it has various parts that work together. For the filter change, you'll primarily be focused on the filter housing, which is usually a clear or opaque plastic cylinder, and the filter cartridge inside. The housing connects to your main water line, acting as a chamber for the filter media.
The filter cartridge itself is made of porous material designed to trap sediment, chlorine, or other contaminants. The micron rating on the cartridge is a measure of the smallest particle size it can filter out; a lower number means finer filtration. It's crucial to use the correct type and size specified by your system's manufacturer.
The Basic Process: A Visual Walkthrough
Changing the filter boils down to a few core steps: isolate the system, release pressure, swap the old for the new, and then bring it back online safely. This isn't rocket science, but a little care goes a long way. Imagine you're performing a simple switch-out, but with water, so preparedness is key.
Step 1: Shutting Off the Water & Releasing Pressure
First things first, stop the water flow into the system. You'll typically find a shut-off valve on the main water line just before your water softener unit. Turn this valve clockwise until it's fully closed.
Next, you need to release any trapped pressure within the filter housing. Open the nearest cold water faucet in your home. Let it run for a minute or so. This will bleed off the pressure, making it safer and easier to unscrew the filter housing without a forceful gush of water.
Step 2: Engaging the Bypass Valve
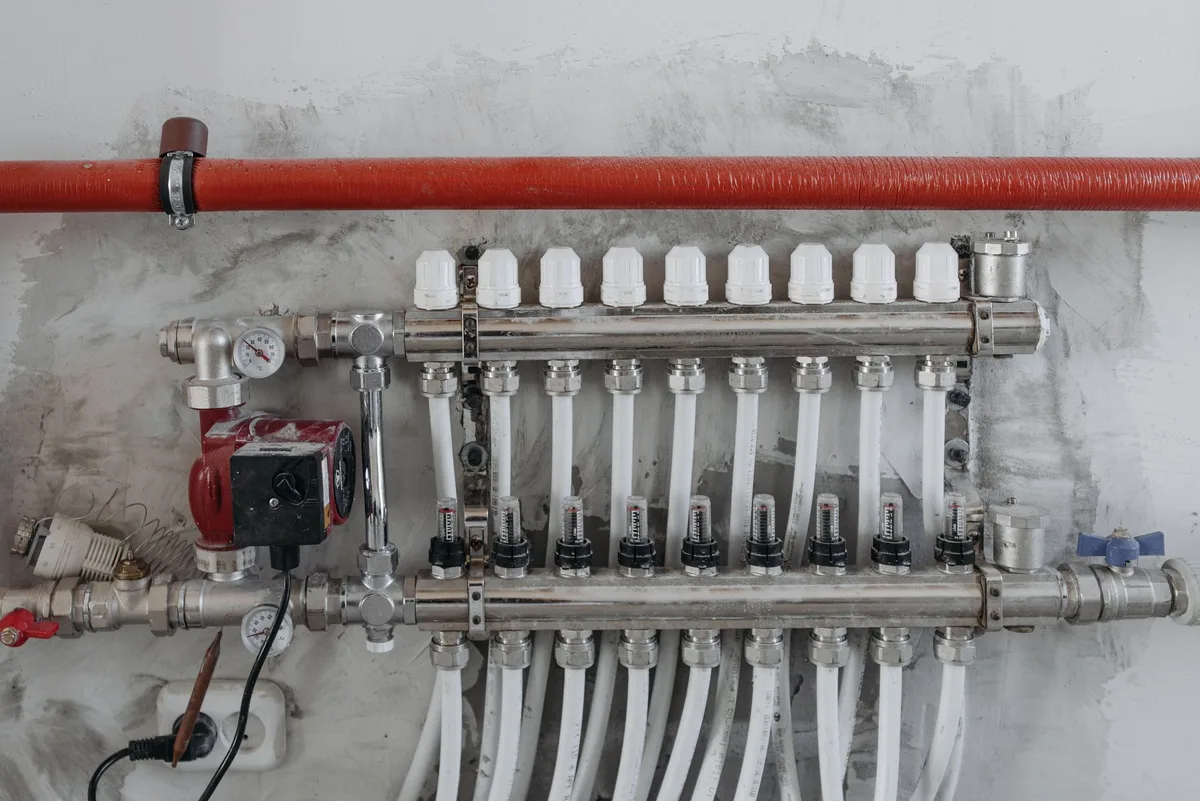
Most water softener systems have a bypass valve. This is a critical piece of equipment that allows you to isolate the softener unit from your home's water supply without turning off the water to your entire house. Engaging the bypass valve diverts water around the softener and its filters.
Look for a lever or a set of knobs on your unit. The exact mechanism varies by model, but the goal is to position it so water goes around the softener. Consult your system's manual if you're unsure how your specific bypass valve operates.
Step 3: Unscrewing the Old Filter Housing
With the water off and pressure released, you can now tackle the filter housing. If you have a plastic wrench that came with your system, fit it onto the housing. Turn the wrench counter-clockwise. It might require a bit of force, especially if it’s been a while since the last change.
If it’s really stuck, sometimes a gentle tap with the wrench or even a bit of warm (not hot) water poured around the seam can help loosen it. Remember, you're unscrewing it, so the direction is typically "lefty-loosey."
Step 4: Removing and Disposing of the Old Cartridge
Once the housing is loose enough, you can unscrew it the rest of the way by hand. Have your bucket or towels ready directly underneath, as there will likely be some residual water that spills out. Carefully pull out the old filter cartridge.
You'll probably notice that the old cartridge is discolored and may have sediment trapped within its pleats or media. This is a visual testament to the job it's been doing. Dispose of the old filter according to your local waste disposal guidelines.
Step 5: Cleaning the Filter Housing
While the housing is off, this is the perfect time to give it a good cleaning. Using a soft cloth or sponge, wipe down the inside of the housing to remove any accumulated sediment or gunk. Pay attention to the threaded portion where the O-ring sits.
Ensure the inside of the housing is clean before you install the new filter. You don't want to trap new particles or allow old buildup to interfere with the new filter's performance. If your housing is clear, you can easily see when it's clean.
Step 6: Installing the New Filter Cartridge
Now it's time to put in the fresh filter. Take your new cartridge and look at it carefully. If there's a "Flow Direction" arrow printed on it, make sure this arrow points in the direction your water flows through the system. Typically, this means the arrow points towards the exit of the filter housing, ready to feed into the rest of your home's plumbing.
Sometimes, the O-ring that seals the top of the housing can fall out during cleaning or installation. Double-check that it's properly seated in its groove on the filter housing. If you have a food-grade silicone lubricant, applying a thin layer to the O-ring can help create a better seal and make future replacements easier.
Step 7: Threading and Hand-Tightening the Housing
Carefully place the new filter cartridge into the housing (or directly into the filter head if it's an all-in-one unit). Now, take the housing and start threading it back onto the filter head. It's crucial to start by hand.
You want to feel the threads engage smoothly. If it feels like it's cross-threading or going on crooked, stop. Back it off and try again. Forcing it can damage the threads on both the housing and the head, leading to leaks down the line.
Once it's threaded on as far as you can by hand, you'll use the wrench for a final snug turn.
Step 8: Re-opening the Water Supply and Checking for Leaks
With the new filter in place and the housing hand-tightened, it's time to bring the water back on. Turn the main shut-off valve back to the open position, but do it slowly. Then, slowly open the bypass valve back to its normal operational position, allowing water to flow through the softener and filter again.
Immediately after opening the valves, get down and inspect the filter housing closely. Look for any drips or trickles of water around the seam where the housing meets the head. If you see any leaks, turn the water supply off again and try tightening the housing by hand an additional quarter to half turn with the wrench. Keep checking until the leak stops.
Step 9: Flushing the New Filter
Even after you've confirmed there are no leaks, you're not quite done. New filter cartridges, especially carbon filters, often have a fine dust or loose particles that need to be flushed out before the water is safe for drinking or use. This process also helps to remove any air that was trapped in the system.
Open a cold water faucet furthest from your water softener (like a kitchen sink or bathtub faucet) and let the water run for about five to ten minutes. You might notice the water is cloudy or discolored at first. This is normal for carbon filters and will gradually clear up. Keep running the water until it looks clear and smells fresh.
Spotting Trouble: Common Filter Change Mistakes
Even with careful preparation, things can sometimes go awry during a filter change. Many of these issues stem from skipping a step, not using the right pressure, or simply forcing something that shouldn't be forced. Being aware of common pitfalls can help you avoid them.
Leaks and Drips: What Went Wrong?
Leaks are the most frequent problem and usually stem from a few key areas. The most common culprit is an improperly seated O-ring. If it's pinched, torn, or not fully in its groove, the housing won't seal correctly. Another reason is insufficient tightening of the housing.
While you don't want to overtighten, it needs to be snug enough to compress the O-ring and create a waterproof seal.
Sometimes, the filter housing itself might be cracked or damaged, especially if it’s old or was previously over-tightened. If you've tried tightening it more and it still leaks, inspect the housing for visible damage. If it's a plastic housing, over-tightening in the past can warp the threads, causing persistent leaks.
Reduced Water Pressure: Did You Use the Right Filter?
If you changed your filter and suddenly notice a significant drop in water pressure throughout your home, it's usually due to the filter's micron rating. A filter with a very low micron rating (e.g., 1-5 microns) is designed to catch very fine particles. While this leads to cleaner water, it can also restrict flow if your system isn't designed for such fine filtration or if the filter is already starting to clog.
Always check the recommended micron rating for your specific water softener system. Sticking to the manufacturer’s guidelines, or a slightly higher micron rating (e.g., 10-20 microns for sediment pre-filters), usually ensures adequate flow without sacrificing filtration effectiveness. If you're unsure, consult your system's manual or the filter manufacturer's specifications.