How to Change Water Filter Cartridge Under Sink in 2026
Keeping your drinking water clean is crucial for your health, and one of the easiest ways to ensure that is by maintaining your under-sink water filter system. Knowing precisely how to change water filter cartridge under sink can save you time, money, and a whole lot of hassle. It’s a routine task that keeps your water tasting fresh and free of impurities.
Our research indicates that most common under-sink filter cartridges last between 6 to 12 months. However, this can vary based on filter type and water usage. Manufacturer specifications often recommend replacement between 500 to 1,000 gallons filtered. When it's time for a swap, understanding the process prevents leaks and ensures optimal filtration.
Why Visuals Are Your Best Friend Here
Successfully changing your water filter isn't just about following steps; it's also about recognizing what you're looking at and how things fit together. Because there are different types of filter housings and cartridges, seeing examples can make all the difference. Relying on visuals helps you avoid common pitfalls and ensures you get a snug, leak-free seal every time.
Understanding Your Filter Housing
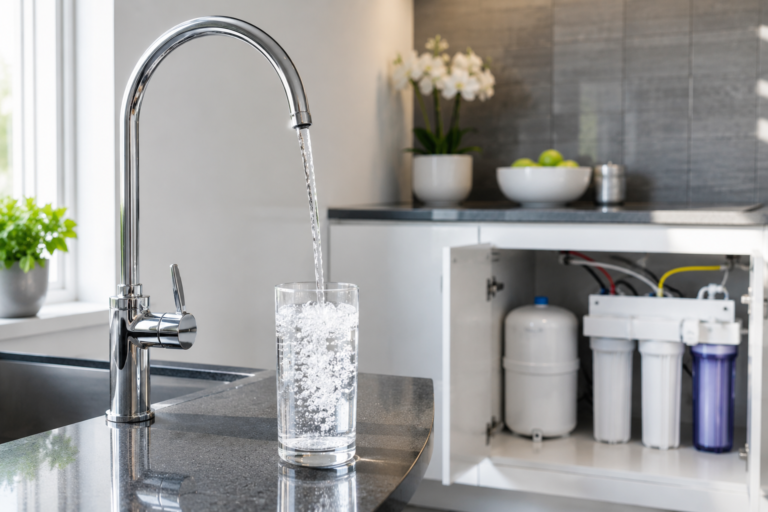
The main component you'll usually interact with is the filter housing, often a cylindrical canister that holds the filter cartridge. These can vary in size and design, from simple clear plastic sumps to opaque, heavy-duty containers. Their purpose is straightforward: to contain the filter and connect to your water lines.
Key Parts to Identify
When you look under your sink at the filter setup, you'll want to know a few key components. You'll see the water lines leading to and from the filter housing. At the top of the housing, where it screws onto the filter head, there's a crucial rubber ring called an O-ring. This O-ring is what creates the seal.
You'll also see the cartridge itself inside the housing, which is what you'll be replacing.
Getting Ready: What You'll Need
Before you even think about twisting anything, let’s get your supplies organized. Having everything in one place makes the whole process go much smoother and quicker. It's like prepping ingredients before you start cooking, it saves steps and reduces frustration.
The Right Replacement Cartridge
This is non-negotiable: you absolutely need the correct replacement filter cartridge for your specific system. Using the wrong size or type won't fit properly, and it definitely won't filter your water as intended. Check your existing filter or the system's manual for the model number or recommended cartridge type. Many reputable brands offer specific replacement models.
Tools and Supplies for a Clean Swap
You won't need a whole toolbox, but a few items will make the job much easier and less messy.
- Replacement Filter Cartridge: As mentioned, the correct one for your model.
- Bucket or Large Towels: Essential for catching any residual water that spills when you open the housing. Several paper towels or a dedicated shop rag can also be useful for wiping.
- Filter Housing Wrench (Optional): Some filter housings are designed to be hand-tightened, but others can be stubborn or may have a specific plastic wrench that came with the system. If yours requires one, make sure you have it. A strap wrench can sometimes work as an alternative if you’re careful.
- Gloves (Recommended): A pair of disposable gloves will keep your hands clean from any grime inside the filter housing.
- Food-Grade Silicone Grease (Optional): A small amount applied to the O-ring can help create a better seal and make future removals easier.
The Step-by-Step Guide to Changing Your Filter
Here’s how to get that filter swapped out. Follow these steps carefully, and you’ll have clean water flowing again in no time.
Step 1: Shutting Off the Water Supply
This is the absolute first step and the most critical for safety. Locate the shut-off valves for your under-sink water filter system. These are typically on the cold water line that feeds into the filter. Turn these valves clockwise until they are snug.
Do not overtighten, but ensure they are fully closed.
Step 2: Relieving Pressure and Draining Lines
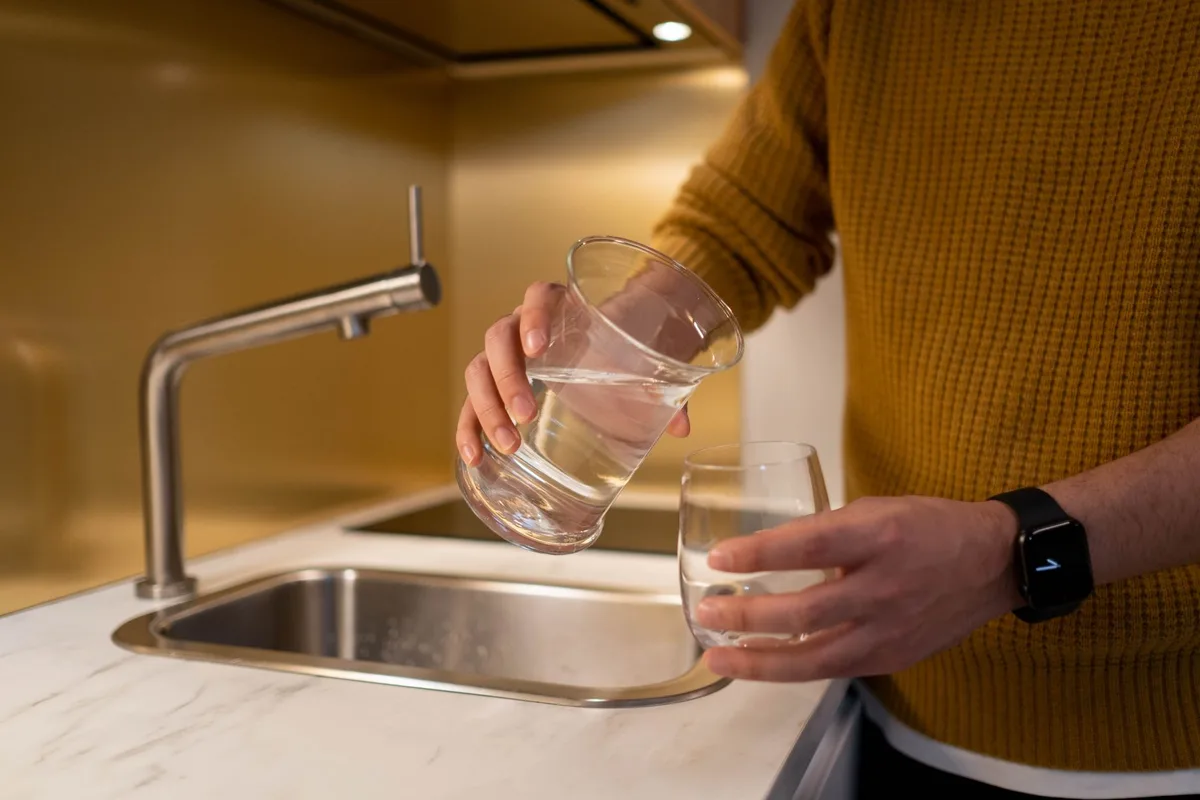
After closing the shut-off valves, open the cold water tap on your faucet. Let the water run for about 30 seconds to a minute. This process helps to release any remaining water pressure in the lines connected to the filter, reducing the amount of water that will spill when you detach the housing.
Step 3: Positioning Your Bucket or Towels
Now it’s time to get ready for potential drips. Place your bucket directly underneath the filter housing you’ll be working on. If you have a larger system or are concerned about splashes, using thick towels around the bucket can provide extra protection for your cabinet floor.
Step 4: Loosening and Removing the Filter Housing
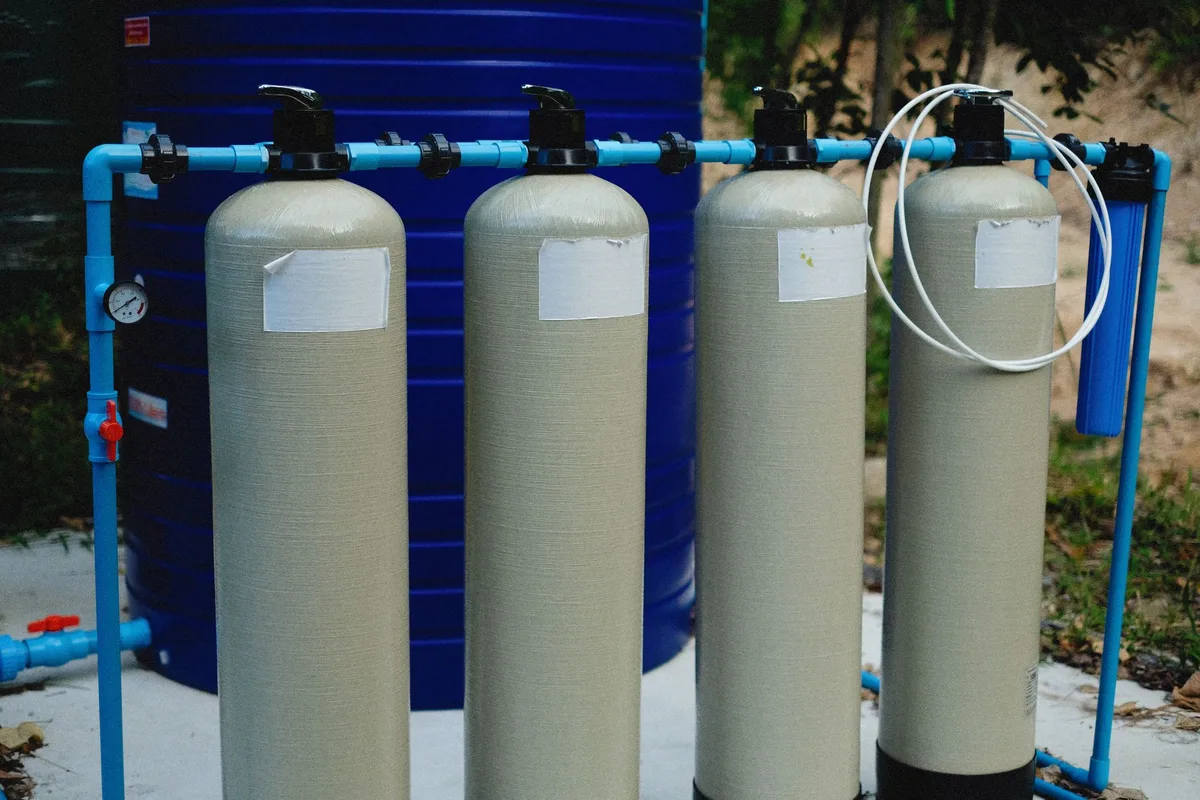
With the water off and pressure relieved, you can now try to unscrew the filter housing. If it’s hand-tightened, you’ll twist it counter-clockwise. It might require a firm grip. If it’s too tight for your hands, or if your system came with a specific wrench, use that tool now.
Remember to apply steady pressure.
Step 5: Taking Out the Old Cartridge
Once the housing is fully detached, carefully tilt it to drain any remaining water into your bucket. Then, lift out the old filter cartridge. Note its orientation, many cartridges have a specific way they need to fit inside the housing, often with a specific end pointing upwards. If you have any doubts, a quick photo on your phone can be a lifesaver.
Common Mistakes to Sidestep
Even with a clear guide, a few common missteps can turn a simple task into a frustrating one. Being aware of these potential problems can help you avoid them entirely.
Leaks and Loose Connections
The most frequent issue after changing a filter is a leak. This usually happens because the housing wasn’t tightened enough, or the O-ring wasn't seated properly. Sometimes, a new O-ring might be damaged during installation, or the old one might have been misplaced. Double-checking the seal and ensuring the housing is snug, but not overly forced, is key.
Forgetting the Flush
A new filter cartridge, especially carbon-based ones, can release fine particles of carbon dust or air when first put into use. Manufacturer specifications often call for flushing the system for several minutes by running water through it until it runs clear and tastes normal. Skipping this can result in cloudy water or an off-taste in your first few glasses.
Using the Wrong Cartridge
This mistake is easy to make if you're not careful when ordering or purchasing. Under-sink systems come in various sizes and connection types. Using a cartridge that’s too short, too long, or has incompatible end-fittings means it won't seal correctly, or it might not fit at all, leading to immediate leaks or no water flow. Always confirm the exact model number or specifications.
Over vs. Under-Tightening
There's a sweet spot when tightening the filter housing. Over-tightening can crack the plastic housing or damage the threads, leading to leaks. Under-tightening, as mentioned, won't create a sufficient seal, also resulting in leaks. Manufacturer guidelines typically advise hand-tightening plus an additional quarter-turn with a wrench if needed, but always refer to your specific model's instructions.
Pro Tips for a Smooth Filter Change
Beyond the basic steps, a few extra tips can make your under-sink filter maintenance practically foolproof. These are the little insights that make a big difference, turning a chore into a quick, efficient task. They often come from seeing common issues crop up and learning the best ways to preempt or resolve them.
When to Replace Your Cartridge
A good rule of thumb is every 6 to 12 months. However, this can vary. Check your filter's manual for the manufacturer’s specific recommendation, usually stated in months or gallons filtered. If you notice a drop in water flow from your tap or a change in the taste or smell of your water before that time, it's a good sign the cartridge is saturated and needs changing.
Advanced filtration systems might have a digital indicator light to alert you.
Dealing with Stubborn Housings
Sometimes, the filter housing can be incredibly difficult to loosen. This is often due to mineral deposits or a dried-out O-ring causing it to stick. If hand power isn't enough, and you have the correct filter housing wrench, try applying steady, firm pressure. Avoid jerky movements, which can damage the housing.
In some cases, a gentle tap with the handle of the wrench might help break the seal.
O-Ring Care
The O-ring is small but mighty; it’s critical for a leak-free seal. Always inspect it for cracks, tears, or flattening. If it looks worn, replace it with a new one, ideally from the filter’s manufacturer to ensure a perfect fit. When reinstalling, applying a tiny bit of food-grade silicone grease to the O-ring helps it seat properly and prevents it from getting pinched or damaged as you screw the housing back on.
Essential Filter System Information
Understanding the specifications and common practices for your particular water filter system is key to effective maintenance. Keeping this information handy means you're always prepared for the next replacement.
Filter Lifespan and Metrics
Filter cartridges are rated based on their ability to remove specific contaminants and their total capacity. For instance, a sediment filter might have a micron rating of 5 microns, meaning it can remove particles larger than that size. Carbon block filters are often rated by their chlorine reduction capacity. As of 2026, most residential under-sink systems come with filters designed to last between 500 to 1,000 gallons, which for an average household can equate to 6 to 12 months of use.
Manufacturer Documentation is Key
Your filter system's user manual is your ultimate guide. It will detail the exact type of cartridge required, the recommended replacement interval, and any specific instructions for your model. If you’ve lost your manual, most manufacturers provide them as downloadable PDFs on their official websites. This documentation is usually based on extensive testing and ensures you're using and maintaining the system correctly for optimal performance and safety.