How to Change a Filter on a Water Softener: Honest Review 2026
Sure, changing a filter on your water softener might sound like a chore, but it's one of those practical home maintenance tasks that’s way simpler than it seems. Keeping this part of your system clean is key to making sure your softener does its job right, protecting your pipes, and saving you some headaches down the road.
In our research, we found that regular filter changes, typically recommended every six months according to most manufacturer specifications, can significantly boost your water softener's efficiency. Doing it yourself can save you money and give you peace of mind. Let’s walk through how to make this a quick and easy win for your home.
Why Changing Your Water Softener Filter Matters

The filter in your water softener system, often called a pre-filter, plays a crucial role that many people overlook. Its main job is to catch sediment, sand, rust particles, and other larger debris before they even reach the softener's resin beads. If this pre-filter gets clogged up, it's like trying to drink water through a straw stuffed with cotton, things just don't flow as they should. This blockage can reduce the overall flow rate of soft water to your home and force your softener to work harder than necessary, potentially shortening its lifespan.
Most residential water softener pre-filters are designed to capture particles down to a certain size, often specified as a micron rating, such as 5 or 20 microns. When this filter is full of gunk, its effectiveness plummets, and your actual softening unit might end up dealing with more contaminants than it was designed for. Taking a little time to swap out this filter ensures your system continues to run smoothly and efficiently.
Quick Answer: How to Change Your Water Softener Filter in 10 Steps
If you're looking for the brass tacks, here's the straightforward process. You’ll need to shut off the water supply, then unscrew the filter housing, swap out the old filter for a new one, and reassemble everything before turning the water back on. That’s the gist of it, but each step has a few important details to keep in mind for success.
Understanding Your Water Softener's Filter
Think of the water softener filter as the first line of defense. It's not part of the ion-exchange process that actually softens your water by removing calcium and magnesium. Instead, it's a physical barrier designed to trap larger bits of physical matter that might be present in your water supply, whether it comes from a municipal source or a private well.
These filters are typically made of pleated material or spun polypropylene, designed to catch particles of a specific size. The lifespan of this filter depends heavily on the quality of your incoming water. If your water has a lot of sediment, you might need to change it more often than someone with clearer water.
Key Entities Involved:
- Water Softener Unit: The main appliance that removes hardness minerals.
- Pre-filter: The dedicated filter we're talking about changing.
- Filter Housing: The container that holds the pre-filter.
- Replacement Filter: The new filter you'll install.
What You'll Need for the Job
Before you start wrenching, gathering your supplies will make the whole process smoother. You don't need a ton of specialized tools, but having the right ones can prevent frustration.
- The Correct Replacement Filter: This is non-negotiable. You need the exact filter model specified for your water softener unit. A quick search using your water softener's model number will tell you exactly which filter to buy from a reputable parts supplier or manufacturer's website.
- A Bucket or Towels: Expect some water to be released when you disconnect the housing. A small bucket or a few old towels will catch drips and prevent unnecessary mess on your floor.
- A Filter Wrench: Many water softener systems come with a plastic wrench designed specifically for the filter housing. If you can't find yours, you might need to purchase a universal filter wrench from a hardware store.
- Clean Cloth or Paper Towels: For wiping out the filter housing if needed.
- Gloves (Optional): If you prefer to keep your hands cleaner, a pair of latex or nitrile gloves can be helpful.
Step-by-Step Visual Guide to Changing the Filter
This is where seeing it might be more helpful than just reading about it, but we’ll break down each visual cue you'd look for. Remember, always refer to your specific water softener manual for precise instructions, as designs can vary.
Step 1: Shut Off the Water & Relieve Pressure
The very first action is to turn off the water supply going into your water softener. Look for a shut-off valve on the pipe feeding the unit. Turn this valve clockwise until it’s fully closed. You might also want to open a faucet closest to the softener (like in a basement utility sink) to let any remaining water pressure dissipate from the lines.
Step 2: Locate the Filter Housing
The pre-filter housing is typically a cylindrical component, usually made of translucent or opaque plastic, attached to the main water inlet pipe of your softener. It often sits a short distance before the main softener tank. If you can’t spot it immediately, consult your water softener’s user manual for a diagram or a clear description of its location.
Step 3: Prepare for Drips & Drain the Housing (If Possible)
Place your bucket or spread your towels directly underneath the filter housing. Many housings have a small pressure-release button or a drain plug at the bottom. If yours does, press this button or open the plug to release the trapped water and pressure. This makes unscrewing the housing much easier and less messy.
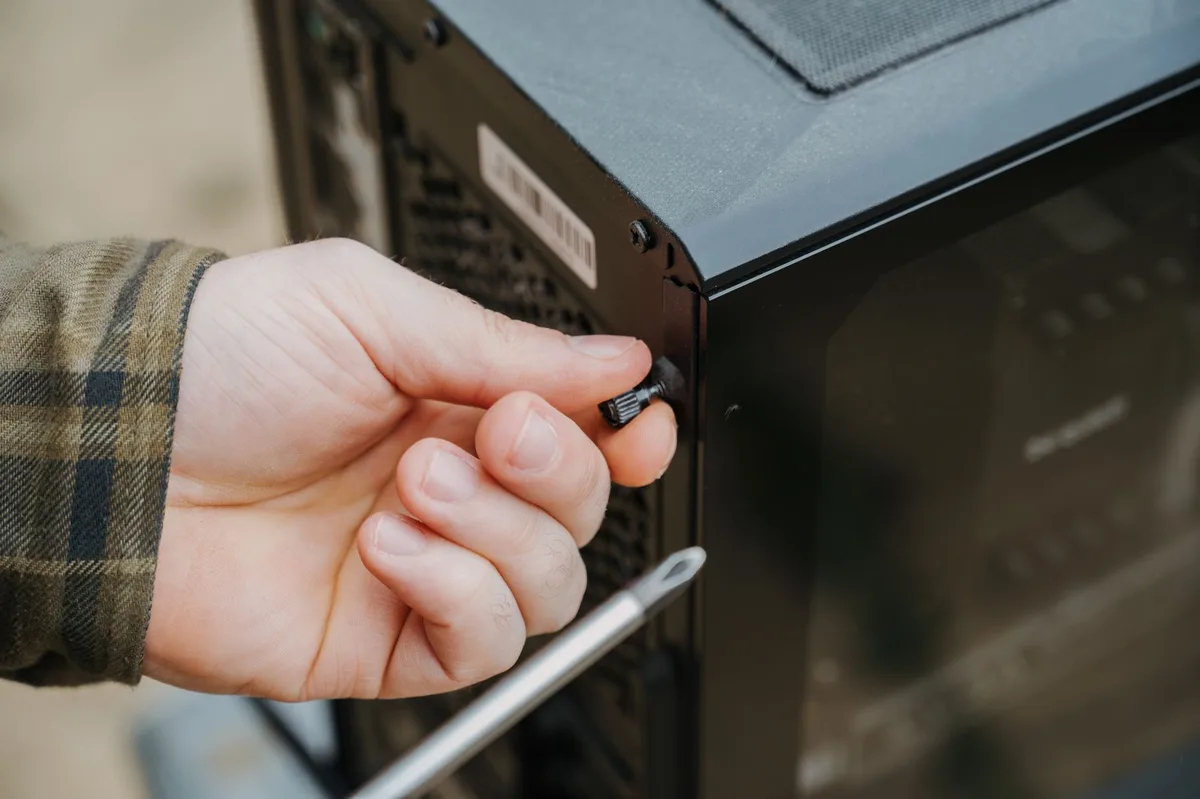
Step 4: Unscrew and Remove the Old Filter Housing
Now it’s time to disconnect the housing itself. If it’s hand-tight, you might be able to start unscrewing it by turning it counter-clockwise. For stubborn housings, use the filter wrench. Place the wrench onto the ribbed section of the housing and apply steady pressure, turning counter-clockwise.
Go slowly, and be ready for water to drip out as you loosen it.
Step 5: Take Out the Old Filter
Once the housing is completely unscrewed and lowered, you'll see the old filter inside. It might be dirty, discolored, or even have a jelly-like buildup, depending on your water quality. Simply pull the old filter straight out of the housing. Dispose of it properly according to your local waste disposal guidelines.
Step 6: Clean the Filter Housing
Take a moment to wipe down the inside of the filter housing with a clean cloth or paper towel. Remove any sediment, slime, or debris that may have accumulated. Also, check the O-ring seal that sits in the groove at the top of the housing. Make sure it’s clean, in good condition, and properly seated.
A damaged or misplaced O-ring is a common cause of leaks.
Step 7: Install the New Replacement Filter
Grab your new, clean replacement filter. Slide it straight into the housing. Ensure it’s sitting flush and securely. Most filters are designed to fit one way, so it should slide in without much force.

Step 8: Screw the Housing Back On
Carefully place the housing, now with the new filter inside, back onto the water softener unit. Start by threading it by hand. This is crucial to avoid cross-threading, which can damage the unit and cause leaks. Once it’s hand-tight, use your filter wrench to give it a final snug turn, usually about a quarter to half turn.
Don't overtighten, as this can crack the plastic or make it difficult to remove next time.
Step 9: Turn the Water Back On Slowly
With the housing securely in place, slowly open the shut-off valve you closed earlier. Open it just a crack at first to let the system begin filling. Listen for any hissing sounds that might indicate a leak.
Step 10: Check for Leaks and Flush the System
Once the housing appears to be filling without obvious leaks, open the valve fully. Keep a close eye on the filter housing for a few minutes. You’re looking for any drips or signs of water escaping around the seal. If you opened a faucet earlier to relieve pressure, you should see water flowing steadily now.
It’s a good practice to let water run from a faucet for a minute or two to flush out any air that might have entered the system during the change.
Common Filter Housing Problems and How to Fix Them
Sometimes, things don't go perfectly smoothly. The housing might be stuck, or it might leak after you've finished. In our research of user feedback and technical troubleshooting guides, certain issues pop up frequently, and they usually have straightforward solutions.
- Housing is stuck tight: This is common, especially if it hasn't been changed in a while or if it was overtightened previously. Gently wiggling the housing while applying counter-clockwise pressure with the wrench can help. Sometimes, running hot water over the outside of the housing for a minute can cause it to expand slightly, making it easier to turn.
- Leaks after changing the filter: The most common culprit here is the O-ring. Ensure it is clean, properly seated in its groove, and that there's no debris on the sealing surface of the housing or the main unit. If the O-ring looks cracked or worn, it's time to replace it. Another cause is not tightening the housing enough, or overtightening it to the point where the seal is compromised. As of 2026, manufacturer specs still emphasize proper O-ring maintenance.
- Water tastes or smells funny: If your water suddenly tastes off after a filter change, it could be due to a dirty housing, an incorrect filter type, or simply needing to flush the system more thoroughly. Running water for 5-10 minutes can often resolve this.
When to Replace Your Water Softener Filter
Figuring out the right time to swap out your water softener's pre-filter isn't an exact science, as it depends a lot on your specific water conditions. However, there are general guidelines and signs to watch for.
- Manufacturer Recommendations: Most water softener manuals will suggest a replacement schedule, often ranging from every 3 to 12 months. This is a good starting point. For a typical household with average water quality, every 6 months is a common recommendation from brands like Whirlpool or GE.
- Reduced Water Flow: If you notice that the water pressure from your taps seems lower than usual, especially for hot water, it could indicate that your pre-filter is clogged and restricting flow.
- Visible Sediment: If you ever see actual particles or cloudiness in your water that wasn't there before, it’s a strong sign that the filter needs attention.
- Deterioration of the Filter: When you remove the old filter, look at its condition. If it’s heavily discolored, packed with debris, or shows signs of physical breakdown, it’s definitely time for a new one.
Pro Tips for Smooth Water Softener Maintenance
Taking care of your water softener goes beyond just changing the filter, but this small step is a major part of its upkeep. Keeping a few things in mind can make this process even easier and more effective.
- Keep a Filter Log: Jot down the date you changed the filter. This helps you remember when the next change is due. A simple notebook or a calendar reminder works wonders.
- Inspect the O-ring: Always check the O-ring. It's a small component, but crucial for a leak-free seal. If it looks flattened, cracked, or damaged, replace it. You can usually buy replacement O-rings from the same place you get your filters.
- Buy Multi-packs: If you have a reliable filter type and schedule, buying filters in bulk can often save you money and ensure you always have one on hand when you need it.
- Know Your Model: Save your water softener's manual or take a picture of the model number located on the unit itself. This eliminates any guesswork when ordering replacement filters and parts.
Safety First: Potential Risks and How to Avoid Them
While changing a water softener filter is generally a safe DIY task, there are a couple of things to be mindful of to avoid any minor issues. The primary concern is water-related, so being prepared is key.
- Water Spills: As mentioned, having towels and a bucket ready is essential. Beyond the mess, significant water spills can be a slip hazard, especially if you're working in a basement or utility area. Make sure the area is dry and safe after the work is done.
- Over-tightening/Under-tightening: Overtightening the filter housing can crack the plastic, leading to leaks or even a burst housing under pressure. Under-tightening means the seal won't be secure, and you'll likely get leaks. Aim for snug, not Herculean strength when tightening.
- Cross-threading: This happens when you don't start threading the housing straight onto the unit. It can damage the threads on both the housing and the softener, requiring costly repairs. Always start by threading by hand to ensure it goes on smoothly.