How to Change a Fuel Water Separator Filter 2026
So, you're looking to tackle changing out that fuel water separator filter. Smart move! Keeping this component in good shape is one of those fundamental maintenance tasks that pays dividends by keeping your engine running smoothly, preventing premature wear, and avoiding a whole lot of potential headaches down the road. It's about proactive care for your vehicle or equipment.
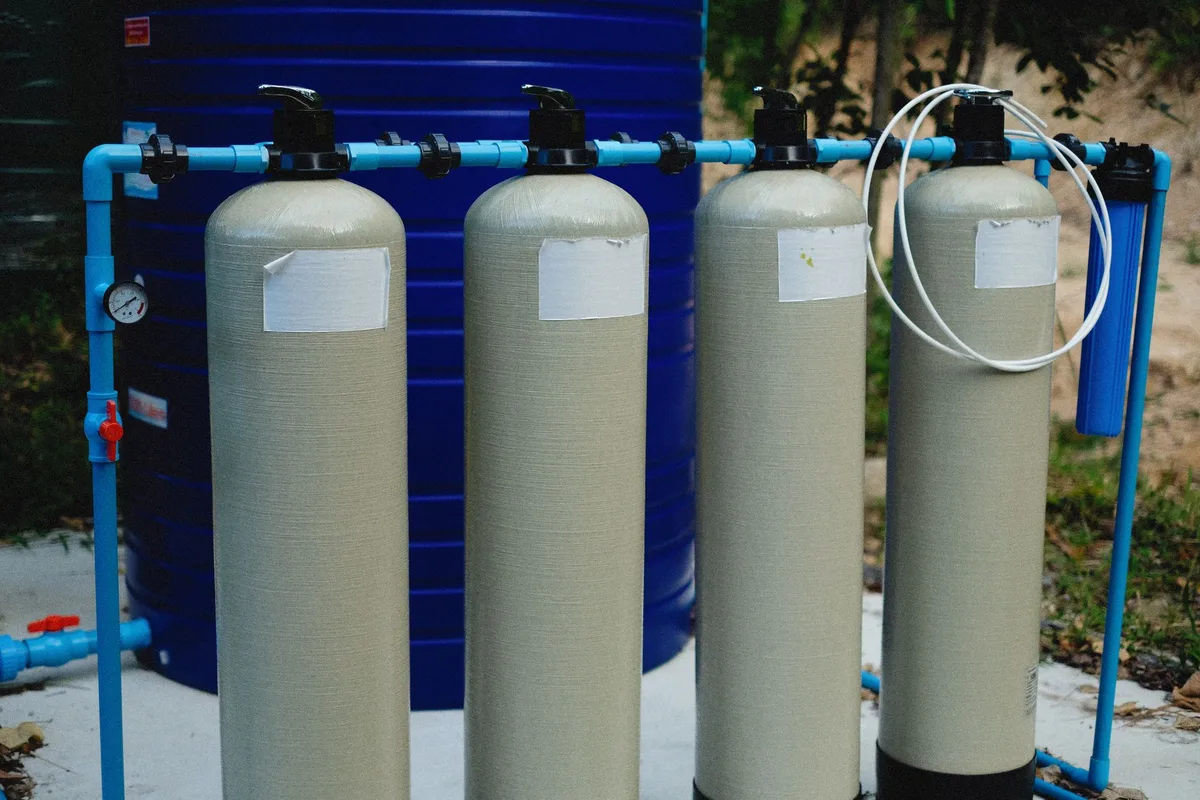
Manufacturers typically recommend checking or replacing fuel water separator filters at specific intervals, often detailed in the owner's manual. For many diesel applications, this check can be as frequent as every fuel fill-up, with replacement recommended every 10,000 to 25,000 miles, though conditions heavily influence this. This process ensures your fuel system stays free of harmful contaminants.
Why Bother With This Filter Anyway?
Think of your fuel water separator filter as the first line of defense for your engine's fuel system. Its primary job is to grab any water that might have found its way into your fuel supply, along with other debris. Water is a serious enemy to fuel systems; it can lead to rust inside your tank and fuel lines, and if it gets into the combustion chamber, it can cause major damage. Beyond water, this filter also catches sediment, rust flakes, and other particles that can clog up sensitive fuel injectors or other components.
Keeping this filter clean and functional is part of a holistic approach to fuel system health.
What You'll Need to Have On Hand
Getting your workspace ready with the right tools and supplies before you start tackling this job will save you a lot of frustration and time. Missing one crucial item can halt your progress quickly.
- The Correct Replacement Filter: This is the most important item. Always double-check that you have the exact filter specified for your vehicle, make, model, and year. Using the wrong filter can lead to leaks or poor filtration.
- Wrench or Socket Set: Most fuel water separators use a hex nut or bolt at their base for draining, or a specific retainer to unscrew the housing. You'll need the right size wrench or socket to loosen these fittings.
- Catch Pan or Bucket: Fuel will drain out when you remove the old filter or open the drain. A sturdy catch pan, ideally one rated for fuel and large enough to hold a few quarts, is essential to prevent spills and catch any water that's been separated.
- Rags or Shop Towels: Expect some drips and spills, especially when removing the old, full filter. Having plenty of clean rags or shop towels handy will help you keep things tidy.
- Gloves: Fuel can dry out your skin and leave an odor. Nitrile gloves offer good protection against fuel and chemicals.
- Safety Glasses: Always wear eye protection when working on vehicles, especially with fluids that could splash.
- Emery Cloth or Clean Rag: To ensure a clean seal surface for the new filter, you'll want to wipe down where the old filter gasket sat.
- New O-rings/Seals (if applicable): Some filter housings come with new O-rings. It's good practice to replace these every time you change the filter to ensure a proper seal.
- Fuel System Primer (if required): Some fuel systems, particularly in diesel vehicles, need to be manually primed after filter replacement to remove air and restore fuel pressure. Check your vehicle's service manual for its specific procedure.
Let's Get This Done: The Step-by-Step
This process generally follows a sequence to ensure you safely remove the old filter and install the new one without introducing air into the system or causing leaks.
Prepare for the Drain
Before you loosen anything, make sure your engine has been off for a while and is cool to the touch. Place your fuel drain pan directly underneath the fuel water separator filter. This position is critical; you want to catch everything that comes out, minimizing mess and environmental contamination.
Drain the Old Fuel and Water
Most fuel water separators have a small drain plug or a valve at the very bottom. Carefully loosen this fitting with your wrench. Allow all the fuel and any trapped water to drain completely into your pan. This might take a few minutes.
Once it's empty, be sure to tighten the drain plug or close the valve securely again. If your filter doesn't have a drain, you'll need to drain it later by removing the filter itself.
Remove the Old Filter
This step can vary depending on the filter design. For spin-on filters, you'll typically use a filter wrench to unscrew it from its base. Be ready to catch fuel as it will be full. For canister-style filters, you might need to loosen a retaining nut or bolt holding the housing in place.
Once loose, carefully remove the housing, ensuring it's well-supported to prevent dropping it and spilling its contents.
Clean Up the Mounting Surface
With the old filter removed, take a clean rag or some fine emery cloth and carefully wipe down the mating surface on the engine or fuel line where the filter's gasket seals. You want this surface to be perfectly clean and free of old gasket residue, dirt, or debris. A clean surface is vital for creating a leak-free seal with the new filter.
Prep the New Filter
Before you install your new fuel water separator filter, there are a couple of things you should do. If it's a spin-on type, it's often recommended to fill it about two-thirds full with clean fuel. This helps reduce the amount of air that gets into your fuel system when you first start the engine. Also, take a clean finger and lightly coat the rubber gasket on the new filter with a bit of clean fuel or fresh engine oil.
This lubrication helps the gasket seal properly and prevents it from sticking or tearing during installation.