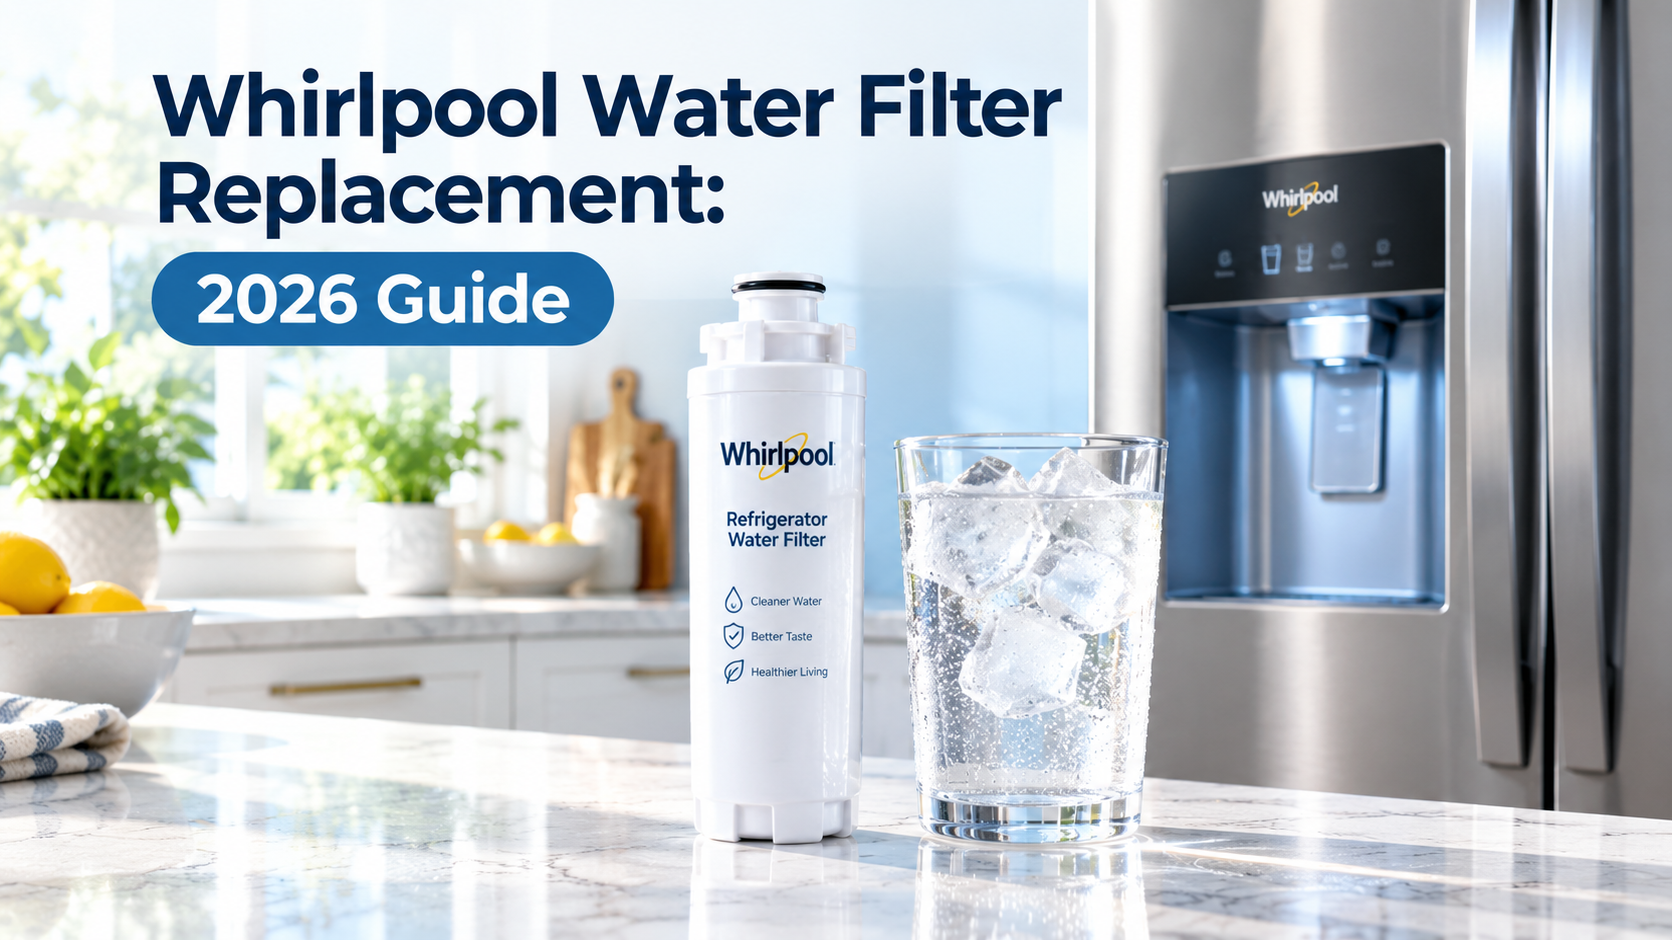
How To Replace Water Filter In Whirlpool Fridge: 2026 Guide
Replacing a Whirlpool fridge water filter is a quick 5-minute job: twist the old filter out, push the new one in, and flush it for a few minutes before drinking.
If you have been putting off this tiny chore, you are not alone. I get it — opening that little filter housing feels like a mystery box, and most folks are scared they will crack a plastic clip or buy the wrong cartridge. After swapping filters on my own Whirlpool fridge for years (and helping neighbors do the same), I can tell you it is one of the easiest wins in home maintenance. Clean water, better-tasting ice, and a longer-lasting appliance — all from a two-step twist. Stick with me, and I will walk you through the whole process the way I would if I were standing in your kitchen with a flashlight and a spare filter in my hand.

Why Replacing Your Whirlpool Water Filter Matters
Your fridge water filter is the quiet hero behind crisp drinking water, fresh ice, and even better-cooked coffee or tea. Over time, that little cartridge catches chlorine, lead, mercury, and other tiny particles that you would rather not swallow. The problem is, the filter can only hold so much. Once it is full, your fridge basically starts pushing water around a clogged sponge.
I learned this the hard way one summer when my iced tea started tasting like a swimming pool. I blamed the tea brand. Turns out, my filter had been sitting in there for nine months past its prime. The moment I popped in a new one, the water tasted like rain again — you know, that crisp, clean flavor you only notice when it comes back.
Here is what a fresh filter does for you:
- Cuts down on chlorine taste and odor
- Reduces contaminants like lead, cysts, and mercury
- Helps your ice maker run smoother
- Protects the internal water lines from sediment buildup
- Keeps your fridge working efficiently for years
Most manufacturers recommend swapping the filter every six months, or sooner if you notice a drop in water flow or a funny taste. If you have a big household and go through a lot of water, you might want to change it every four months instead.
Finding the Right Replacement Filter for Your Whirlpool Model
Before you start twisting anything, you need to make sure you have the right cartridge. Whirlpool uses a few common models, and grabbing the wrong one can lead to leaks or a filter that simply will not seat properly.
The most common Whirlpool fridge water filters are:
- EveryDrop Filter 1 (EDR1RXD1) — used in many side-by-side Whirlpool fridges
- EveryDrop Filter 2 (EDR2RXD1) — common in French door models
- EveryDrop Filter 3 (EDR3RXD1) — often found in newer Whirlpool fridges
- Whirlpool W10295370 — another widely used option
To figure out which one you need, do any of the following:
- Check your fridge owner's manual
- Look at the old filter itself (the model number is printed right on it)
- Search your fridge model number on the EveryDrop website
– Use the filter indicator light (some models tell you the part number on the display)
A quick personal tip: buy two filters at a time. Keep the spare in your pantry so you never forget. I keep a little sticky note on my fridge that says "Filter every 6 months," and I order the next one the day I swap the old one. No more swimming pool iced tea, ever.

Tools and Prep: What You Need Before You Start
The good news is, you do not need much. In fact, you might already have everything lying around your kitchen. Here is my go-to list:
- The correct replacement Whirlpool water filter
- A clean towel or paper towel (for any drips)
- A cup or pitcher (to catch flushed water)
- A flashlight (only if your filter lives in a dark corner)
That is literally it. No wrenches, no screwdrivers, no plumber on speed dial. If you can open a pickle jar, you can swap a fridge filter.
One thing I always do before starting is shut off the ice maker. It only takes a second and saves you from a small mess. Just lift the wire arm inside the ice bin to the "up" or "off" position.
Step-by-Step Guide: How to Replace Water Filter in Whirlpool Fridge
Let us get into the actual swap. The exact location of your filter will depend on your fridge style, so I will cover the three most common spots.
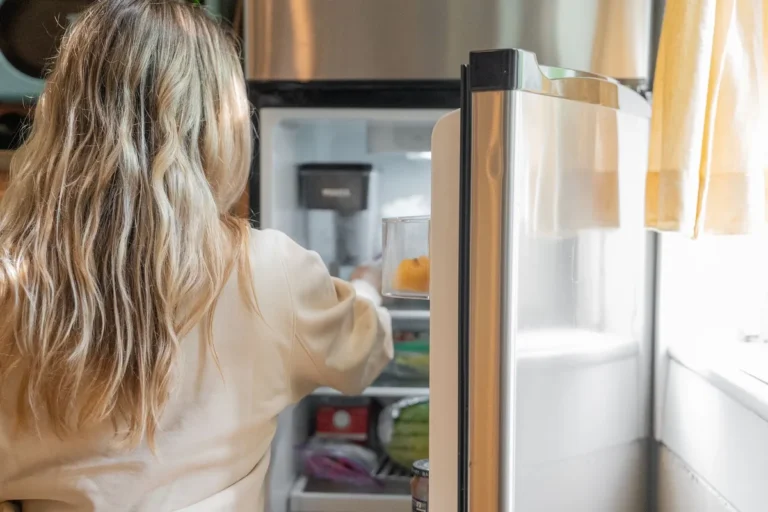
Step 1: Locate the Filter
Whirlpool fridges usually tuck the water filter in one of three places:
- Inside the fridge, upper right corner — most common in side-by-side models
- Base grille at the bottom front — common in French door models
- Inside the left door — found on some newer models
Take a quick peek in each spot. If you do not see it, your owner's manual will show you exactly where to look.
Step 2: Remove the Old Filter
Once you find it, here is how to take it out:
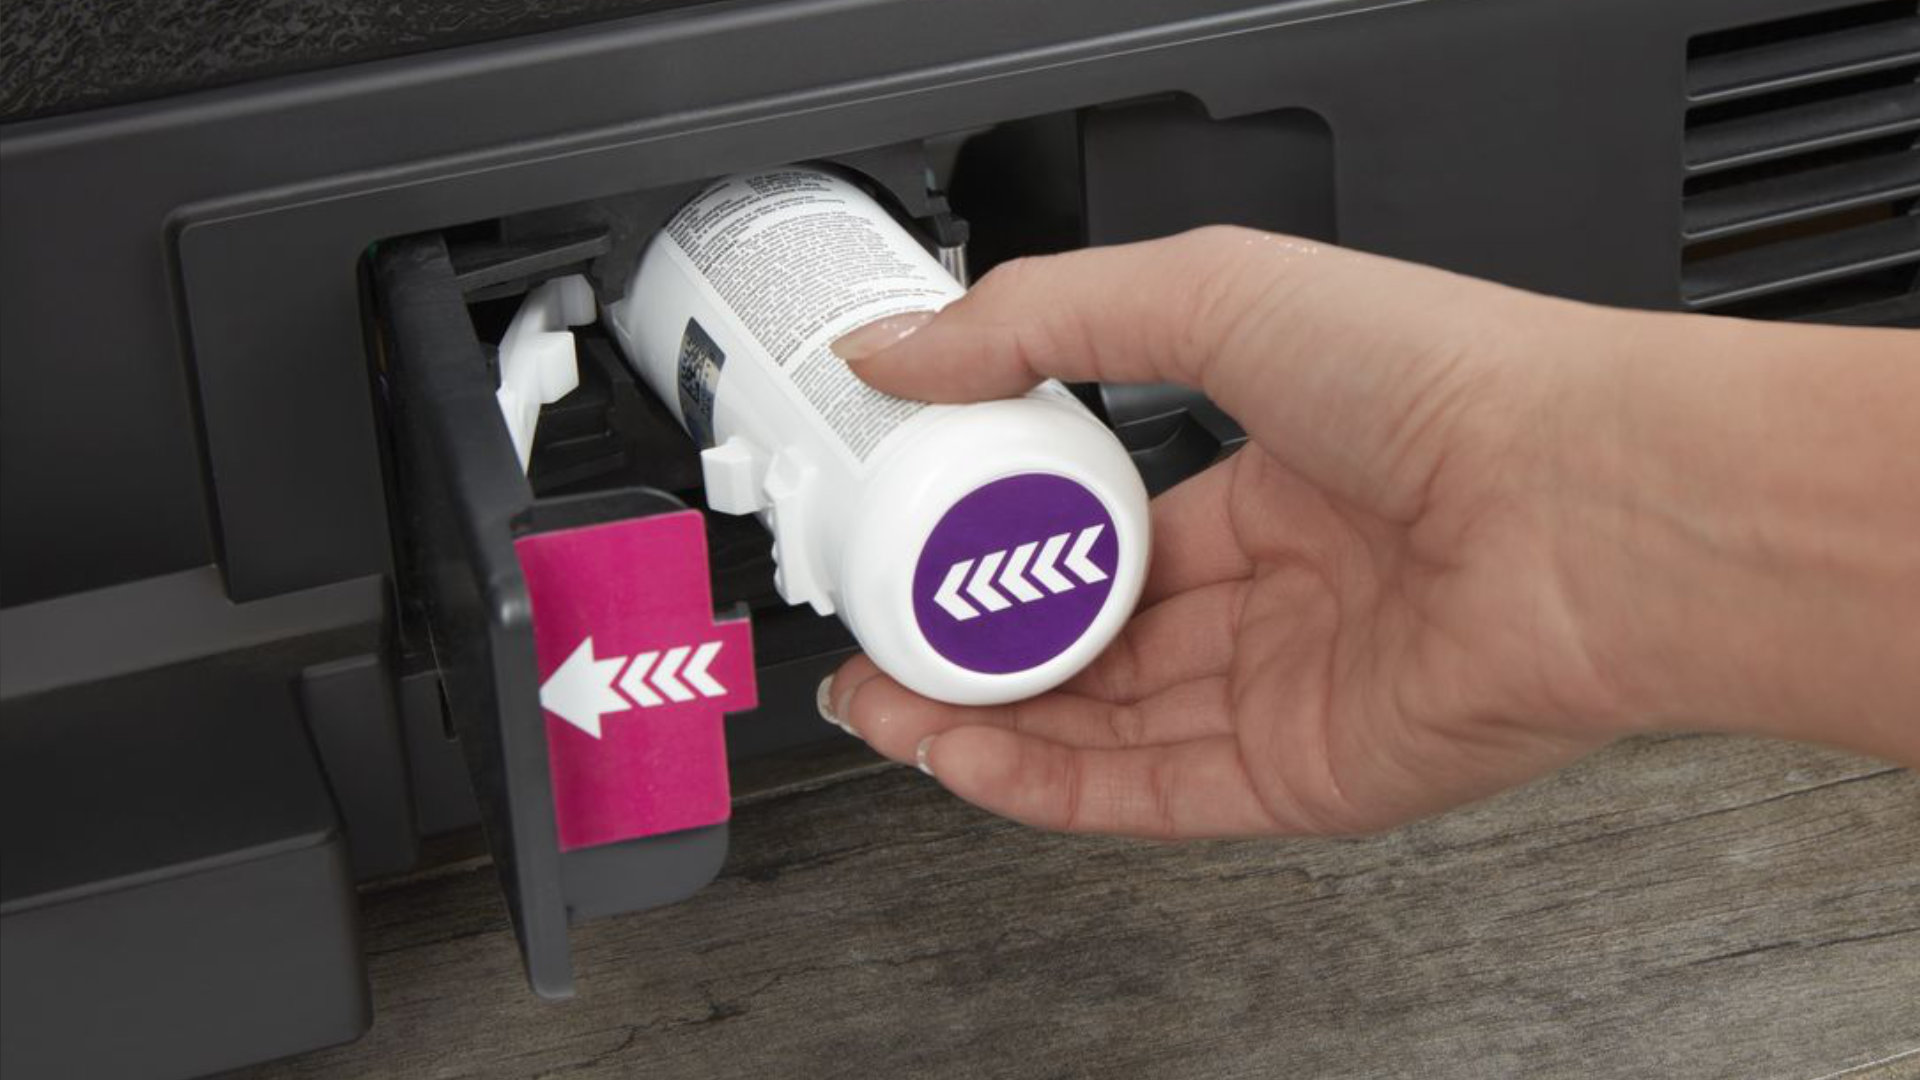
- Twist-out style (base grille location): Push the button or pull the tab to release the filter. Rotate the filter counterclockwise about a quarter turn and gently pull it straight out. A small amount of water may drip, so keep your towel handy.
- Push-in/pull-out style (inside the fridge): Press the release button or squeeze the clips on the filter caps. Pull the filter straight out toward you. Some models require you to wiggle it gently side to side as you pull.
- Door-mounted style: Simply pull the old filter straight out from the slot. Some have a small eject button.
The first time I did this, I was nervous I would break something. Trust me, the plastic is tougher than it looks. If it feels stuck, do not yank. Wiggle and pull at the same time, like you are pulling a stubborn weed.
Step 3: Prep the New Filter
Before you install the new cartridge, you need to prep it. This is the step most folks skip, and it is the reason their first glass of water tastes a little funny.
- Remove the plastic wrapper or cap from the ends
- Check the O-rings (the little rubber gaskets) to make sure they are seated properly
- If your filter came with a small packet of instructions, give them a quick read
Step 4: Install the New Filter
Now the fun part:
- For twist-in filters: Insert the new filter into the housing and rotate it clockwise until you hear a click or feel it lock. Do not overtighten — snug is enough.
- For push-in filters: Slide the new filter straight into the slot until you hear a click or feel the release button snap into place.
- For door filters: Push the new filter firmly into the slot until it clicks.
Make sure the filter is flush with the housing. If it sticks out even slightly, it is not seated correctly.
Step 5: Flush the New Filter
This is the most important step, and the one people skip the most.
- Run about 2 to 4 gallons of water through the dispenser to flush the filter
- Discard the first batch of ice from your ice maker
- Let the ice maker produce a new batch before using the ice
Flushing clears out any loose carbon particles and air pockets from manufacturing. It also helps your fridge prime the new filter so it works at full capacity. I usually run a large pot of water through and use it to water my plants — no waste, and my ferns love it.
Step 6: Reset the Filter Indicator Light
Most Whirlpool fridges have a filter light that glows orange or red when it is time to change. After you install the new filter, you need to reset the light, or it will keep nagging you.
To reset:
- Press and hold the "Filter" button on your control panel for about 3 seconds
- On some models, you press and hold the "Light" and "Filter" buttons together
- The light should turn from orange/red to green, or disappear completely
Check your owner's manual if you are not sure. I have accidentally left the light on for months before because I did not know how to reset it on my French door model — it uses a button combo, not a single button.

Common Mistakes to Avoid When Replacing Your Whirlpool Filter
Over the years, I have seen (and made) just about every mistake possible. Here are the biggest ones to dodge:
- Using the wrong filter model: Always double-check the part number. A wrong fit can leak or reduce water flow.
- Skipping the flush: Your first glass will taste like a charcoal pencil if you skip this step.
- Overtightening the filter: Plastic threads can crack. Snug is all you need.
- Forgetting to reset the indicator: Not harmful, but annoying.
- Ignoring the O-ring: If the rubber gasket is missing or twisted, the filter will leak.
- Not turning off the ice maker: You might end up with a mini iceberg in your ice maker tray.
A friend of mine once forced the wrong filter into his fridge and cracked the housing. It cost him $120 for a replacement part. Two minutes of checking the model number would have saved him a frustrating afternoon.
How Often Should You Replace Your Whirlpool Fridge Water Filter?
The general rule is every six months, but your actual schedule depends on a few things:
- Household size: More water use = more frequent changes
- Water quality: Hard or heavily chlorinated water clogs filters faster
- Usage habits: If you fill a water bottle every day, change it more often
- Manufacturer recommendation: Whirlpool says six months or 200 gallons, whichever comes first
A simple way to remember: change it when you change your clocks for daylight saving time. Twice a year, and you are golden.
Signs Your Whirlpool Water Filter Needs Replacing Sooner
Sometimes six months is too long. Watch out for these red flags:
- Water tastes funny, metallic, or like chlorine
- Ice smells off or tastes stale
- Water flow from the dispenser slows down
- Ice cubes are smaller than usual
- The filter indicator light turns on (yes, even if it just changed)
I always tell people: if your water does not taste as crisp as it did last week, the filter is probably due.
Maintaining Your Whirlpool Fridge Water Filter System
A little care goes a long way. Here is my quick maintenance checklist:
- Wipe the filter housing with a damp cloth during swaps
- Check for leaks after every install
- Keep a log or sticky note of your swap dates
- Buy filters in bulk to save money
- Use only genuine Whirlpool or EveryDrop filters for best results
Genuine filters cost a few dollars more, but they are built to fit perfectly and filter properly. Off-brand filters can let contaminants through or even damage your fridge over time.
Where to Buy Replacement Whirlpool Water Filters
You have plenty of options:
- Whirlpool's official website
- EveryDrop website
- Amazon (look for "Ships from and sold by Amazon.com" to avoid fakes)
- Home Depot, Lowe's, or Best Buy
- Local appliance repair shops
Pro tip: subscribe to a filter delivery service. Many retailers offer discounts when you set up automatic shipments every six months. You will never forget again.
Frequently Asked Questions
How do I know which Whirlpool water filter my fridge uses?
Check the model number printed on your current cartridge or look it up using your fridge's model number on the EveryDrop website.
Can I use a generic filter instead of a Whirlpool brand?
You can, but I do not recommend it. Off-brand filters may not fit perfectly or filter as effectively. Genuine filters are tested to meet strict performance guidelines.
Is it normal for water to sputter when I first install a new filter?
Yes, completely normal. The sputtering is air being pushed out of the lines and filter. Run a few gallons through and it will smooth out.
Do I need to turn off the water before changing the filter?
Most Whirlpool models do not require this because the filter has a built-in shutoff valve. Just keep a towel handy for drips.
What happens if I forget to replace the filter?
Your water quality drops, ice may taste off, and the filter can become so clogged that it slows water flow or stresses your fridge's water line.
Wrapping It Up
Swapping your Whirlpool fridge water filter is one of those small home tasks that pays off in a big way. You get better-tasting water, cleaner ice, and a healthier appliance, all for the price of a cartridge and five minutes of your time. Once you do it the first time, it becomes second nature — like wiping down the counters or taking out the trash.
Pick up a spare filter the next time you are at the store, set a reminder on your phone, and your future self will thank you every time you fill a glass. Cheers to crisp, clean water and a fridge that runs like new.