How Long to Run Water After Changing Ro Filter 2026
So, you've just swapped out your RO filter(s), and now you're wondering how long you should run the water to make sure everything's settled and clean. It’s a super common question, and the answer isn't always as simple as "five minutes."
Think of it like this: when you change the oil in your car, you don't just fill it up and hit the gas super hard right away, right? You let it circulate a bit. It's kinda the same idea with your reverse osmosis system. Manufacturer specifications for common residential RO systems typically indicate a flush volume of 5-10 gallons after a full filter change.
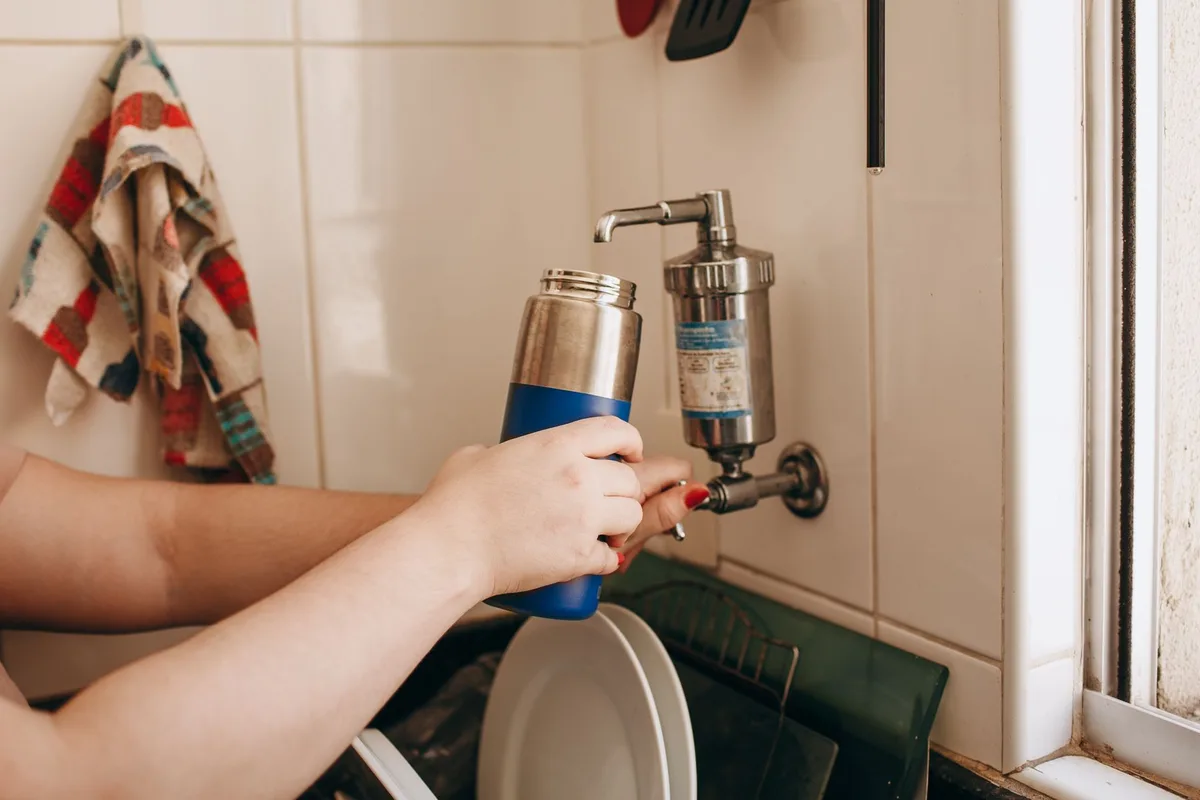
Why Do We Need to Flush It?
When you install a new filter, there can be some fine dust or loose particles from the manufacturing process still clinging to it. Also, the new filter media itself needs to get fully saturated with water. Running water through it helps to wash out and remove any residual impurities. This process is critical for ensuring you're getting the purest water possible right from the start.
Running water through the new components also helps saturate the filter media and removes any trapped air that might have been introduced during the installation. Most residential RO unit manuals advise a flush following the installation of new filters to ensure optimal performance and water quality.
How Long Should You Actually Run It?
This is where it gets a little nuanced, and thankfully, we can break it down. It sort of depends on what you changed and the system you have.
Flushing Pre-filters Only
If you've only changed out the sediment or carbon pre-filters, these are typically the first stages in the filtration line. These filters are primarily designed to catch larger particles and chlorine, protecting the more sensitive RO membrane. A good rule of thumb here is to run about 2-3 gallons of water. This is usually sufficient to flush out any manufacturing dust and prepare them to work effectively.
Flushing the RO Membrane
If you've replaced the RO membrane, which is the core component performing the actual reverse osmosis, it requires a more thorough flush. This membrane is responsible for removing a wide range of dissolved solids and contaminants. You'll want to run your system for a longer period or flush out a larger volume of water. Many manufacturers recommend running 8-12 gallons of water.
Alternatively, some advise allowing the system to run and flush without collecting water for approximately 1-2 hours. This ensures the membrane is fully rinsed and ready.
Flushing All Filters
When you undertake a comprehensive filter change, replacing all stages including sediment pre-filters, the RO membrane, and the post-filter, it's best to follow the recommendation for the RO membrane. Since the membrane requires the longest flush time, this approach ensures all new components are properly rinsed. Therefore, aim for that 8-12 gallon flush or the 1-2 hour run time. This covers all your bases and ensures the entire system is clean and ready to go.
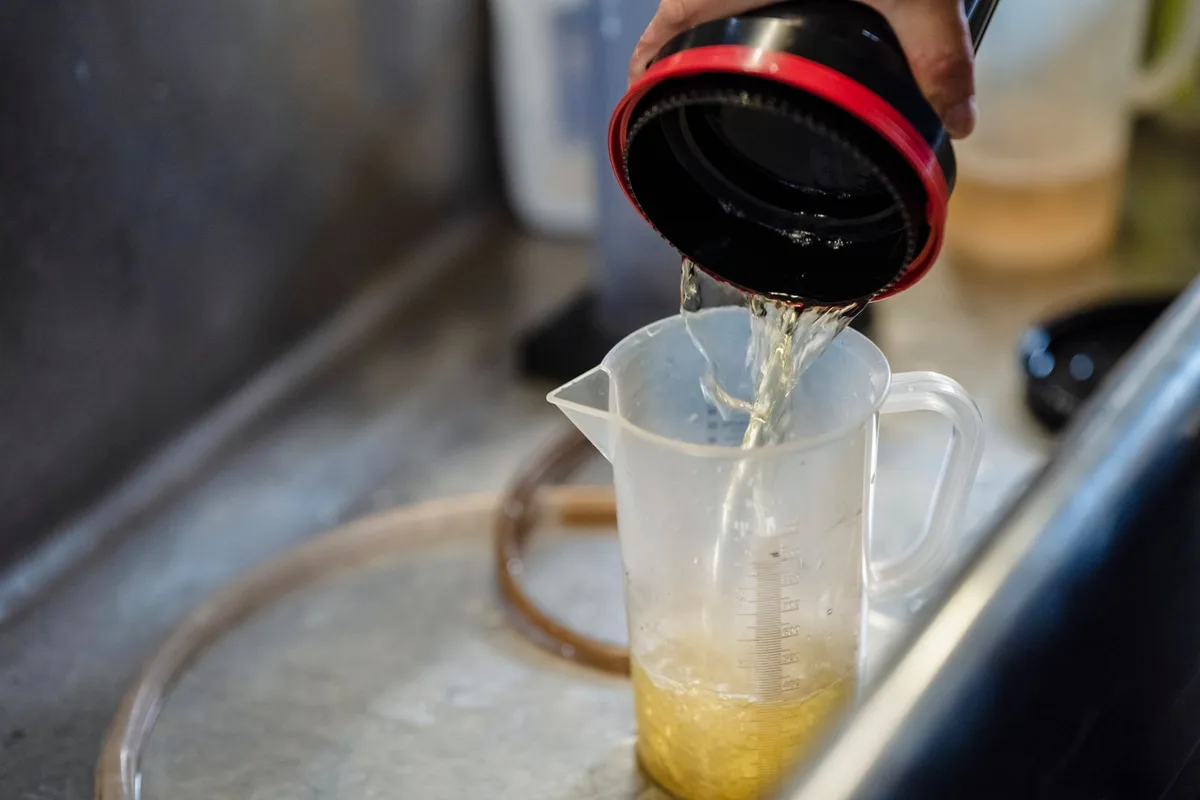
What If I Don't Know What I Changed?
If you're not entirely sure which specific filters were swapped out during your maintenance, it's always the safest bet to go with the longer flushing recommendation. It's better to over-flush by a little bit than to under-flush and risk drinking imperfectly filtered water. When in doubt, flushing for the amount recommended for a full membrane change covers all components and ensures maximum purity.
How to Tell When It's Ready
The most straightforward way to determine if your system is ready is to keep track of the volume of water you've flushed. If your RO system has a dedicated faucet, you can time how long it takes to fill a known volume, like a gallon jug, and then calculate the total flushed amount. For systems with a storage tank, you can allow the tank to fill up and then drain it a couple of times.
Some users also notice a subtle change in the water's taste or smell. Initially, the water might have a slightly unusual or "chalky" aftertaste. After a proper flush, this should dissipate, returning the water to the clean, crisp taste characteristic of high-quality RO water. As of 2026, this sensory check remains a common, albeit subjective, method for confirming post-flush readiness.
Common Mistakes to Avoid During Your RO Filter Flush
When you're doing routine maintenance on your reverse osmosis system, it's easy to overlook small details that can impact performance. One common mistake is not running enough water after changing the filters. This can lead to new filters not being properly saturated or carrying over manufacturing residues into your drinking water supply.
Another oversight is neglecting to check the system's connection points for leaks after the filter change. While not directly related to flushing duration, a loose connection can cause bigger problems than un-flushed water. Always double-check all O-rings and fittings before and after running water.
Expert Tips for Optimal RO System Flushing
To get the most out of your RO system after a filter change, consider a few expert-recommended practices. Always consult your specific RO system's manual for manufacturer-recommended flush volumes and times. These can vary slightly based on the model and the types of filters used in the system.
For instance, some high-end systems might have specific requirements to ensure the advanced filtration media reaches peak efficiency. Following these guidelines precisely, as outlined by the manufacturer, is key to maximizing the lifespan and performance of your filters.
What Can Lead to a Bad-Tasting Flush?
A bad-tasting flush is usually a sign that not enough water has been run through the new filters. New carbon filters, in particular, can sometimes release a small amount of carbon fines initially. If you taste something metallic, chalky, or just "off," it typically means you need to continue flushing the system.
Running more water than you think is necessary can help ensure all these initial tastes and odors are purged. If the taste persists after flushing a significant volume, it might indicate a different issue with the system or the new filters themselves.
How Often Should You Really Replace RO Filters?
The frequency of RO filter replacement depends on several factors, including your local water quality and your system's usage. Generally, sediment and carbon pre-filters are recommended for replacement every 6-12 months. The RO membrane, being the most critical component, often lasts longer, typically 2-5 years, but this can be significantly impacted by pre-filter maintenance.
If your household uses a lot of water, or if your source water has a high concentration of dissolved solids, you might need to replace filters more frequently. Monitoring your system's performance, such as water flow rate and taste, provides the best indicators for when it's time to change your filters.
Understanding RO System Maintenance Schedules
Establishing a consistent maintenance schedule is crucial for the longevity and effectiveness of your reverse osmosis system. Most manufacturers provide a recommended schedule, often detailing different replacement intervals for various filter types. For example, one common standard suggests replacing sediment and carbon pre-filters every 6-12 months, while the RO membrane might be recommended for every 2-5 years.
Adhering to this schedule ensures your system consistently provides high-quality purified water. Skipping regular maintenance can lead to reduced water quality, decreased flow rates, and potentially premature failure of system components.