How To Change Sub Zero Water Filter: Quick 2026 Guide
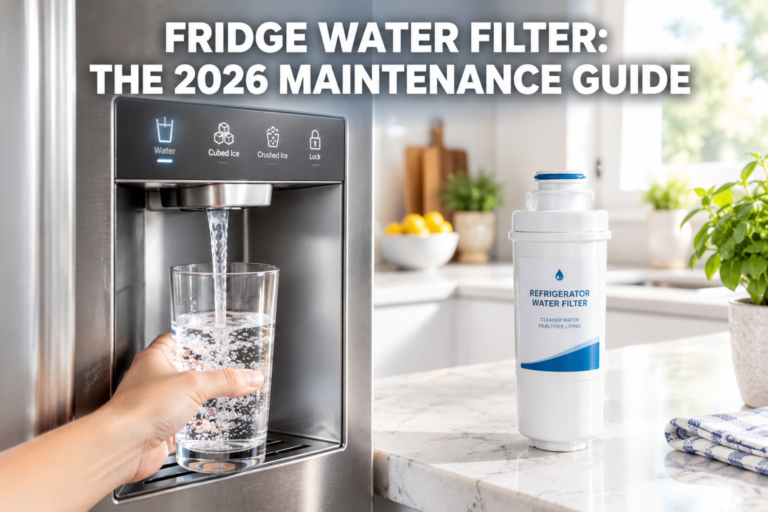
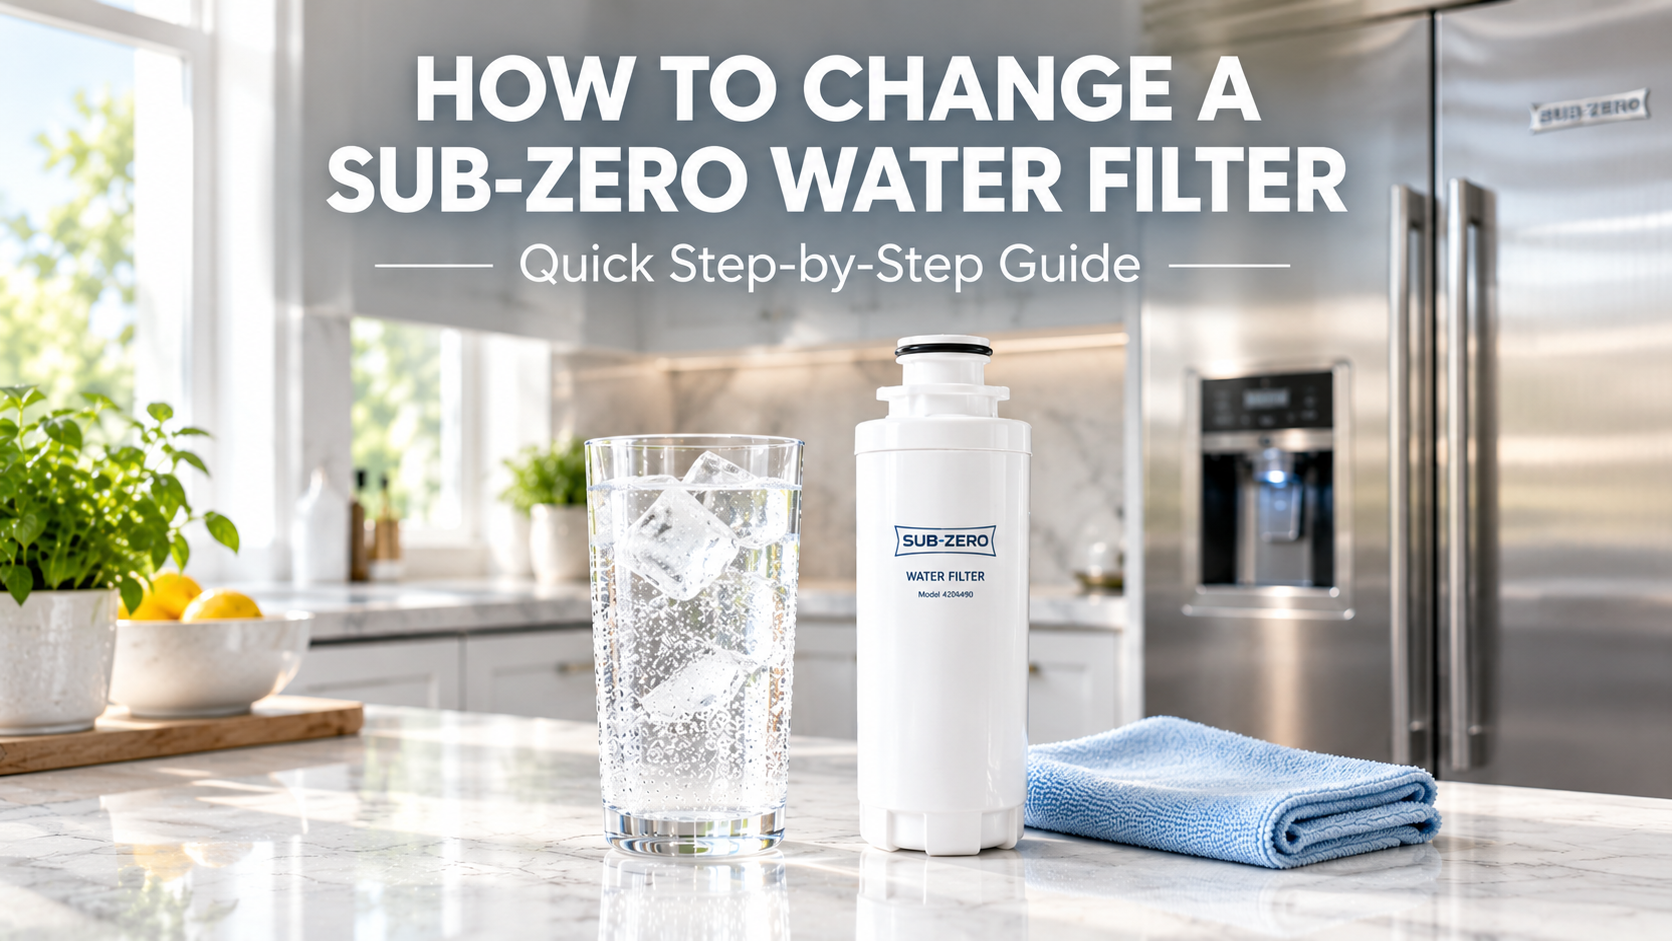
Changing your Sub-Zero water filter is a straightforward task you can finish in about ten minutes using just a few simple tools. With the right steps, your refrigerator will deliver clean, fresh water again in no time.
I’ve owned a Sub-Zero fridge for years, and I’ll never forget the first time I ignored that little filter light. The water started tasting a bit off, and ice cubes looked cloudy. That tiny mistake taught me how important regular maintenance really is. Once I learned how to change the Sub-Zero water filter the right way, the difference was instant and honestly, it felt great knowing I could handle it myself without calling a technician. Whether you’re a first-time owner or just need a quick refresher, this guide will walk you through everything you need to know, from gathering tools to resetting the indicator light. Let’s dive in.

Why Changing Your Sub-Zero Water Filter Matters
Your refrigerator’s water filter works quietly in the background, but it plays a huge role in keeping your drinking water clean and safe. Over time, filters collect sediment, chlorine, and other impurities. If you skip replacements, those trapped particles can build up and actually do the opposite of what you want.
Here’s what happens when you stay on top of filter changes:
- Better tasting water and clearer ice
- Reduced contaminants like lead, chlorine, and cysts
- Improved refrigerator efficiency
- Longer lifespan for your internal water system
Most manufacturers recommend replacing the filter every six months, but if you notice a drop in water flow or a strange taste, it’s probably time sooner. Think of it like changing the oil in your car, regular care keeps everything running smoothly.
Tools and Supplies You’ll Need
Before you start, gather everything in one place so you’re not running back and forth to the kitchen drawer.
- Replacement Sub-Zero water filter (make sure it’s the correct model)
- Soft cloth or towel
- Flathead screwdriver or filter removal tool (some models include one)
- A cup or small container to catch drips
Pro tip: Always double-check the filter model number on your fridge’s documentation. Sub-Zero uses different filters depending on the model, and the wrong one simply won’t fit.
Locating the Water Filter on Your Sub-Zero Refrigerator
Sub-Zero refrigerators typically have the water filter in one of two places:
- Inside the refrigerator compartment, near the top right or left corner
- Behind the kickplate at the bottom front of the unit
In built-in models, the filter is usually tucked behind the grille at the base. In classic models, you’ll often see it inside the fridge, right above the top shelf. Knowing your exact model will save you time when hunting for it.
If you’re unsure, check the owner’s manual or look for a small round or rectangular cap labeled “Filter.” When you find it, you’re halfway there.
Step-by-Step Guide to Changing Your Sub-Zero Water Filter
Changing the filter is easier than most people think. Follow these steps and you’ll have fresh, filtered water flowing in minutes.
Step 1: Turn Off the Water Supply (If Needed)
Some models allow you to change the filter without shutting off the water, but it’s always safer to turn the supply valve clockwise until it’s fully closed. This prevents small leaks or sprays when you remove the old cartridge.
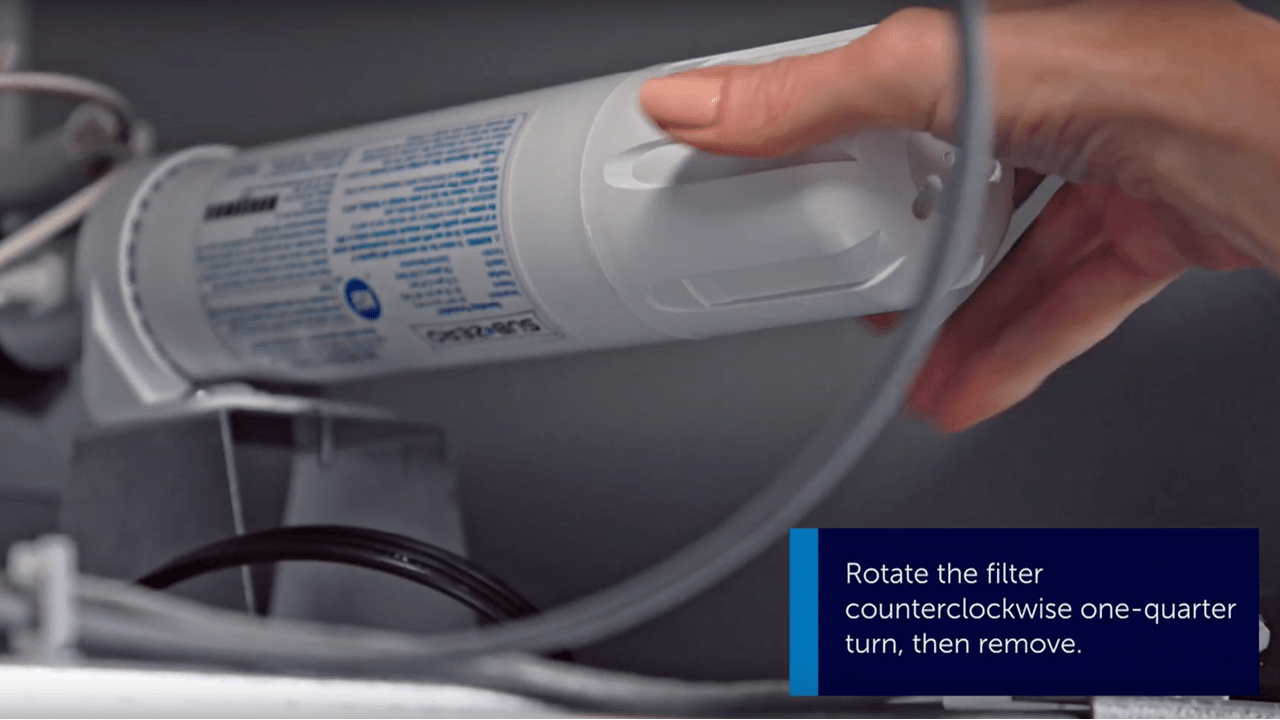
Step 2: Remove the Old Filter
- For twist-in filters: Turn the filter counterclockwise until it releases.
- For push-button filters: Press the release button and gently pull the filter straight out.
- For models behind the kickplate: Use the removal tool or a flathead screwdriver to turn the filter a quarter turn and slide it out.
Place a towel underneath to catch any drips. It’s normal for a little water to spill out, so don’t panic.
Step 3: Prepare the New Filter
Take your new Sub-Zero filter out of its packaging and remove any protective wrapping. If the new cartridge has a small cap or seal, pull it off before installation.
Some filters need to be soaked in water for a few minutes before use. Check the instructions that come with the filter, this step helps remove loose carbon particles.
Step 4: Install the New Filter
- Insert the filter into the housing.
- Turn it clockwise until it clicks or locks into place.
- Make sure it sits flush and level with the surrounding surface.
If it doesn’t slide in easily, don’t force it. You might have the wrong model. A proper fit feels snug and secure.
Step 5: Turn the Water Supply Back On
Slowly open the supply valve counterclockwise. Listen for any hissing or spraying sounds. If you hear or see leaks, turn the water off again and check that the filter is properly seated.
Step 6: Flush the System
This is the step most people forget, and it’s the most important. Run about two to three gallons of water through the dispenser before you take a drink. You’ll likely see black or grey carbon dust at first, that’s just loose filtration media flushing out. Once the water runs clear, your fridge is ready to go.

Resetting the Filter Indicator Light
After replacing the filter, you need to reset the indicator light so it can start counting down to the next replacement.
Here’s how it works on most Sub-Zero models:
- Press and hold the “Filter Reset” button for about 5 seconds.
- The light will turn off or change color (usually from red to green).
- Some newer models reset automatically when a new filter is detected.
If you can’t find the reset button, check the control panel or the owner’s manual. Skipping this step means your fridge will keep reminding you to change the filter even though you’ve already replaced it.
Common Mistakes to Avoid When Changing the Filter
Even though it’s a simple job, a few missteps can cause frustration. Here’s what I’ve learned from personal experience:
- Forgetting to flush the system: The first few glasses of water may contain carbon residue. Always flush before drinking.
- Using non-Sub-Zero filters: Off-brand filters might fit, but they often lack proper certifications and may reduce performance.
- Forcing a stuck filter: If the old filter won’t budge, don’t yank it. You could damage the housing. Use the removal tool or call a professional.
- Skipping the indicator reset: This won’t affect filtration, but it’s annoying to see that warning light constantly on.
How Often Should You Change Your Sub-Zero Water Filter?
The general rule is every six months, but your usage matters. If your household drinks a lot of water or uses ice constantly, you might need to replace it sooner. Here’s a quick guide:
- Light use (1–2 people): every 9–12 months
- Average use (3–4 people): every 6 months
- Heavy use (large family or lots of ice): every 4 months
Keep an eye on water taste, flow rate, and ice clarity. These are your best clues that it’s time for a new filter.
Benefits of Regular Filter Replacement
Staying on top of this small chore pays off in more ways than one:
- Healthier drinking water free of chlorine, lead, and other contaminants
- Better-tasting coffee, tea, and ice
- Lower risk of bacterial buildup inside the filter housing
- Energy savings because your fridge doesn’t have to work as hard to push water through a clogged filter
Think of it as a small investment in your family’s health and your appliance’s longevity.

What to Do With the Old Filter
Don’t just toss it in the trash. Many filter brands, including Sub-Zero, offer recycling programs. You can also repurpose old filters for non-drinking uses around the house, like in a workshop or garden (just make sure they’re not leaking harmful substances into the soil).
Frequently Asked Questions
How long does it take to change a Sub-Zero water filter?
The entire job usually takes about 5 to 15 minutes, depending on your model and experience. The actual swap takes just a few minutes, but flushing the system afterward adds a bit of extra time.
Do I need to turn off the water before changing the filter?
In most Sub-Zero models, you don’t need to shut off the main water supply, but turning it off can help prevent small spills. If you’re unsure, check your owner’s manual for model-specific instructions.
Why is my water cloudy after changing the filter?
Cloudy water or small particles are normal right after installation. That’s just loose carbon dust flushing out. Run a few gallons through the dispenser until the water runs completely clear.
Can I use a non-Sub-Zero replacement filter?
Technically, some third-party options may fit, but Sub-Zero recommends using genuine filters to ensure proper performance and contaminant reduction. Off-brand filters may not meet NSF certifications.
What happens if I forget to reset the filter light?
Nothing major will happen to the water quality, but the light will stay on until you reset it. It’s just a reminder system and doesn’t control filtration itself.
Final Thoughts
Changing your Sub-Zero water filter is one of those simple tasks that makes a big difference. With just a few minutes of work, you’ll enjoy cleaner water, clearer ice, and a fridge that runs more efficiently. Once you’ve done it once, it becomes second nature. So grab your replacement filter, follow these steps, and give your fridge the refresh it deserves. If you found this guide helpful, feel free to share it with a friend or leave a comment with your own tips, I’d love to hear how your filter swap went.