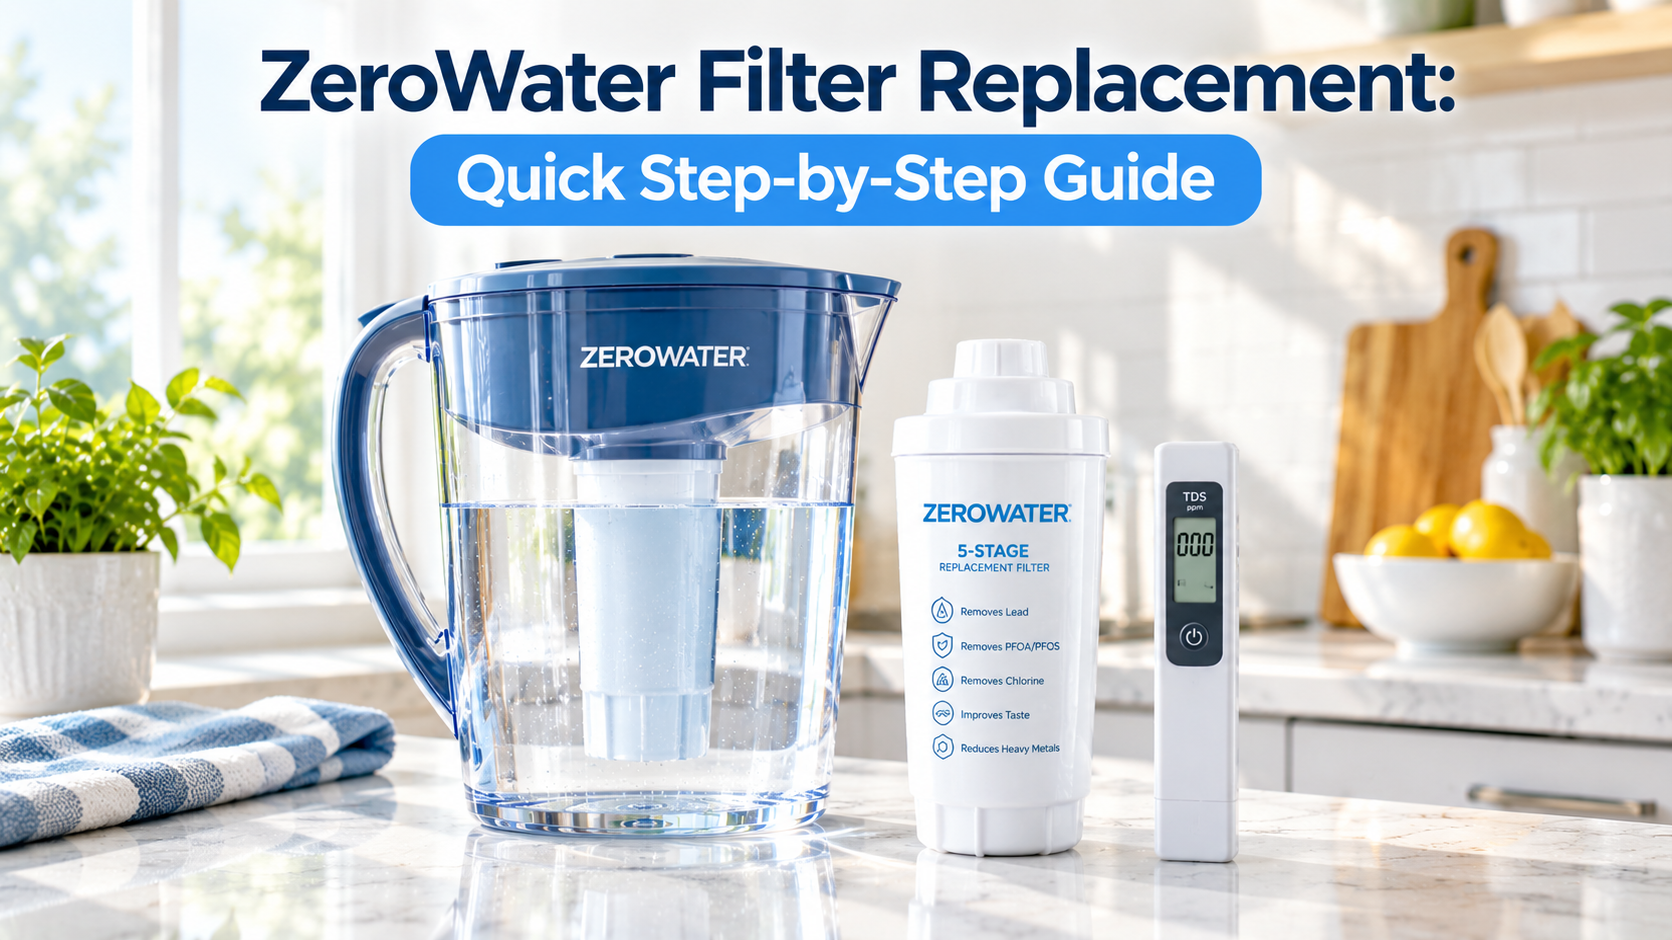
Zero Water Filter Replacement How To: Quick 2026 Guide
Zero water filter replacement takes only a few minutes. Turn off the dispenser, remove the old filter, insert the new one, and flush it with cold water before drinking.
If your water tastes off or your TDS meter shows rising numbers, it's time for a ZeroWater filter replacement. I've swapped out dozens of these filters over the years, and I can tell you the process is simple once you know the steps. This guide walks you through everything from spotting the signs to installing a new filter the right way, so you keep getting clean, great-tasting water every day.
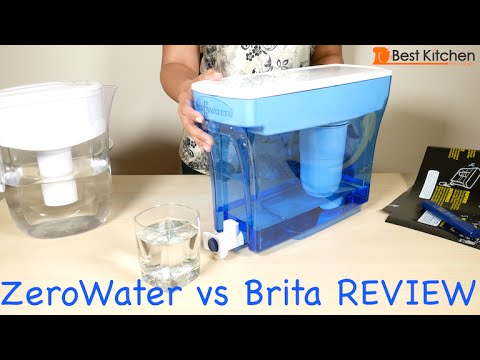
Why ZeroWater Filter Replacement Matters
ZeroWater uses a five-stage ion exchange system that pulls out dissolved solids, lead, chlorine, and other contaminants. Unlike standard carbon filters, it actually reduces total dissolved solids (TDS) down to 000 on the included meter. But here's the catch: that filter can only hold so much. Once it's full, the water quality drops fast.
Regular replacement keeps your water safe, your coffee tasting right, and your ice cubes crystal clear. It also protects the dispenser itself from buildup that can shorten its life. Think of it like changing the oil in your car. Skip it, and problems pile up.
Signs Your ZeroWater Filter Needs Changing
You'll know it's time when one or more of these shows up:
- TDS meter reads above 006 after filtering.
- Water starts tasting flat, metallic, or slightly sweet.
- Filter flow slows down to a trickle.
- It's been about 25 to 40 gallons of use, or roughly 4 to 6 weeks.
I keep a small notebook on my fridge where I log the date every time I change a filter. It's old school, but it works. Some people stick a piece of tape on the dispenser with the swap date. Either way, tracking saves you from guessing.
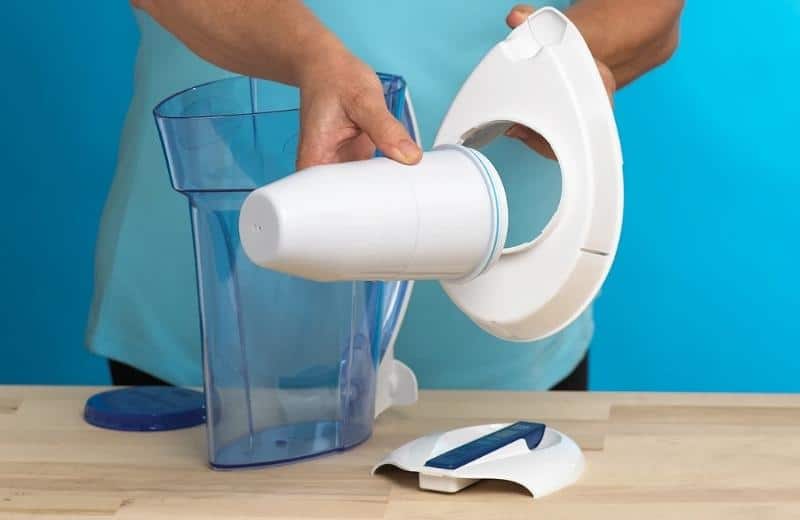
Tools and Supplies You Need
Good news: you don't need much. Just gather these before you start:
- A new ZeroWater replacement filter (the standard 5-stage or extended life, depending on your pitcher).
- Your TDS meter (comes with every ZeroWater pitcher).
- A clean sink or pitcher to catch water.
- A towel for drips.
- Cold tap water for flushing.
That's it. No wrenches, no special tools. If your hands are slippery from old water, a dry dish towel helps you grip the new filter during install.
Step by Step ZeroWater Filter Replacement
This whole process takes under five minutes once you've done it a few times. Walk through these steps in order.
Step 1: Remove the Old Filter
Take the lid off your pitcher. Reach in and grab the filter. Twist it to the left (counterclockwise) while pulling up gently. It should slide right out. If it feels stuck, don't force it. A slight back and forth wiggle usually breaks the seal.
Step 2: Recycle or Dispose of the Old Filter
ZeroWater runs a recycling program in the US. You can mail used filters back in the prepaid envelope that often comes with new ones, or drop them at participating retailers. The plastic body is recyclable, and the inside carbon and ion exchange resin gets processed properly. If you can't recycle, toss it in regular trash. Don't try to clean and reuse it. Once it's spent, it's done.
Step 3: Prep the New Filter
Take the new filter out of its wrapper. Remove the plastic cap covering the top and bottom. Some filters come with a small plastic seal over the threads. Peel that off too. The filter should look clean and white on the outside.
Step 4: Soak and Rinse the New Filter
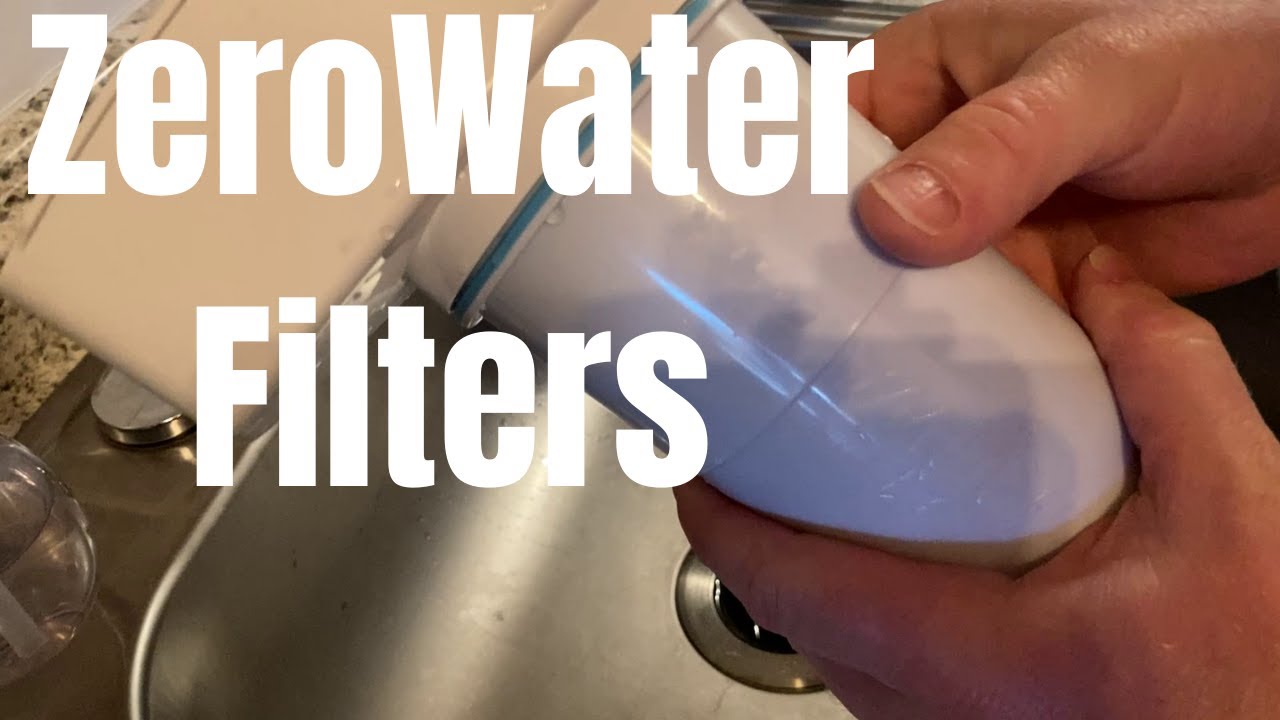
This is the step most people skip, and it's the one that causes the most complaints about taste. Run cold tap water over the filter for about 30 seconds. Then soak it in a bowl of cold water for 5 to 10 minutes. This removes loose carbon dust and gets the resin ready to work. Skipping this leads to black flecks in your first few cups of water.
Step 5: Install the New Filter
Drop the filter into the reservoir. Line up the threads at the bottom. Twist to the right (clockwise) until it seats firmly. Don't overtighten. Hand tight is perfect. If it wobbles, you didn't align it right. Lift it out and try again.
Step 6: Flush the Filter
Fill the upper reservoir with cold tap water and let it drain through twice. The first flush will look cloudy or have tiny black specks. The second flush should come out clear. After that, your water is ready to drink.
Step 7: Test with Your TDS Meter
Pour a glass of filtered water and dip the meter in. You should see a reading of 000 or very close. If it's 005 or higher, run another pitcher through. If it stays high, you may have a bad filter. Contact ZeroWater customer service. They usually send a replacement fast.
Common Mistakes to Avoid
Even simple jobs have pitfalls. Here are the slip-ups I see most often:
- Skipping the soak step. That black dust in the first pour isn't dangerous, but it scares people. Soaking prevents it.
- Using hot water. Heat damages the resin inside the filter. Always use cold.
- Not tracking usage. Without a log, you'll forget when you last changed it. Set a phone reminder if notes aren't your thing.
- Tightening too hard. The threads are plastic. Over-torquing cracks them and causes leaks.
- Reusing old filters. Once the resin is full, flushing it won't bring it back. It needs to be replaced.
How Often Should You Replace a ZeroWater Filter?
ZeroWater officially rates their filters for about 25 to 40 gallons, depending on your tap water quality. In my house, with moderately hard water, one filter lasts about a month. If you have very hard water or high TDS coming in, you might burn through one in three weeks. The TDS meter is your best friend here. Check it weekly. Once readings stay above 006 after filtering, swap the filter.
ZeroWater Filter Replacement for Different Models
The core steps are the same, but there are small differences depending on which system you own.
Pitcher Models
Standard 5-stage pitchers like the 6-cup or 10-cup follow the steps above exactly. The filter drops straight into the lid reservoir.
Dispensers
The 40-cup Ready Pour and other dispensers use a similar twist-in filter, but the housing is larger. The same flush process applies. Just be ready to dump a lot of water on the first run. I usually do three full flushes on a new dispenser filter to clear out all the carbon dust.
Under-Sink and Bottle Filters
These install into a dedicated line or sit inside a bottle. The filter still twists in the same way, but you may need to disconnect a hose or cap. Always check your model's manual for exact steps, but the principle stays the same: remove, prep, install, flush.
Caring for Your New Filter
A little care goes a long way:
- Keep the pitcher in the fridge if you like cold water. Cold storage helps the resin last longer.
- Don't let the filter sit dry for weeks. If you go on vacation, soak it for 10 minutes before using it again.
- Always use cold water. Hot water ruins the ion exchange beads.
- Wipe the gasket area when you change filters. A clean seal prevents leaks.
Troubleshooting Common Issues
Even with perfect steps, things can go sideways.
Filter Won't Lock In
Check that the rubber O-ring is seated right. It should sit flat in the groove. If it's twisted, the filter won't seal.
Water Tastes Funny After Replacement
Run two or three pitchers through. Sometimes the resin needs a few cycles to fully activate. If the taste issue lasts more than a day, call support.
TDS Meter Reads High After Install
Run another flush. If it persists, you may have a defective filter. ZeroWater warranties their filters, so reach out.
Leaking Around the Filter
The filter isn't seated all the way. Twist it until it stops, but don't force it. A cracked housing will need to be replaced.

Frequently Asked Questions
How do I know when my ZeroWater filter needs replacing?
Your TDS meter will start reading 006 or higher after filtering, or you'll notice the water flow slowing down. Both are clear signs the resin is full and the filter needs swapping.
Can I wash and reuse a ZeroWater filter?
No. The ion exchange resin and carbon inside are single-use. Once they absorb contaminants, flushing won't restore them. You need a new filter.
How long does a ZeroWater filter last?
Most filters last 25 to 40 gallons, which works out to about 4 to 6 weeks for a typical household. Hard water shortens that. Soft water extends it.
Do I need to soak a new ZeroWater filter before using it?
Yes. A 5 to 10 minute soak removes loose carbon dust and conditions the resin. Skipping this leads to black specks in your first cups of water.
What happens if I use hot water with a ZeroWater filter?
Hot water damages the ion exchange resin and shortens the filter's life. Always use cold tap water with your ZeroWater system.
Conclusion
ZeroWater filter replacement is one of the easiest home maintenance tasks you can do. With a new filter, a quick soak, and a couple of flushes, you'll have clean, great-tasting water again in under five minutes. Keep an eye on your TDS meter, log your swap dates, and don't skip the prep steps. Your water, your coffee, and your peace of mind will all thank you. Got a question or a tip of your own? Drop it in the comments below. I'd love to hear how your swap went.