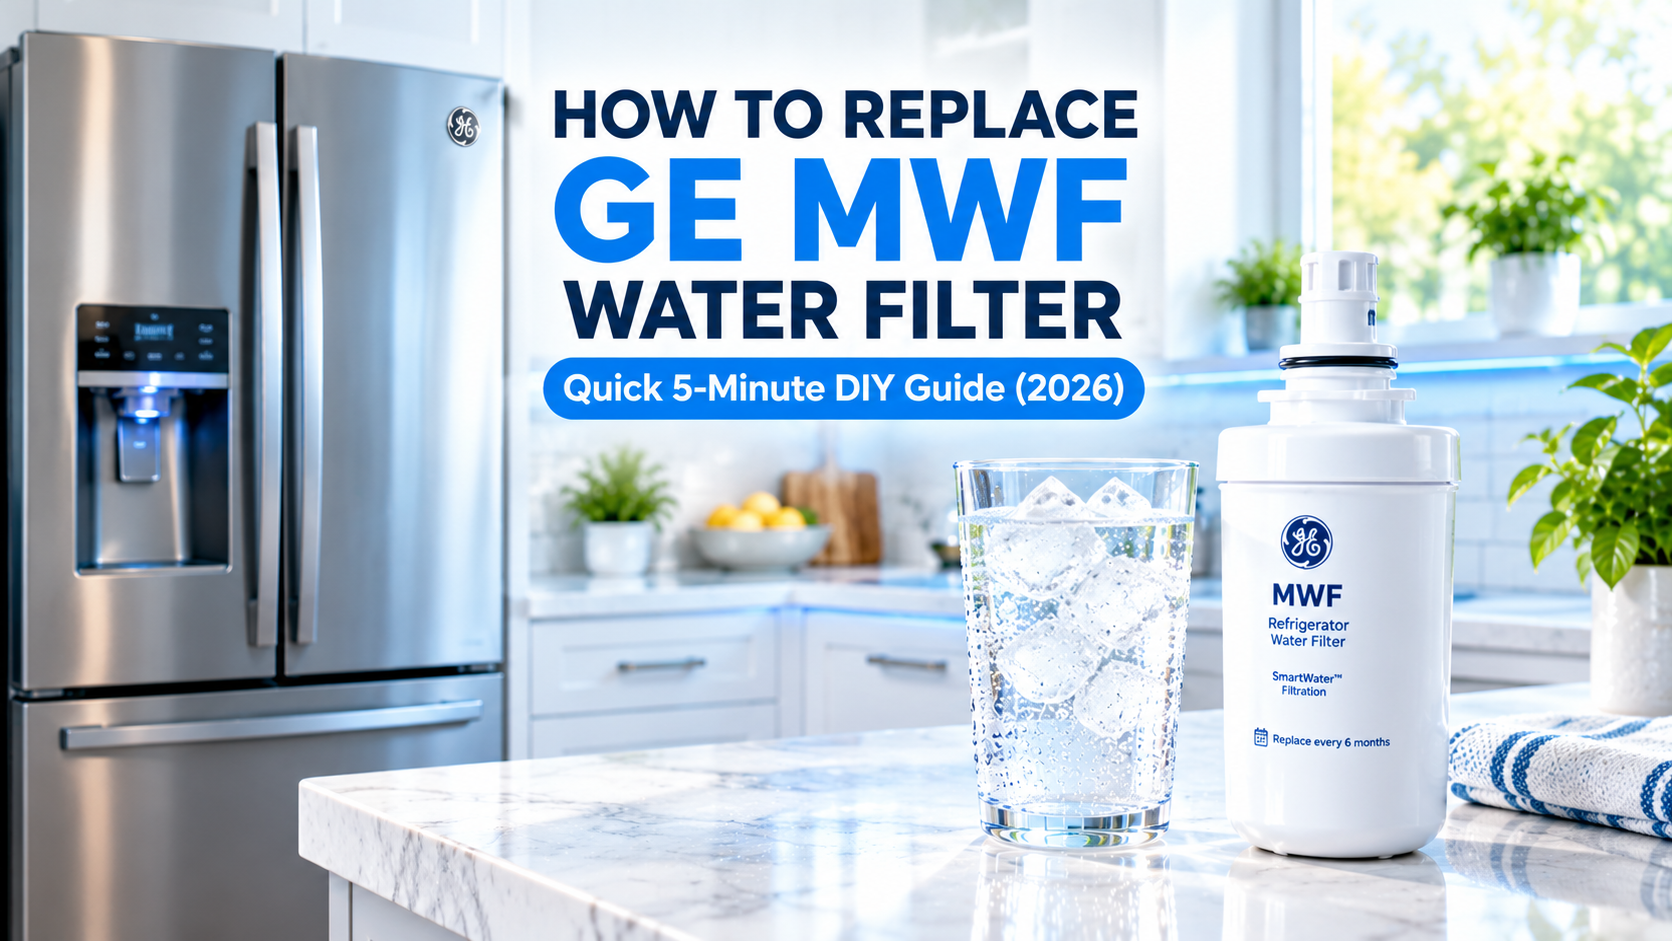
How To Replace Ge Water Filter Mwf: Quick 2026 Guide
Replacing your GE MWF water filter takes about five minutes, no tools needed—just twist, pull, and snap in the new one.
If you own a GE fridge, chances are you already know how important fresh, clean water is for your daily routine. From that first morning coffee to the glass of water before bed, your fridge's water and ice depend on a tiny but mighty part: the MWF filter. Over time, this filter traps chlorine, sediment, and other impurities, but it can only do its job for so long before it needs a swap. I've replaced mine dozens of times over the years, and trust me—it's one of the easiest home maintenance tasks you can do. Let me walk you through the entire process so you can keep your water tasting crisp and your fridge running smoothly without any stress.
Why Replacing Your GE MWF Filter Matters
Think of your MWF filter like a sponge. It soaks up contaminants day after day, but eventually, it gets full. When that happens, water flow slows down, ice might taste a bit off, and you might notice tiny particles in your glass. Most manufacturers recommend replacing it every six months or after filtering about 300 gallons, whichever comes first.
I learned this the hard way once. I ignored the "change filter" light for almost a year. My ice started looking cloudy, and the water had a faint metallic taste. A quick filter swap fixed everything instantly. Don't wait until things taste or smell weird—stick to a regular schedule.
What You'll Need
Here's the good news: you don't need much.
- A new genuine GE MWF (or compatible) replacement filter
- A cloth or paper towel for any small drips
- About five minutes of your time
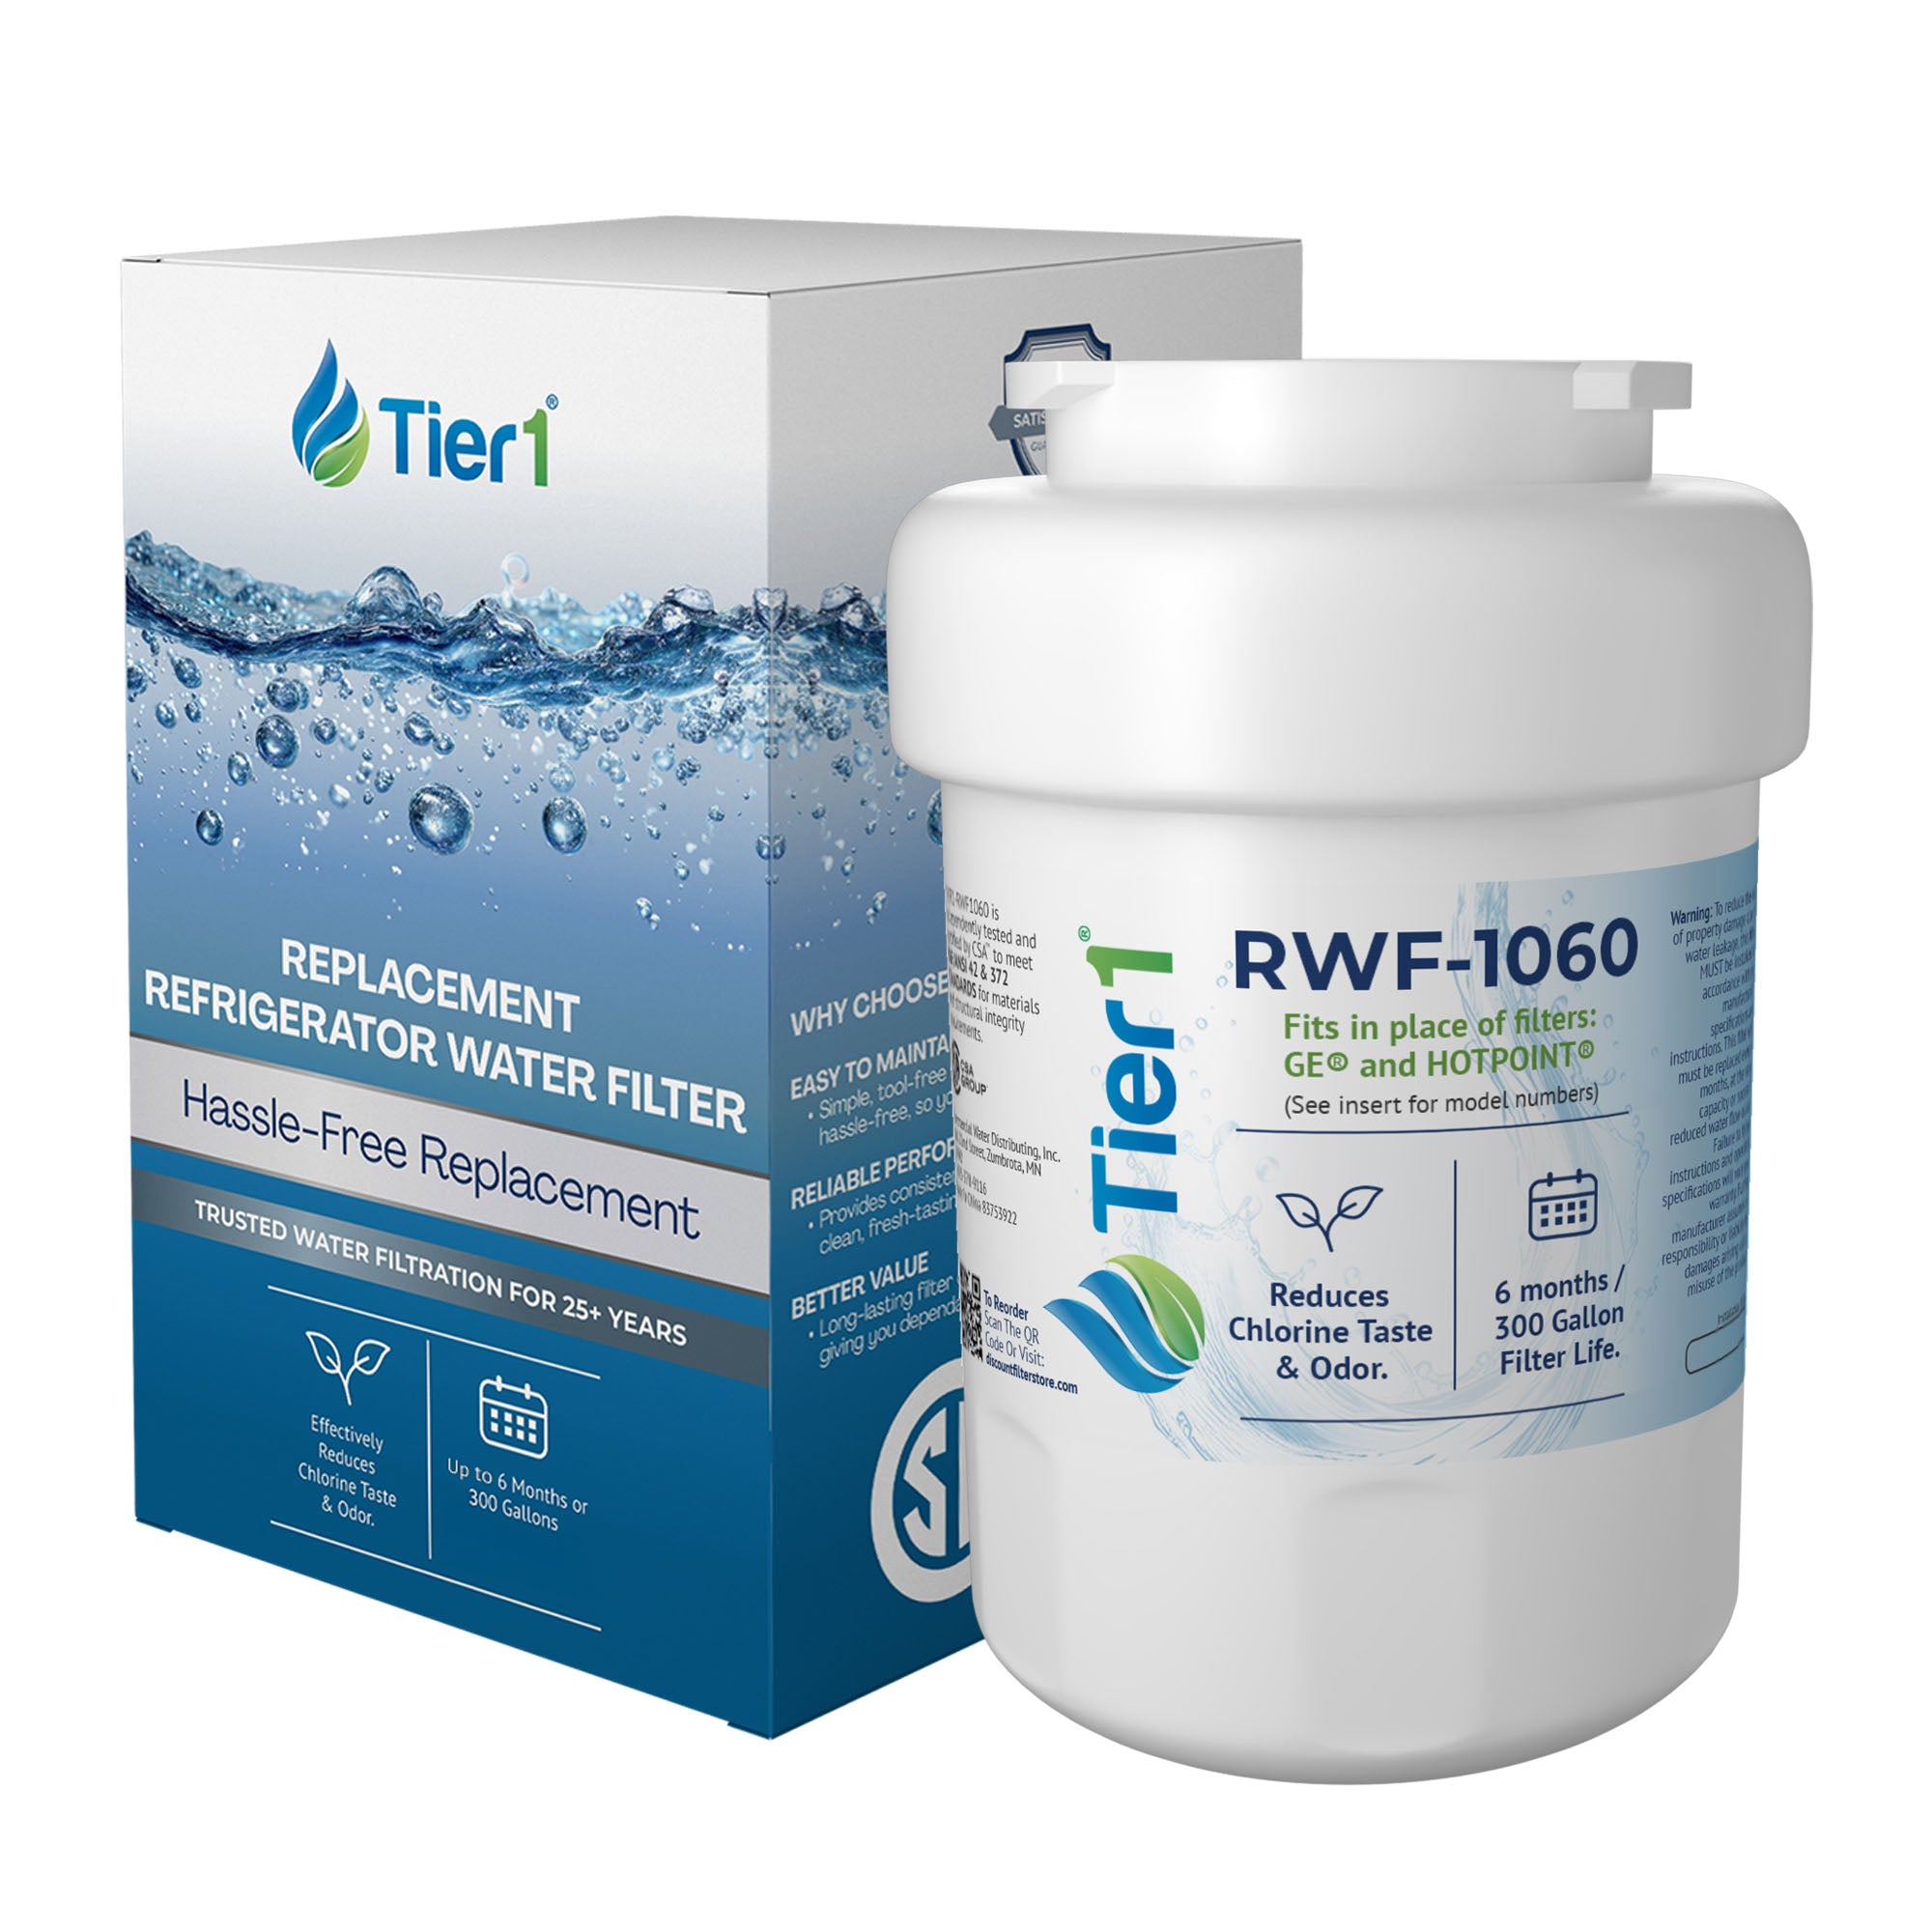
Avoid off-brand filters unless they're NSF-certified. I've tried cheap knockoffs in the past to save a few bucks, and they fit poorly and let sediment through. Genuine GE filters might cost a bit more, but they actually do their job.
Step-by-Step Replacement Guide
Locate the Filter
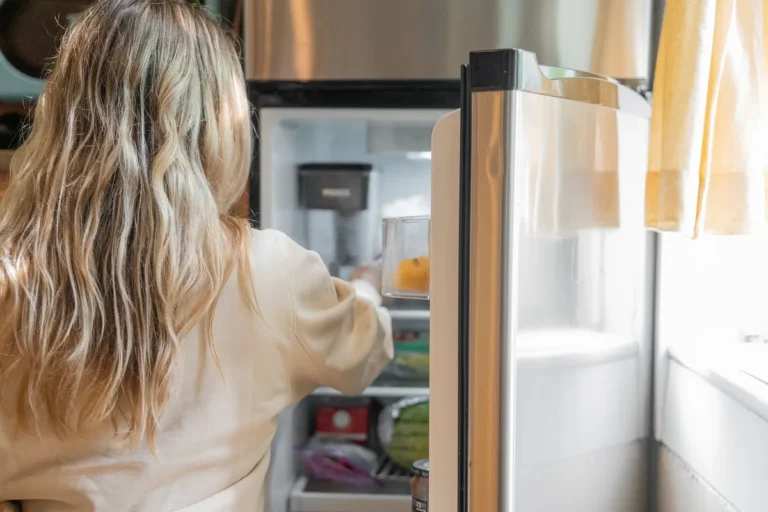
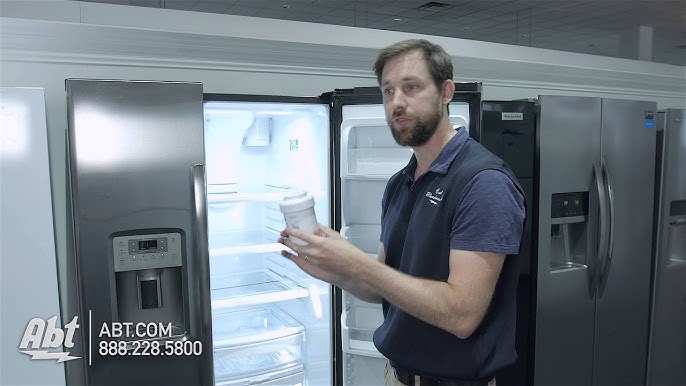
In most GE refrigerators, the MWF filter sits inside the upper right corner of the fresh food compartment. Open the door, look for a rectangular or round slot with a small handle or button. If you can't find it, your owner's manual will show the exact location. Some models have it in the bottom grille instead, but most newer ones keep it inside.
Turn Off the Water or Prepare for Drips
You don't need to shut off the whole house. Just be ready for a little water to spill out when you pull the old filter. I usually toss a folded towel on the floor underneath and keep a rag handy.
Remove the Old Filter
For push-button models, press the button and pull straight out. For twist-style models, turn it about a quarter turn counterclockwise and pull it down and out. Don't yank it sideways or you'll stress the housing.
Prep the New Filter
Take the new filter out of its packaging. Remove any plastic caps or protective coverings. Some filters come with a small rubber O-ring—make sure it's seated properly in the groove. I like to run the new filter under cool water for about 30 seconds to flush out loose carbon dust.
Insert the New Filter
Line up the new filter with the housing. For push models, push it in until you hear a click. For twist models, insert it and turn clockwise until it locks. It should feel snug and secure.
Flush the System
This step is crucial. Run about two gallons of water through the dispenser. It might look cloudy at first—that's just air and loose carbon. Keep flushing until the water runs clear. I usually grab a large pitcher and fill it a few times. The first batch always goes down the sink.
Reset the Filter Light
Most GE fridges have an indicator light. To reset it, press and hold the "Reset Filter" button for about three seconds. On some touchscreen models, you'll find it in the settings menu. The light should turn off or change color, confirming the reset.
Tips From My Own Experience
- Set a reminder on your phone every six months. I use a simple calendar alert so I never forget.
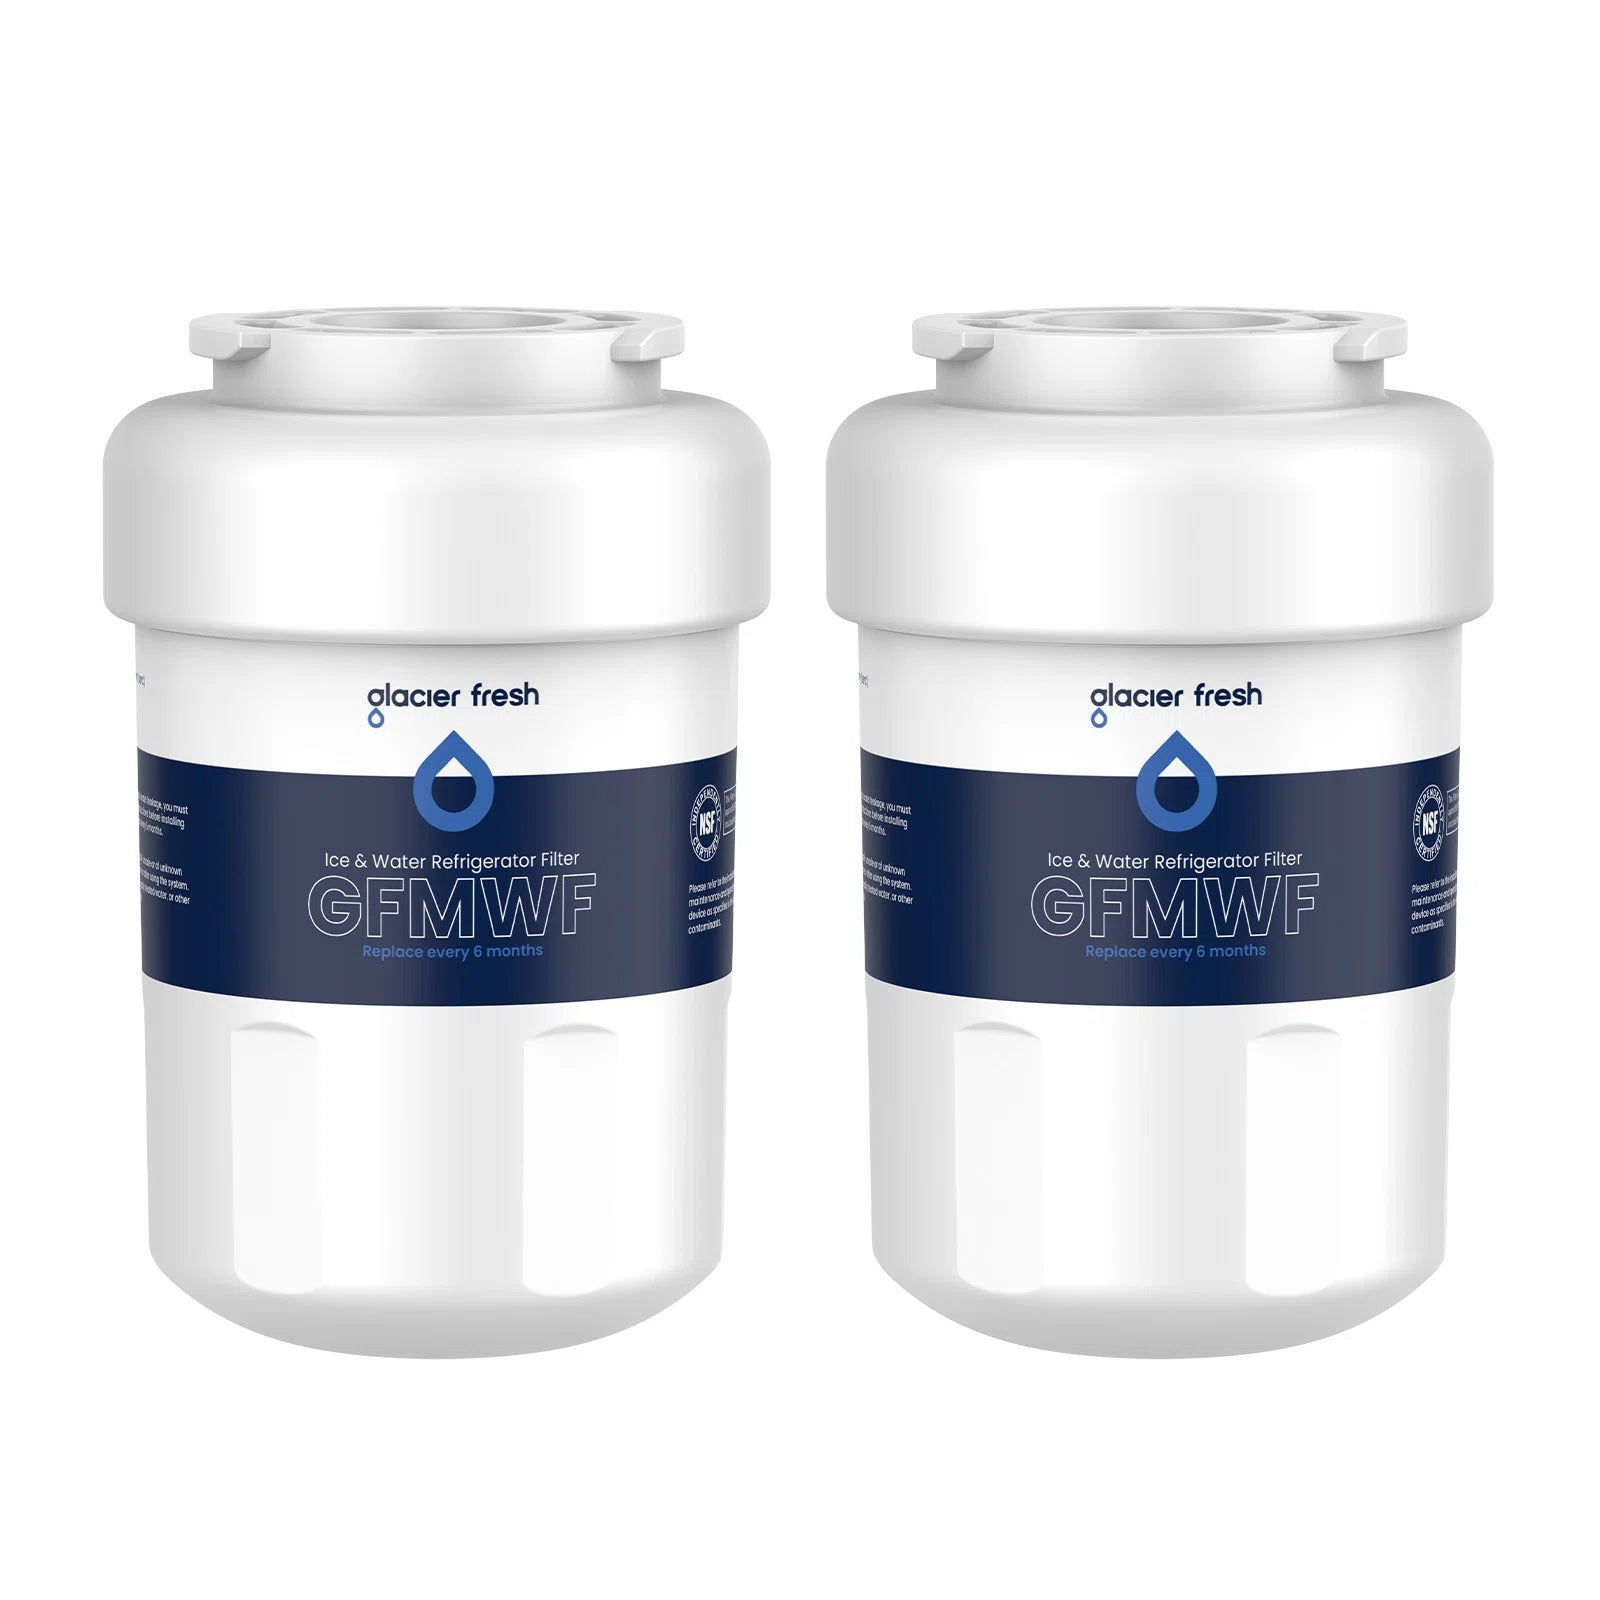
- Buy filters in bulk if your fridge uses the same one. They often come in multi-packs at a discount.
- Label the install date with a small piece of tape on the filter itself. It's a simple trick that saves guesswork later.
- If water flow seems low after replacement, give it another flush. Sometimes air pockets form and clear up with use.
Common Mistakes to Avoid
- Forgetting to flush. If you skip this, your first few glasses might taste like a swimming pool.
- Using too much force when removing the old filter. If it feels stuck, double-check the release mechanism.
- Ignoring the reset light. It won't hurt your fridge, but it's an easy step many people skip.
Troubleshooting
If the filter won't seat properly, remove it and check the housing for any debris. A quick wipe with a damp cloth usually fixes it. If the water still tastes off after a full flush, you might have an old filter that was expired before installation, or your water supply might have high sediment levels. In that case, consider changing it sooner next time.
How Often Should You Replace It?
Six months is the standard recommendation, but your usage and water quality matter. If you have hard water or a large family using the dispenser constantly, swap it every four months. If you live alone and rarely use the water, you might stretch it to nine months—but why risk it? Fresh filters mean better-tasting water and a happier fridge.
Benefits of Regular Replacement
- Better tasting water and ice
- Reduced contaminants like chlorine and lead
- Longer lifespan for your fridge's internal components
- Fewer clogs and maintenance issues
Are Compatible Filters Okay?
Third-party filters can work, but only if they're certified by NSF International. I've tested a few, and while some perform well, others let through more impurities than advertised. Stick with trusted brands or genuine GE filters if you want peace of mind.
Environmental Note
Don't toss the old filter in the trash without checking. Many recycling programs accept them, and some manufacturers offer take-back options. It's a small step, but it keeps plastic and activated carbon out of landfills.
When to Call a Professional
If your filter housing is cracked, leaking, or won't accept any filter, it might be time for a service call. I've had one housing crack after years of use, and a quick replacement by a tech saved me from a bigger mess. But for regular swaps, this is a 100% DIY job.

Frequently Asked Questions
How do I know if my GE MWF filter is bad?
Your water may taste metallic, smell like chlorine, or look cloudy. Ice might be smaller than usual, and the fridge's indicator light will usually turn on.
Can I use a non-GE brand filter?
Yes, but only if it's NSF-certified. Otherwise, you risk poor filtration and potential damage to your fridge's water system.
Do I need to turn off the fridge to change the filter?
No. You can leave it running. Just expect a small amount of water to drip out when you remove the old one.
Why is my water cloudy after a new filter?
That's normal. It's just trapped air and loose carbon particles. Flush two to three gallons and it should clear up.
Where is the MWF filter located?
In most models, it's inside the top right corner of the refrigerator compartment. Check your manual if you don't see it there.
Conclusion
Swapping out your GE MWF water filter is one of those small habits that pays off big in daily life. It takes less time than brewing a pot of coffee, and the payoff is clean, fresh-tasting water every single day. Mark your calendar, keep a spare filter on hand, and you'll never have to deal with funky-tasting ice or slow water flow again. Got questions or your own replacement tips? Drop them in the comments—I'd love to hear what works for you.