How To Change A Household Water Filter: Easy 2026 Guide
Changing a household water filter is a straightforward DIY task that takes about 5 to 15 minutes, requires no special tools, and can save you the cost of a plumber while keeping your drinking water clean and fresh.
If you've never swapped out a water filter before, the idea might feel a bit intimidating. Trust me, I get it. The first time I crouched under my kitchen sink and stared at that little canister, I had no idea what I was doing. But here's the good news: after years of maintaining my own home filtration system and helping friends and family do the same, I can tell you with full confidence that this is one of the easiest home maintenance tasks out there. Once you know the steps, the type of filter you have, and a few common mistakes to avoid, you'll be able to handle this like a pro in no time.
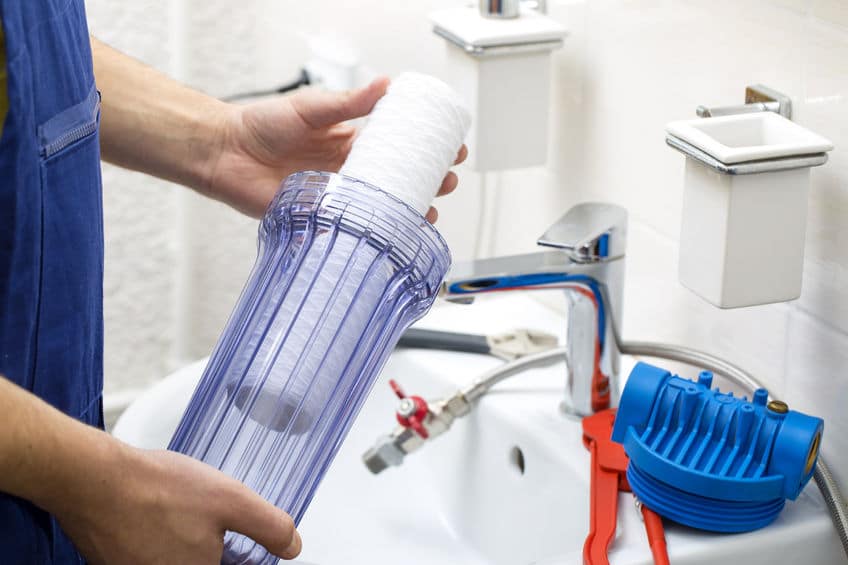
Why Changing Your Water Filter Matters
Your home's water filter works quietly in the background, catching sediment, chlorine, lead, and other unwanted particles before they reach your glass. Over time, that filter gets clogged. When it does, you might notice a drop in water pressure, a strange taste, or even a faint odor. Old filters can also become breeding grounds for bacteria, which is the last thing you want in your drinking water.
Changing a household water filter on a regular schedule keeps your water clean, your plumbing healthy, and your appliances running smoothly. Most manufacturers recommend replacing filters every 2 to 6 months, depending on the type and your household's water usage. If you have a large family or use a lot of water, you may need to swap it out more often.
Tools and Supplies You'll Need
Before you start, gather everything in one place. Nothing is worse than getting halfway through a job and realizing you're missing a key piece. Here's what you'll typically need:
- A new replacement filter (make sure it's the right model for your system)
- A towel or small bucket to catch any drips
- A filter wrench (sometimes included with the new filter, but not always)
- Plumber's grease (optional, but helpful for re-sealing)
- A marker or phone note to remember the installation date
The towel and bucket are non-negotiable in my experience. Even a small filter housing can release a surprising amount of water when you open it. I learned this the hard way years ago when I forgot the bucket and ended up with a puddle on my kitchen floor.
Step-by-Step Guide: How to Change a Household Water Filter
Step 1: Turn Off the Water Supply
Locate the shut-off valve for your filtration system. For under-sink units, this is usually a small knob on the cold water line. Turn it clockwise until it stops. If your system doesn't have a dedicated valve, you may need to shut off the main water supply to the house.
Step 2: Release the Pressure
Open the faucet connected to your filter system and let any remaining water drain out. This step relieves pressure inside the filter housing and makes it easier to open. Close the faucet once the water stops flowing.
Step 3: Remove the Old Filter
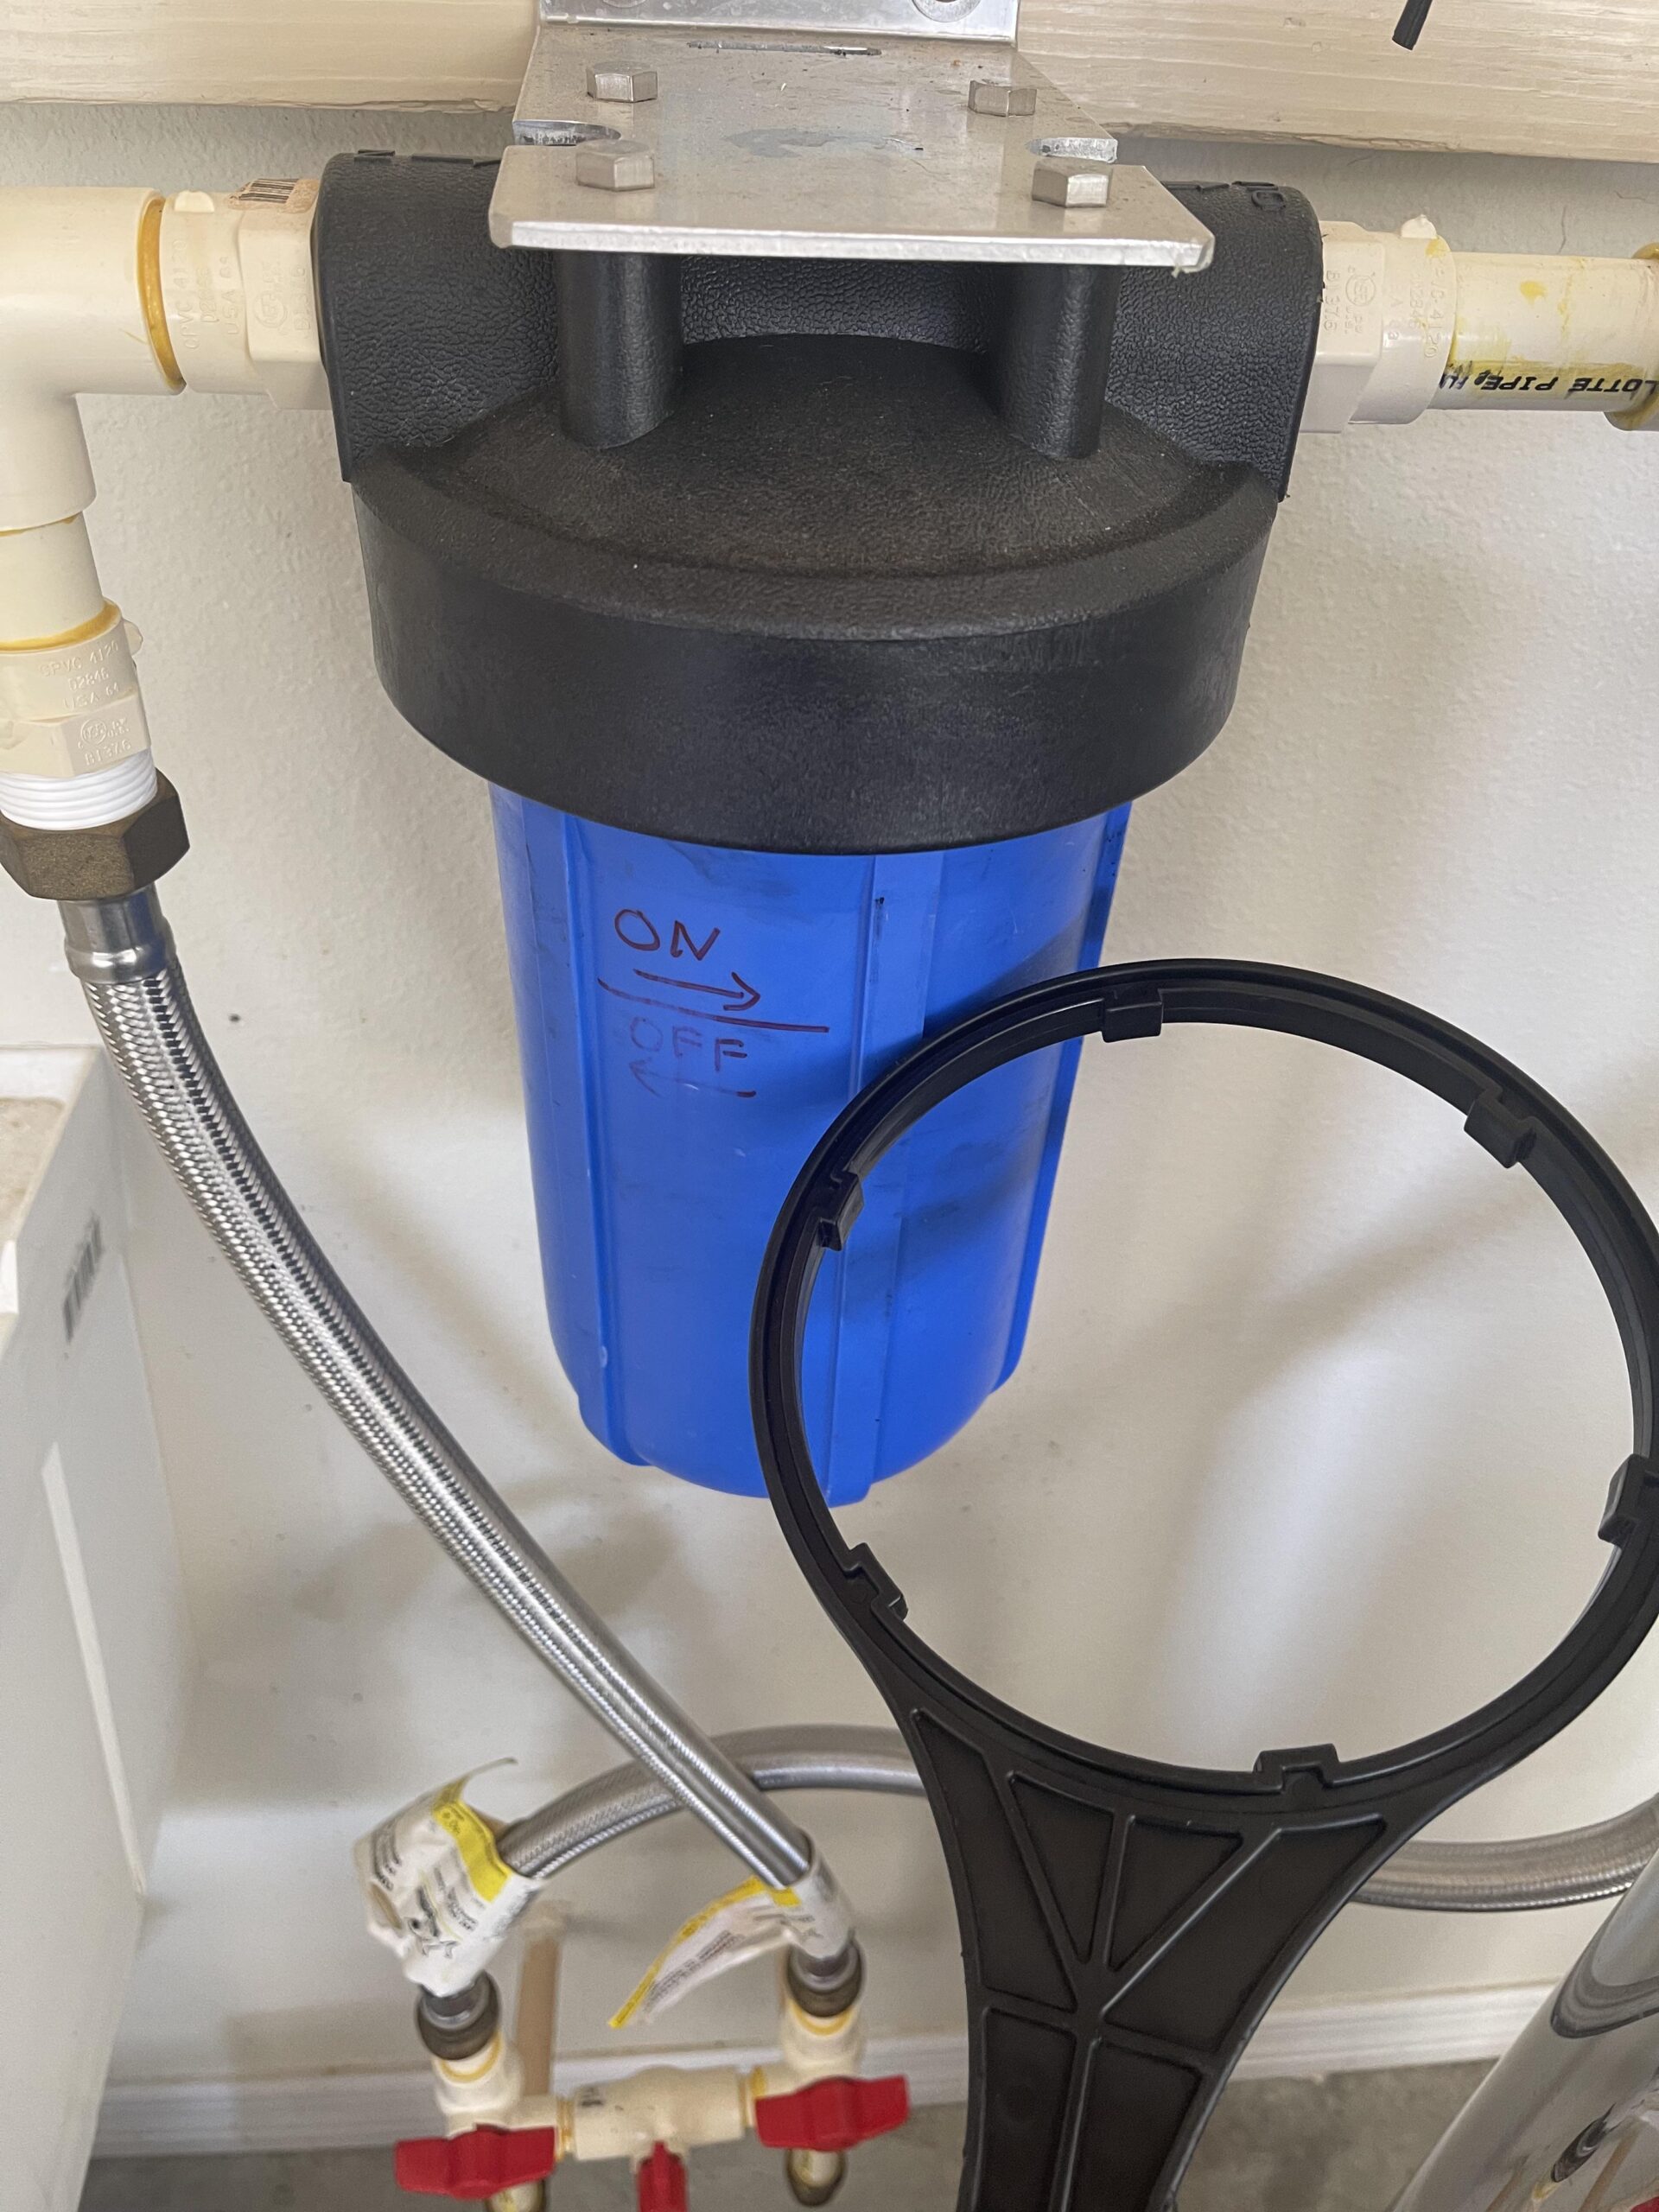
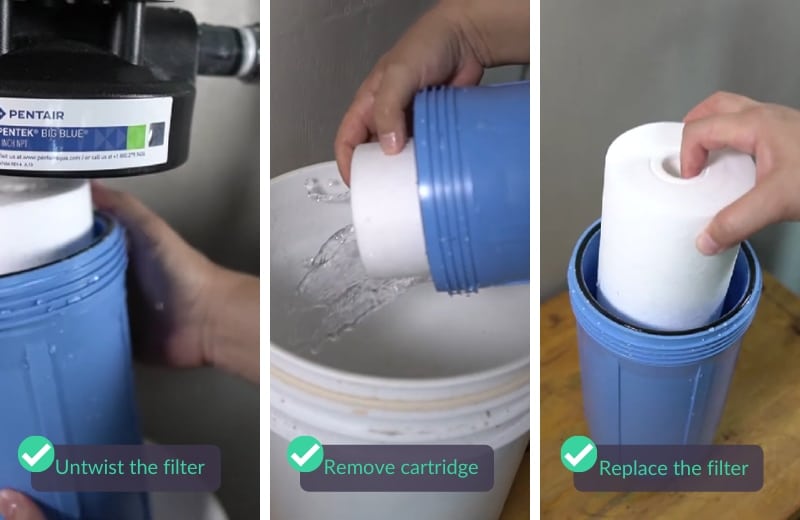
Depending on your system, the filter may twist out, pull out, or unscrew from a housing. For canister-style filters, place your bucket underneath and use the filter wrench to loosen the housing. Turn counterclockwise until you can lift it free. Inside, you'll see the used filter. Pull it straight out and set it aside.
Step 4: Clean the Filter Housing
Before installing the new filter, take a moment to wipe down the inside of the housing with a clean, damp cloth. This removes any sediment or buildup that could shorten the life of your new filter. If your system uses an O-ring, check it for cracks or wear and lightly coat it with plumber's grease to ensure a watertight seal.
Step 5: Insert the New Filter
Take your new filter out of its packaging and slide it into the housing. Make sure it's seated properly and aligned with the flow direction arrows. These arrows usually point toward the faucet. Getting this backwards is a common beginner mistake, and it can reduce your filter's effectiveness.
Step 6: Reassemble the Housing
Screw the housing back on by hand, turning clockwise. Once it's snug, use the filter wrench to give it a quarter turn more. Don't overtighten, as this can damage the housing or the O-ring.
Step 7: Turn the Water Back On
Slowly open the shut-off valve and watch for leaks. Then, run the faucet for 3 to 5 minutes to flush the new filter. The water may look cloudy or contain tiny black particles at first. This is normal, especially with carbon filters, and should clear up after a few minutes of flushing.
Step 8: Mark Your Calendar
Write down the date you installed the new filter, or set a reminder on your phone. Staying on schedule is the best way to keep your water clean and your system running smoothly.
Common Mistakes to Avoid
I've made most of these mistakes myself over the years, so learn from my experience:
- Using the wrong filter model. Always double-check the part number before buying a replacement.
- Forgetting to flush the new filter. Skipping this step can leave you with carbon-tasting water for days.
- Overtightening the housing. This can crack the plastic or damage the O-ring, leading to leaks.
- Ignoring small drips. Even a slow leak under the sink can cause mold and water damage over time.
Different Types of Household Water Filters
Not all filters are created equal, and the way you change them can vary slightly depending on the type you have.
Pitcher Filters
These are the simplest. You just lift out the old cartridge from inside the pitcher and drop in a new one. No tools required.
Faucet-Mounted Filters
These twist off the end of your faucet. To replace, unscrew the old unit, swap the cartridge inside, and reattach.
Under-Sink Filters
These are the most common whole-home or drinking water systems. The filter sits inside a canister or attaches directly to the water line. The steps above apply to these systems.
Refrigerator Filters
These are usually a twist-off or push-button release located inside the fridge or at the back. Check your owner's manual for the exact method, as it varies by brand.
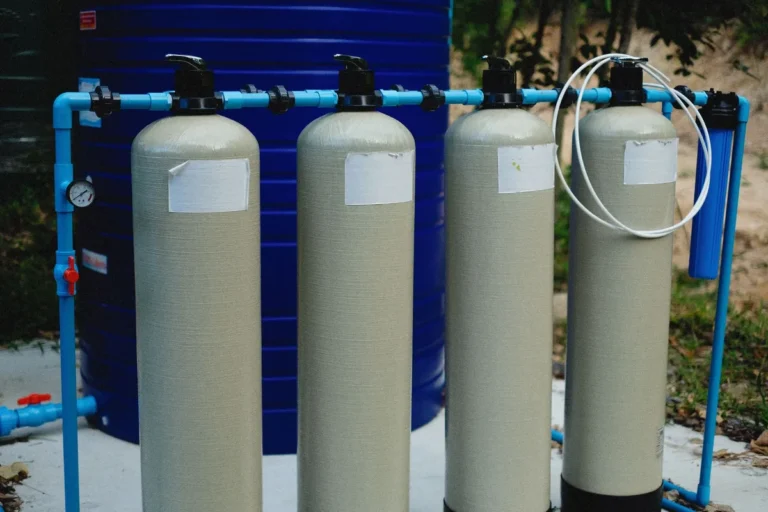
Whole-House Filters
These are larger units installed at the main water line. They often require a bit more effort, including shutting off the main supply and using a wrench.
How Often Should You Change a Household Water Filter?
The answer depends on the type of filter and your water quality. Here's a general guideline:
- Carbon filters: every 2 to 3 months
- Reverse osmosis filters: every 6 to 12 months
- Sediment filters: every 3 to 6 months
- Whole-house filters: every 3 to 6 months
If you notice a drop in water pressure, an odd taste, or a musty smell, it's time to change the filter regardless of the calendar.
Tips for Making the Job Easier
- Set a recurring reminder on your phone so you never forget.
- Keep a spare filter on hand. There's nothing worse than realizing you need one at 10 p.m. on a Sunday.
- Take a photo of the filter orientation before removing the old one. This is a great visual reference when installing the new one.
- Run the faucet after installation to confirm the water is clean and clear before using it for drinking or cooking.
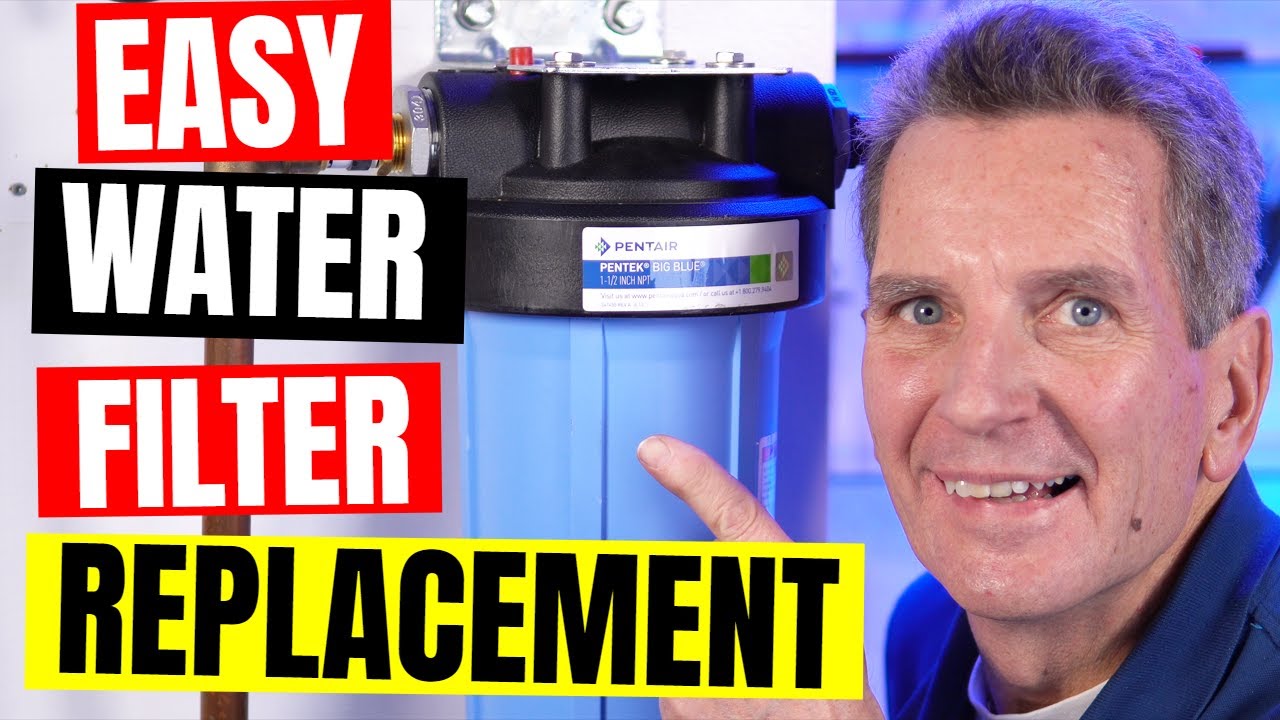
How to Know When Your Water Filter Needs Changing
Your filter will usually give you a few warning signs before it stops working altogether. Watch for:
- Reduced water flow from the faucet
- A strange metallic or chlorine taste
- Cloudy water or visible particles
- A musty or earthy smell
- The filter itself looking dirty or discolored
If you notice any of these, don't wait. Swap the filter as soon as possible to keep your water safe.
The Cost of Skipping a Filter Change
Letting a filter go past its lifespan is like running your car on old oil. You might get away with it for a while, but eventually, it catches up with you. Clogged filters can lead to bacterial growth, higher energy bills (because your pump has to work harder), and even damage to your plumbing or appliances. A new filter costs far less than a repair call, so it's always better to stay ahead of the schedule.
What to Do With the Old Filter
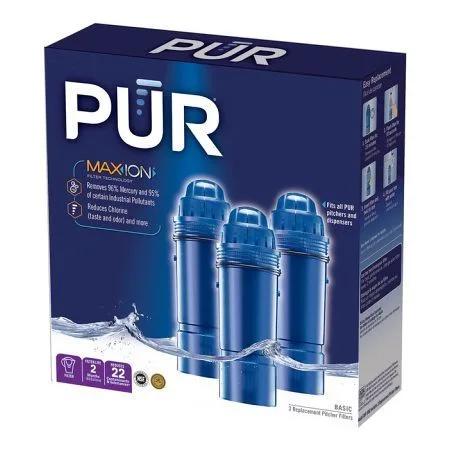
Most used water filters can be recycled, but the process depends on the brand. Some companies, like Brita and PUR, offer mail-back recycling programs. Others can be taken to local recycling centers that accept plastic cartridges. Avoid throwing used filters in the regular trash when possible, as they can release trapped contaminants back into the environment.
Safety Tips to Keep in Mind
While changing a household water filter is a simple task, a little caution goes a long way:
- Always shut off the water before starting.
- Keep electrical devices away from the work area.
- If your system uses a reverse osmosis tank, release the pressure slowly.
- Don't force any parts. If something won't budge, double-check the instructions rather than using excessive force.
When to Call a Professional
Most homeowners can handle a basic filter change without any issues. However, if you have a complex whole-house system, a water softener, or a reverse osmosis unit that isn't working after a filter change, it might be time to call a plumber or a water treatment specialist. They can check for deeper issues like line leaks, pressure problems, or faulty valves.
Frequently Asked Questions
How long does it take to change a household water filter?
Most filter changes take between 5 and 15 minutes, depending on the system type and your experience level. Under-sink canister filters usually take the longest.
Can I change my water filter without turning off the water?
It's not recommended. Turning off the water prevents leaks and spills, and it makes the job much easier and safer.
Do all water filters twist out the same way?
No. Pitcher and faucet filters have different mechanisms than under-sink or whole-house units. Always check your owner's manual for the specific method.
Is it normal for the water to be cloudy after a new filter is installed?
Yes. This is caused by tiny air bubbles and loose carbon particles. Flushing the filter for 3 to 5 minutes should clear it up.
How do I know which replacement filter to buy?
Check the model number on your current filter or in your system's manual. You can also bring the old filter to a hardware store to find a match.
Conclusion
Changing a household water filter is one of those small home maintenance tasks that pays off in a big way. It keeps your water tasting fresh, protects your plumbing, and gives you peace of mind knowing your family is drinking clean water. With a little practice, the whole process becomes second nature. So grab a new filter, set aside ten minutes, and give it a try. Your tap water will thank you.
If you found this guide helpful, feel free to share it with a friend or leave a comment below with your own tips and experiences. I'd love to hear how your filter change went.