How to Make Water Filter in the Wild for 2026: Worth Buying
When you're out in the sticks and thirst strikes, knowing how to make water filter in the wild can feel like unlocking a survival superpower. It’s not just about making murky water look a little clearer; it's about creating a makeshift barrier against sediment and some, but not all, contaminants.
Our research into survival techniques confirms that while improvising a water filter is a critical skill, it's vital to understand its limitations. Per standards for potable water, any filtered water collected this way must still be purified, typically by boiling, to eliminate harmful microorganisms.
Is This Even A Good Idea? Real Talk About Improvised Filters
Let's be upfront: building a water filter from scratch is a last-ditch effort. If you have a reliable store-bought water filter, purification tablets, or even just a sealed bottle of water, use those first. Those commercial options have undergone rigorous testing for effectiveness against a wide range of pathogens and contaminants. An improvised filter’s primary job is reducing visible particles, the sand, dirt, and debris that make water look unappealing and can clog up other purification methods.
It's a tool for making the water look cleaner, but it’s not a complete purification system on its own. Think of it as Step One in a two-step process.
The Goal: What Exactly Are We Trying to Catch?
Before you start gathering materials, it helps to know what we’re trying to remove from your water source. This is about more than just aesthetics; it's about preventing immediate illness.
Understanding Water Contaminants in the Wild
Wild water sources, like rivers, lakes, and streams, can harbor a variety of unwelcome guests. The most common offenders you're trying to tackle with a filter are suspended solids, things like silt, sand, decaying plant matter, and small organic fragments. These give water its cloudy appearance and unpleasant taste.
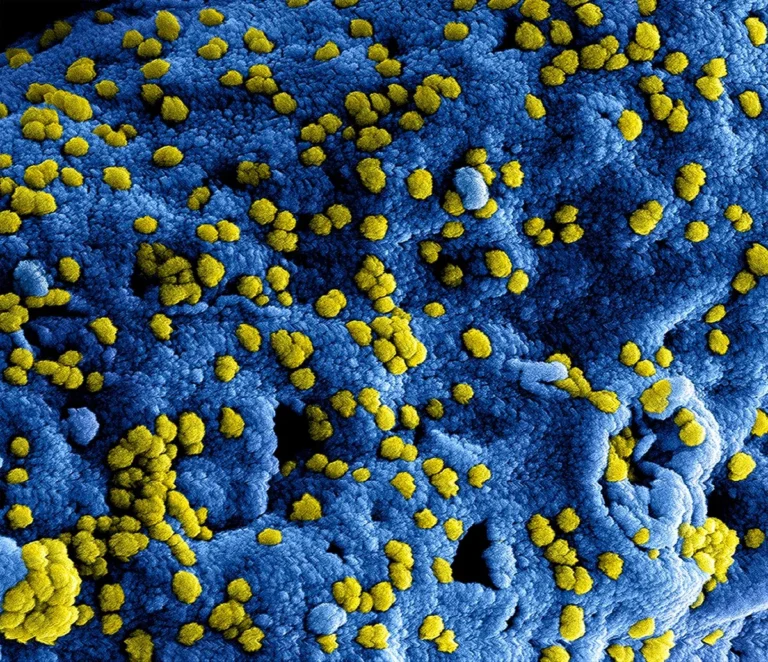
However, it's crucial to recognize what a basic improvised filter won't do. It doesn't effectively remove bacteria, viruses, or protozoa like Giardia or Cryptosporidium. These microscopic pathogens are far too small for simple layers of sand and charcoal to catch. As of 2026, official guidelines from health organizations consistently emphasize that filtering alone is insufficient for safe drinking water from these sources.
How Natural Filters Work Briefly
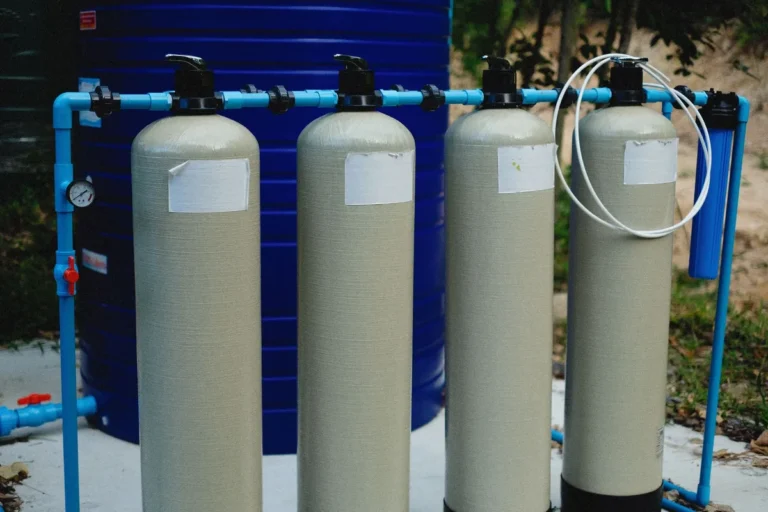
At its core, a wilderness water filter mimics the natural filtration processes found deep within the earth. As water seeps through layers of different materials, each layer plays a role. Coarse materials like gravel and pebbles catch larger debris, while finer materials like sand trap smaller particles. Activated charcoal, if you can create it, then acts as an adsorbent, trapping some dissolved impurities, chemicals, and compounds that affect taste and odor.
The final layer, often a piece of cloth, ensures that your filtering materials don't escape the container.
What You'll Need: Nature's Supply Closet
The beauty, and challenge, of building a filter in the wild is that you’re limited by what you can find around you. This isn't about precise measurements; it's about creative use of available resources.
Essential Components for Your Filter
To build a functional, albeit basic, wilderness water filter, you'll generally need three key things: a container, filtering materials arranged in layers, and a fine material to act as a stopper.
- Container: This holds everything together. It needs an opening at the top to pour water in and a smaller opening or way for the filtered water to drip out.
- Filtering Medium: This is the heart of the filter. Layering different grades of material is key.
- Fine Material: This acts as a barrier at the exit point to keep your filtering materials from passing through.
Finding Your Container: From Bottles to Bark
Your container is what you'll build your layered filter inside. The most common and often easiest to find is a plastic bottle, especially if you’re car camping or hiking with a pack. You can cut the bottom off a standard 1-liter or 2-liter bottle, leaving you with an upside-down funnel.
Beyond plastic bottles, you can improvise. A large, sturdy piece of bark can be carefully folded and secured into a conical shape. Some large, non-toxic leaves can also be fashioned into a cone. In a true pinch, a thick sock or a piece of clothing can serve as the entire filter body, though containment and layering can be trickier.
The key is that it holds your filtering layers and allows water to pass through one end.
Gathering Your Filtering Materials: Sand, Charcoal, and More
This is where improvisation truly shines. You'll want a mix of materials, generally from coarse to fine as you build upwards in your container.
- Coarse Material: Small pebbles or gravel. These form the initial layers, catching larger debris like leaves and twigs that might fall into your water source.
- Fine Sand: Clean sand is your next layer. It’s much better at trapping smaller sediment particles that gravel misses. Try to find sand that isn't mixed with too much organic muck.
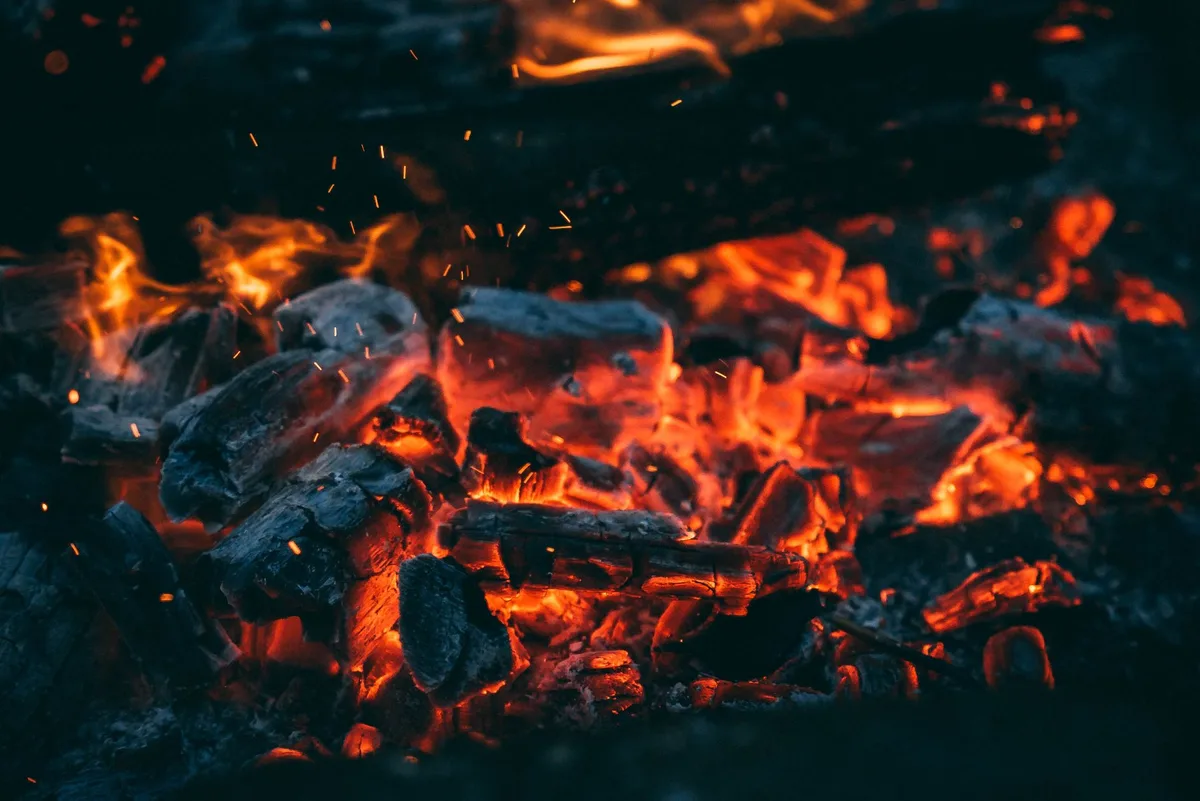
- Activated Charcoal (Optional but Recommended): If you can safely build a small campfire, you can create your own activated charcoal. Let the fire burn down to coals, then collect pieces of the blackened wood. Ensure they are completely cool before crushing them into smaller fragments. This layer is excellent for adsorption, helping to remove some dissolved impurities and improve taste or smell.
- Grass or Moss: A small amount of clean grass or moss can be used at the very top to act as a pre-filter, catching the biggest floating bits before they clog your main filter layers.
Building Your Wilderness Water Filter: A Layered Workflow
Making your filter is essentially a step-by-step process of packing different materials into your chosen container. The order and density of these layers are what make it work.
Step 1: Preparing Your Container
If you're using a plastic bottle, start by carefully cutting off the bottom with a knife or multi-tool. You want to create an opening that allows you to easily add your filtering materials. Keep the cap on for now, or poke a few small holes in it if you want to control the flow a little more, but it’s often easier to just remove it and rely on your next layer to hold things back.
Step 2: Creating and Adding Charcoal (If Possible)
If you have the means to make a small, safe campfire, this is your chance to create charcoal. Burn some dry wood until you have a good bed of embers. Once the fire has died down significantly, collect some of the blackened wood. Let it cool completely before you start.
Break or crush the cooled charcoal into small pieces, aiming for a consistent size. This charcoal layer, when added to your filter, can significantly improve the water's taste and clarity by adsorbing unwanted compounds.
Add this crushed charcoal to the bottom of your container, ideally just above where your final fine material will go. Aim for a layer that’s at least a couple of inches deep if you have enough.
Step 3: Layering Sand and Gravel
Now, start packing in your other materials. First, add a good amount of clean sand. This layer should be quite thick, several inches if possible, as it's your primary workhorse for trapping fine sediment.
On top of the sand, add your layer of small gravel or pebbles. This layer helps distribute the water more evenly as it enters your filter and catches larger debris that might otherwise choke up the sand too quickly.
Step 4: Adding Your Fine Material
This is the final, crucial barrier. Take your piece of fine cloth (like a bandana, t-shirt scrap, or even a tightly packed bundle of grass) and stuff it into the neck of your bottle or the narrow end of your bark cone. This prevents your sand and charcoal from washing out when you pour water in.
Step 5: The First Pour and Flush
Once your filter is assembled, it's ready for its test run. Slowly pour some water into the top of your filter. The first water that drips out will likely be discolored and cloudy, carrying fine particles from the new materials. Discard this initial flush.
Continue pouring water through the filter until the water dripping out looks noticeably clearer. This tells you the layers are settling in and starting to do their job.
The Crucial Next Step: Purification Isn't Optional
You've successfully filtered the water, making it look significantly clearer. That's commendable progress, especially in a survival situation. However, this is where many people stop, and that’s a dangerous mistake. The filtration process you've just completed primarily removes suspended solids, the visible dirt, sand, and debris.
It does not, and cannot, reliably eliminate the microscopic troublemakers.
Why Filtering Isn't Enough
Bacteria, viruses, and parasitic protozoa are all far too small to be caught by even the most carefully constructed improvised filter. These pathogens can cause severe gastrointestinal distress, dehydration, and in some cases, life-threatening infections. Relying solely on filtration would leave you exposed to these risks, turning potentially life-saving water into a source of illness.
Boiling Water: The Gold Standard for Purity
The most effective and reliable method for purifying water in the wild is boiling. Bringing water to a rolling boil for at least one minute kills virtually all harmful microorganisms. This process denatures the proteins within these pathogens, rendering them inert and unable to cause infection. For every 1,000 feet above sea level, you should increase the boiling time by an additional minute to compensate for lower atmospheric pressure.
This simple step transforms your filtered water into something genuinely safe to drink.
When to Think Twice: Risks of Improvised Filters
It's easy to feel proud of a homemade filter, but it's critical to understand where things can go wrong. Missteps here aren't just inconvenient; they can have serious health consequences.
Common Mistakes That Make Water Unsafe
One of the biggest pitfalls is believing that clear water is automatically safe water. If you've skipped the purification step, you're still at risk. Another common error is using contaminated materials for your filter layers, for instance, sand from a polluted area or moss that's covered in animal waste. Always try to source materials from the cleanest available locations.
Overfilling the filter too quickly can also force water through without adequate contact time with the filtering layers.
Signs Your Filter Isn't Working Properly
If the water coming out is still noticeably cloudy or smells bad even after several rinses, your filter probably isn't effective. This could be due to poorly packed layers, insufficient material depth, or using the wrong kinds of materials. Another sign is if water passes through too quickly; this indicates potential channels or gaps that are allowing contaminants to bypass the filtering media.
Dangers of Chemical Contamination
Even with proper layers, an improvised filter has limited ability to address chemical contaminants like pesticides, heavy metals, or industrial runoff. While charcoal can adsorb some dissolved organic compounds, it’s not a guaranteed solution for all chemical pollutants. If you suspect chemical contamination in your water source, perhaps due to agricultural or industrial activity nearby, filtering and even boiling might not make it safe. In such cases, finding an entirely new water source or relying on stored water is a much safer bet.
Survival Scenarios: When This Skill Becomes Vital
Knowing how to build a water filter from scratch isn't just for the hardcore survivalist; it's a practical skill for anyone who spends time outdoors. Imagine you're on a backpacking trip and your commercial filter fails unexpectedly. Or perhaps you're caught in a natural disaster scenario where municipal water supplies are compromised. In these situations, access to clean drinking water becomes your absolute top priority.
This skill is about resourcefulness. It empowers you to utilize what the natural environment provides when modern conveniences are unavailable. It's the difference between being stranded and being prepared, turning a potentially desperate situation into a manageable challenge. Understanding the principles of filtration and purification can literally mean the difference between life and death when you're far from civilization.
Alternatives to Consider: What If You Can't Build One?
While having the knowledge to build a filter is valuable, it’s wise to have fallbacks. If you find yourself in a situation where you lack the necessary materials or conditions to construct even a makeshift filter, don't despair.
- Commercial Water Filters and Purifiers: These are designed for reliability and effectiveness. Investing in a quality backcountry filter or a UV purifier before any trip is your best bet.
- Water Purification Tablets: Lightweight and easy to pack, these chemical treatments (often iodine or chlorine dioxide based) kill bacteria and viruses. They usually require a waiting period and can sometimes alter the water’s taste.
- Boiling: As we’ve stressed, boiling is the most foolproof method. If you can reliably start a fire and have a metal container (a pot, a metal water bottle), boiling is your go-to purification strategy, even without filtering first. The filtering just makes the water more palatable and less likely to clog your boiling pot with sediment.
Expert Tips for Wilderness Water Filtering
When facing the challenge of creating a filter on the fly, a few expert insights can make a significant difference. Always prioritize safety first, a partially filtered and unpurified water source is a genuine health risk. When assembling layers, aim for firmness and avoid large air gaps; pack the materials down gently but consistently.
If you can, creating charcoal from your campfire will dramatically improve the filter's effectiveness beyond just particle removal. Remember also that the cleaner and clearer your initial water source, the more effective any filtration will be, and the longer your filter will last. Even the best improvised filter will eventually clog, so be prepared to replace materials if necessary.