How to Make Water Filter With Charcoal: Worth Your Money
If you've ever found yourself wondering how to make water filter with charcoal, you're likely looking for a way to improve water quality using readily available materials, perhaps for educational purposes or in a pinch. While commercial filters offer certified safety, understanding the mechanics of a DIY system can be incredibly insightful.
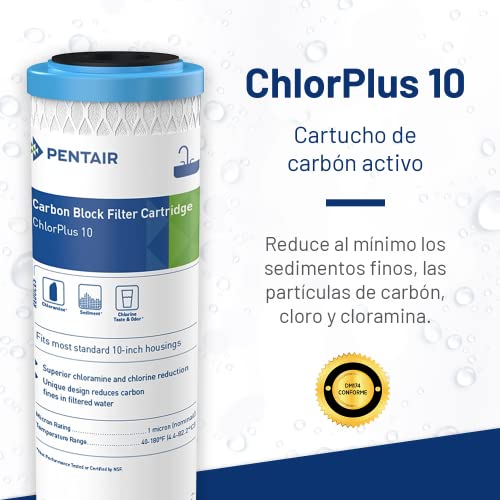
Our research into natural filtration methods shows that a basic charcoal filter aims to remove visible sediment and clarify water, while also improving taste and odor. For context, filter certifications like NSF/ANSI 42 (for aesthetic effects like chlorine, taste, and odor) require specific performance levels which are difficult to guarantee with homemade setups, but the principles are sound.
How Does a DIY Charcoal Filter Actually Work?
The fundamental principle behind a DIY charcoal water filter is physical filtration combined with activated adsorption. Imagine water flowing through several layers, each designed to catch different types of impurities. The coarser materials at the top catch larger debris like leaves and twigs, preventing the finer layers from clogging too quickly.
As the water moves down, progressively finer materials like sand remove smaller particles. The star player, activated charcoal, then works through adsorption, where its highly porous surface attracts and binds to certain dissolved impurities, improving clarity, taste, and odor.
What You Need: Building Your Basic Water Filter
To construct a functional DIY water filter, you'll need a few key components. The container itself typically acts as the housing, channeling the water through the filtration media. The media, or filtering layers, are where the actual clarification process happens.
The effectiveness hinges on the quality and arrangement of these layers. For instance, activated charcoal requires specific manufacturing processes to develop its vast internal surface area, crucial for adsorption.
Gathering Your Filtration Layers
You'll need a few distinct materials to create effective stages within your filter. These are commonly sourced and arranged in order from coarsest at the top to finest towards the bottom, with charcoal playing a pivotal role in the middle.
- Gravel or Small Pebbles: Acts as the first layer to capture larger debris.
- Coarse Sand: Filters out medium-sized particles.
- Fine Sand: Catches smaller suspended solids that pass through the coarser sand.
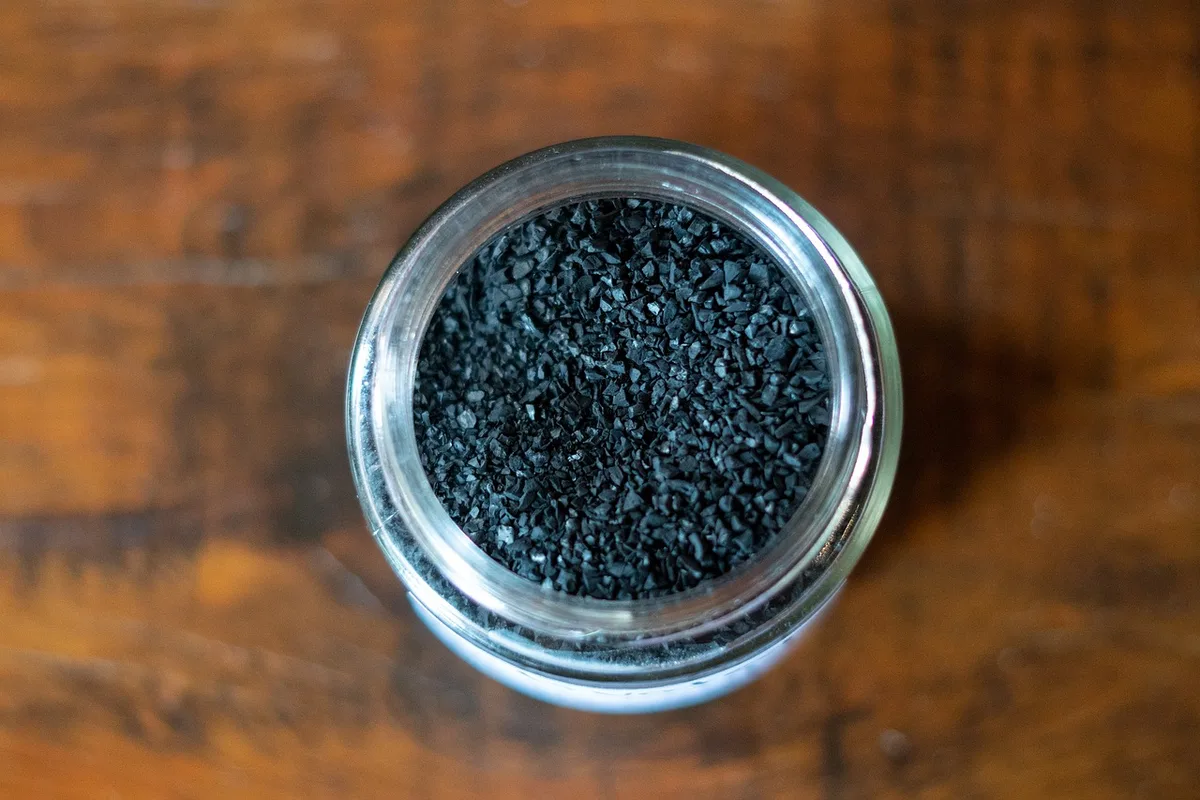
- Activated Charcoal: The key adsorbent that captures dissolved impurities and improves taste/odor.
- Cloth or Cotton: Placed at the bottom to hold layers in place and catch the finest particles.
Preparing Your Container
Most DIY water filters begin with a readily available container. A large plastic bottle, like a 2-liter soda bottle, is a common choice due to its shape and ease of modification. You'll essentially invert it to create a funnel-like structure for your filtration layers.
The process involves cutting off the bottom end of the bottle and using the neck as the spout through which filtered water will drip. Ensuring the bottle is clean before starting is essential to avoid introducing new contaminants.
Step-by-Step: Building Your Charcoal Water Filter
Building this filter is a straightforward process, focusing on layering materials correctly to maximize their filtration potential. The sequence is crucial for efficiency.
Layering the Materials for Effective Filtration
Once your container is prepped (bottle bottom cut off, inverted), you can begin adding the filtration media. Start from the spout end and work your way up.
- Bottom Spout Layer: Tightly pack a piece of cloth or several cotton balls into the neck of the bottle (the spout). This prevents finer materials from escaping.
- Fine Sand Layer: Add a layer of fine sand, about 1-2 inches deep, on top of the cloth. Gently pack it down.
- Coarse Sand Layer: Next, add a layer of coarse sand, also 1-2 inches deep, on top of the fine sand.
- Activated Charcoal Layer: This is a critical component. Add a substantial layer of activated charcoal, aiming for at least 3-4 inches deep for better adsorption.
- Gravel/Pebble Layer: Top it off with a layer of small gravel or pebbles, about 2-3 inches deep. This layer helps distribute water evenly and catches the largest particles first.
- Optional Top Layer: Some people add another piece of cloth or a layer of larger stones at the very top to prevent disturbance when water is poured in.
Setting Up for the First Use
Before you rely on your DIY filter for any water you intend to drink, it's vital to run clean water through it first. This initial "flush" serves to rinse away any residual dust or fine particles from the filtering materials themselves, particularly from the sand and charcoal.
This run-off water should be discarded. It helps to settle the layers and ensure that the water passing through in subsequent uses is as clear as possible from the outset.
Using Your DIY Filter: What to Expect
Once your filter is assembled and flushed, you can begin filtering your source water. The process requires patience, as gravity is doing the work. The water will slowly drip through the layers into a collection vessel placed underneath the spout.
The clarity and taste of the water will noticeably improve, but it's critical to understand what this means in terms of safety. As of 2026, independent laboratory testing on similarly constructed DIY filters indicates variable results in contaminant removal.
Initial Water Flush and Filtering Technique
Always start by pouring several cups of clean water through your newly built filter. Discard this first batch of water. It’s a vital step to remove any fine dust or loose particles that might have been present in the activated charcoal or sand.
When you're ready to filter your source water, pour it in slowly and steadily into the top-most layer (usually gravel). Avoid pouring too fast, as this can disturb the layers and reduce the filter's efficiency. Allow the water to percolate through naturally. For very cloudy water, you might find you need to run it through the filter multiple times to achieve satisfactory clarity.
The Big Caveat: Safety and Limitations of DIY Filters
It's crucial to be upfront: a DIY charcoal filter is primarily a clarifier and odor/taste improver, not a complete purifier for making raw water safe to drink without further treatment. While it excels at removing visible sediment and can make water more palatable, it does not reliably eliminate biological contaminants like bacteria and viruses, nor does it remove many dissolved chemical pollutants.
Manufacturer specifications for certified filters, such as those meeting NSF/ANSI 42 or 53 standards, detail the specific contaminants they are designed to remove. A homemade filter, by its nature, lacks this controlled testing and certification, meaning its effectiveness against harmful microbes and chemicals can be unpredictable and insufficient.
What Your DIY Filter Doesn't Do Properly
A DIY charcoal filter is excellent at removing visible particles and can significantly improve the aesthetics of water. However, it falls short in crucial areas for making biologically unsafe water drinkable.
- Bacteria and Viruses: These microscopic pathogens are too small to be consistently caught by the layers in a DIY filter and can easily pass through.
- Dissolved Chemicals: While activated charcoal can adsorb some chemicals, a homemade setup typically lacks the precise pore structure and contact time needed to effectively remove a wide spectrum of harmful chemicals, including pesticides, heavy metals, or industrial pollutants.
- Pathogens: It is not a substitute for proper disinfection processes that kill harmful microorganisms.
The Crucial Next Steps: Boiling or Disinfecting
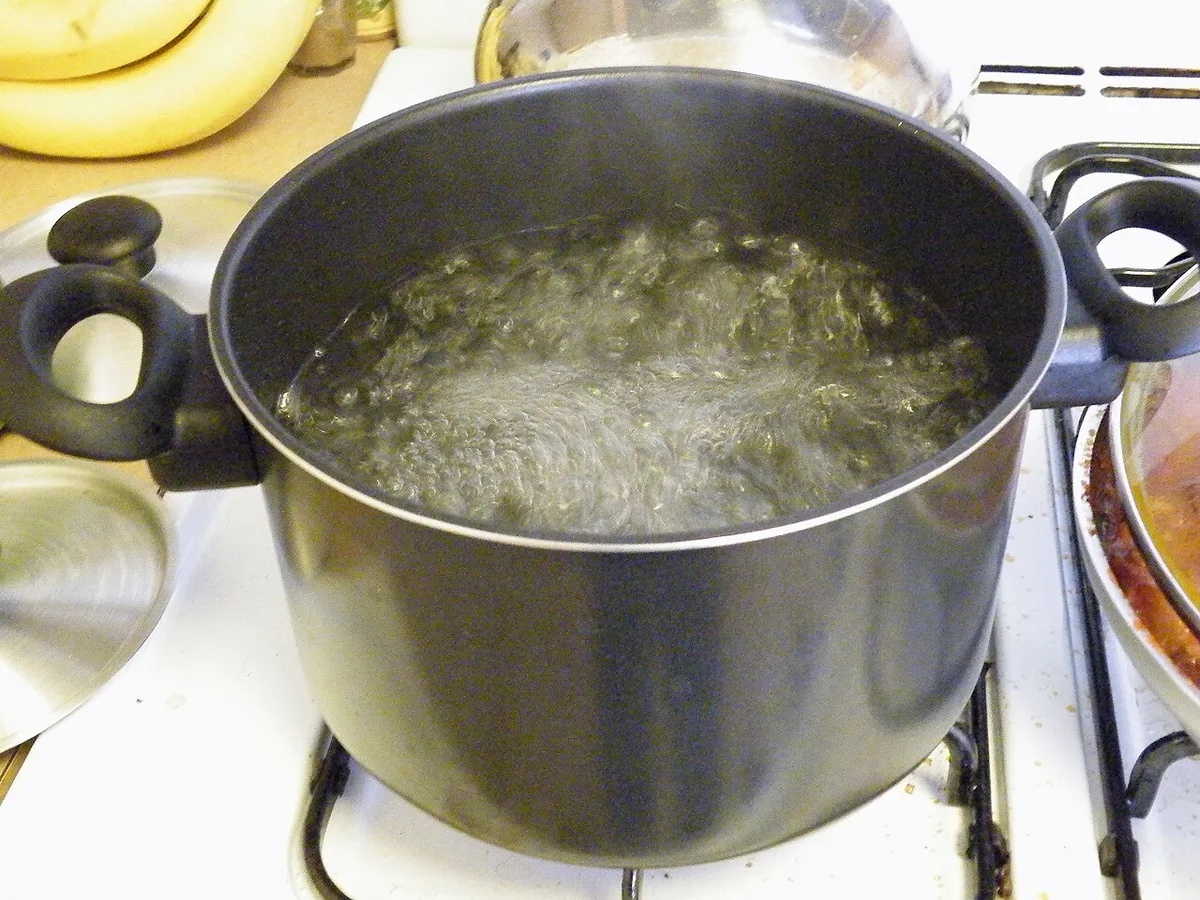
Because your DIY filter cannot guarantee the removal of harmful bacteria, viruses, or other pathogens, any water you filter should be further treated before consumption. The most accessible and reliable method is boiling. Bringing water to a rolling boil for at least one minute (or three minutes at altitudes above 6,500 feet) effectively kills most harmful microorganisms.
Alternatively, if boiling isn't feasible, chemical disinfection using iodine or chlorine-based purification tablets can be employed. Always follow the manufacturer’s instructions precisely when using these. These steps are non-negotiable for ensuring the water is safe to drink.
Making Your Own Activated Charcoal (And Why it's Tricky)
While you can create charcoal by burning wood, truly activating it to create a highly porous material suitable for water filtration is a more complex process. Simple charring at home typically doesn't achieve the high temperatures and specific atmospheric conditions (like steam activation) required to develop the extensive internal surface area that makes commercial activated charcoal so effective.
For a DIY filter, using pre-activated charcoal, often sold as granular activated charcoal (GAC) for aquarium or water filter use, is highly recommended over trying to activate it yourself. This ensures you're using a material with proven adsorptive capabilities. Our research indicates homemade charcoal often lacks the necessary pore development for effective contaminant adsorption.
What Constitutes "Activated" Charcoal?
True activated charcoal is treated to possess millions of tiny pores, greatly increasing its surface area. This process, often involving high temperatures and steam, is what gives it its powerful adsorptive capabilities. Without this specific activation, the charcoal’s ability to effectively bind with impurities is severely limited.
Handling Your Filter Materials Safely
When working with sand and gravel, rinse them thoroughly to remove any dirt or contaminants. Likewise, ensure your activated charcoal is clean and free of excessive dust before adding it to the filter. Proper handling prevents your filter from introducing new problems.
Safety First: What DIY Filters Can't Guarantee
The most critical aspect of any DIY water filter is understanding its limitations regarding safety. While it excels at improving water appearance, it doesn't reliably address the unseen threats that make water unsafe.
- Microbiological Threats: The tiny pores in sand and cloth can trap some larger bacteria and protozoa, but many smaller bacteria and all viruses will pass through.
- Chemical Contaminants: While activated charcoal can adsorb some organic chemicals, it's not effective against dissolved inorganic contaminants like heavy metals (lead, arsenic) or many industrial solvents.
Does DIY Filtration Meet Safety Standards?
No, a DIY charcoal filter does not meet official safety standards like those set by NSF International. Standards like NSF/ANSI 53 are designed to verify removal of specific health-related contaminants to proven levels, a feat requiring precise material engineering and controlled conditions unavailable in a homemade setup.
The Long-Term Perspective: When DIY Isn't Enough
While a DIY charcoal filter can be a useful tool for education or as an intermediate step, its effectiveness diminishes over time. The activated charcoal becomes saturated with adsorbed impurities, and the porous layers can become clogged with sediment.
This means the filter's capacity to clarify and improve water quality is finite. For continuous or critical water purification needs, investing in a certified commercial filter or relying on proven disinfection methods is the only responsible choice.