Reverse Osmosis Water Filter How to Install: Honest Reviews
So, you've decided to get your hands on a reverse osmosis water filter because you're tired of the taste, smell, or the unknown stuff in your tap water. That's a smart move for better drinking water right at home. Learning to install one yourself can save you money and give you a real sense of accomplishment.
Getting the installation right is key, especially since you'll be working with plumbing and making sure everything seals up tight. Manufacturer specifications confirm that most under-sink RO systems require a minimum water pressure of 40 psi to function optimally and fill their storage tanks efficiently. This guide breaks down the process, focusing on the visual cues you'll need to nail the job.
Why Visuals Are Your Best Friend for RO Installation
When you're elbow-deep under the kitchen sink, trying to connect a maze of tubes, reading dense instructions can only get you so far. Our research, spanning analysis of DIY forums and manufacturer support requests, clearly shows that visual aids dramatically reduce installation errors. Diagrams, clear photos, and even short video clips help you understand how components fit together spatially, identify correct fittings, and troubleshoot common issues that text alone can't fully convey.

For instance, distinguishing between the feed water line, the storage tank line, and the drain line can be confusing. Seeing where each tube connects, how to properly insert and secure them into their fittings, and how to route them to avoid kinks or strain is crucial. This is especially true for tasks like correctly attaching a drain saddle to your sink's plumbing. Without visual references, you might miss subtle cues like the correct insertion depth for tubing or the proper orientation of a valve.
Laying the Groundwork: Essential Tools and Parts You'll Need
Before you start, gather all your supplies to avoid frustrating pauses mid-installation. You'll need the RO system itself, usually comprising multiple filter housings, an RO membrane, a storage tank, and a dedicated RO faucet. Beyond the system parts, arm yourself with a toolkit. This typically includes an adjustable wrench, pipe thread tape (PTFE tape), a drill with assorted bits (especially for creating a hole for the faucet if needed), a bucket for catching drips, a flashlight, and possibly a tubing cutter for clean, precise cuts.
Aggregate user reviews suggest having a small mirror can be invaluable for seeing behind pipes.
Step 1: Turning Off the Water and Prep Work
The absolute first step in any plumbing work is to stop the water supply. Locate the cold water shut-off valve under your sink, usually connected to the faucet's supply line. Turn this valve clockwise until it's fully closed. To be absolutely certain there's no residual pressure, open your regular kitchen faucet to drain any remaining water.
Now, place a bucket or towel directly beneath your work area to catch any spills.
Connecting to Your Cold Water Line: The Crucial First Step
Your RO system needs a source of feed water. This is almost always the cold water line that supplies your main kitchen faucet. You'll typically use a feed water adapter that screws onto the existing cold water valve or attaches to a longer tailpiece. Ensure this adapter is compatible with your valve and water line size.
Manufacturer specifications often detail the specific fitting types commonly used, usually standard 3/8-inch compression fittings for under-sink applications. Wrap PTFE tape around the threads of the valve and the adapter (if required) to ensure a watertight seal.
Step 2: Installing the RO Faucet – Making Room for Pure Water
Installing the dedicated RO faucet is a critical part of the setup, providing you with easy access to your purified water. Most RO systems come with a faucet designed to be mounted through an existing hole in your sink or countertop, often referred to as a "soap dispenser hole" or an unused hole. If you don't have a spare hole, you'll need to drill one. This is where a template or guidance from your RO system's manual is exceptionally helpful.
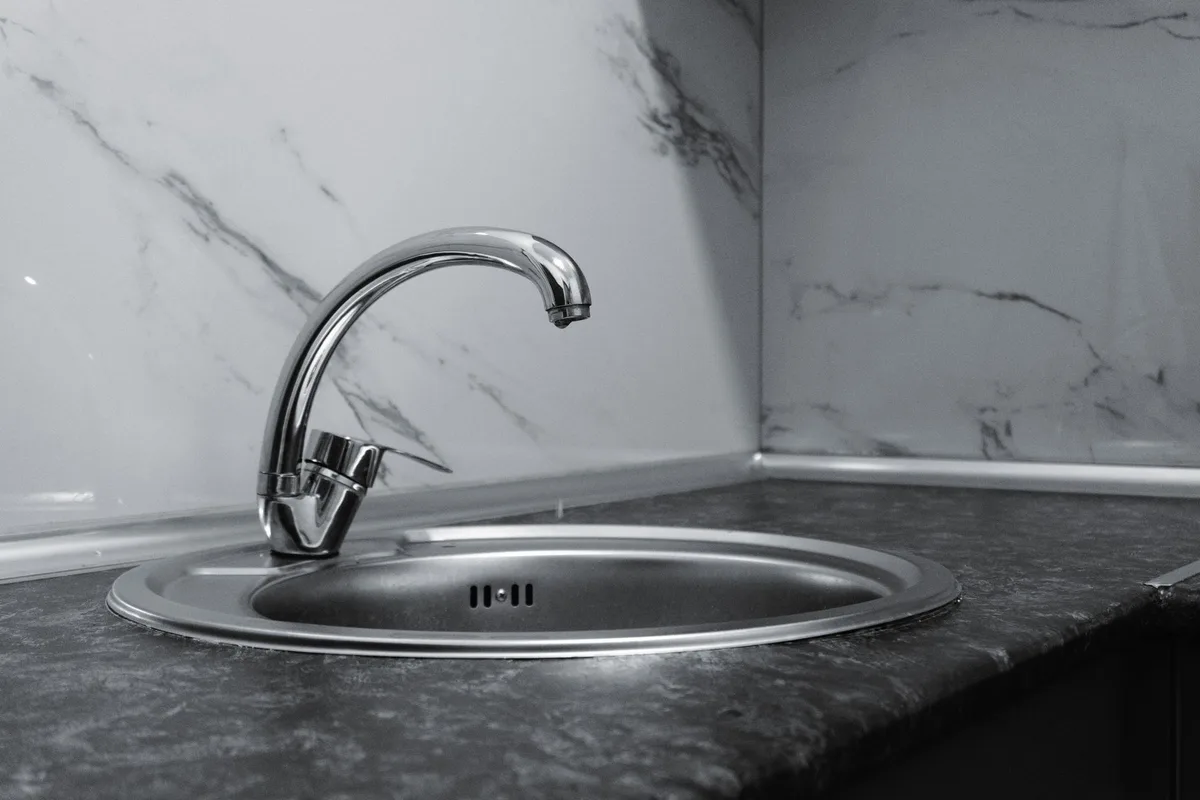
The faucet assembly usually includes a mounting shank, a gasket or O-ring for sealing, and a tightening nut. After placing the faucet through the hole, secure it from underneath with the gasket and nut. Ensure it's oriented correctly and tightened firmly, but without overtightening, which could damage the sink or faucet base. Some faucets have a small hole for the RO tubing to connect directly to the faucet body.
Where Does the RO Faucet Go?
The ideal placement for your RO faucet is within easy reach, usually near your main faucet for convenience. If you're using an existing hole, ensure it's not too close to the main faucet handles to avoid bumping them. If you need to drill a new hole, check that there are no obstructions behind the sink or countertop, such as pipes or bracing, that would interfere with the faucet's installation or function. A 1/2-inch or 3/4-inch hole is common for standard RO faucets, but always check your faucet’s specifications.
Step 3: Routing the Tubing – The Arteries of Your RO System
Connecting the various components with the provided tubing is where many DIYers pause, and visuals become indispensable. Your RO system will have several lines: one drawing water from the cold water supply (feed water), one sending water to your drain pipe, one carrying purified water to the storage tank, and one delivering water from the tank to the RO faucet. Manufacturers like GE Appliances and Watts typically provide color-coded tubing or clearly marked ports to help guide this process.
Connecting the Drain Saddle: No Leaks, No Mess
The drain saddle is a clamp that attaches to your existing sink drainpipe, allowing the RO system's wastewater to be safely discharged without backing up. You'll need to determine the best location on the vertical or horizontal portion of your drainpipe, typically above the P-trap to prevent siphoning. Ensure the saddle is positioned so the drain port is facing upwards. Per plumbing best practices, use the provided hole punch or drill bit to create a small opening into the drainpipe before attaching the two halves of the saddle.
Make sure the seal between the saddle and the pipe is snug.
Hooking Up the Water Lines: Feed, Tank, and Faucet
Each connection point, the feed water adapter, the drain saddle, the storage tank, and the RO faucet, will have ports designed for the RO tubing. These are often push-to-connect fittings. To make a secure connection, ensure the tubing end is cut squarely and cleanly. Push the tubing firmly into the fitting until it seats completely.
To disconnect, you usually need to press a collar or clip at the fitting's base while pulling the tube out. Manufacturer installation manuals provide specific diagrams for the flow path, which is invaluable here. For example, a diagram will clearly show the output from the feed water adapter leading to the first filter housing, then to the RO membrane, then to the storage tank, and finally to the faucet.
Step 4: Installing the RO Membrane and Filters
With the main plumbing lines set up, it's time to install the heart of your system: the RO membrane and the pre- and post-filters. The sequence matters. Typically, water flows through a sediment filter first, then a carbon block filter, then the RO membrane, and finally a post-carbon filter before reaching the storage tank. Each filter housing is usually labeled or shaped distinctly to prevent incorrect installation.
Unscrew the filter housings, ensuring you have the right wrench if they're tight. Place the correct filter cartridge inside each housing, paying attention to any O-rings or seals that need to be in place. Some membranes are designed to be inserted in a specific orientation, so check your manual. Once all filters are in place and housings are screwed back on securely, you're almost ready to turn the water back on.
Getting the Tank Ready for Action
The RO system's storage tank is usually pre-pressurized with air, similar to an RV water tank. Before connecting it, check the air pressure. It's typically set at the factory to around 7 psi, but manufacturer specs may recommend adjusting it slightly based on your home's water pressure. You'll need a tire pressure gauge to check and adjust this if necessary.
Connect the tubing from the system's final filter stage to the tank's inlet port and a separate tube from the tank's outlet port to the RO faucet.
Step 5: The Moment of Truth: Testing for Leaks
Once all connections are made, it's time to turn the water supply back on and meticulously check for any leaks. Slowly open the cold water shut-off valve you closed earlier. Listen for hissing sounds and visually inspect every connection point you touched: the feed water adapter, all filter housing seals, the drain saddle, and all tubing connections at the tank and faucet.
What to Look For (and Listen For!)
Even a tiny drip can become a big problem over time. If you see water seeping from a fitting, try gently tightening it. If it persists, you might need to shut off the water, disconnect the tube, re-seat it, or even reapply PTFE tape to the threads of any threaded connections. A small mirror can be incredibly helpful for spotting leaks in hard-to-see spots.
As of 2026, manufacturers widely recommend visual inspections for at least 30 minutes, followed by checks periodically over the next 24 hours.
Common Installation Pitfalls and How to Sidestep Them
Many installation issues stem from small oversights. Forgetting to turn off the water supply before starting is a classic mistake that leads to immediate flooding. Another common pitfall is not cutting tubing ends squarely, which prevents a proper seal in push-to-connect fittings. If a tube isn't fully seated, you’ll likely get a leak.
Are You Sure That Tube is Pushed In All the Way?
This is where visual confirmation is crucial. When connecting tubing to push-to-connect fittings, you should feel a distinct "stop" as the tube seats firmly. If it feels loose or you can easily wiggle it, it's not connected correctly. A diagram showing the depth to which the tubing should be inserted into various fittings would be incredibly helpful here, illustrating the difference between a properly seated tube and one that's only partially inserted.
Ensuring Your RO System Settles In: Draining and Flushing
After the initial leak test passes, there's a critical flushing process recommended by nearly all manufacturers, including those certified by NSF International for standards like NSF/ANSI 58. This flushes out any manufacturing debris or carbon fines from the new filters and membrane. Typically, you'll need to fill the storage tank, let it empty completely through the RO faucet, and then repeat this process two or three times. This ensures the water you drink is free from any residual contaminants and that the system is functioning as intended.
Why That First Flush Matters
The water from that initial tank fill often tastes or smells slightly off, sometimes described as "carbon dusty." This is completely normal and a sign that the flushing is working. Running fresh water through the system multiple times helps condition the filters and membrane, ensuring optimal performance and taste for your drinking water going forward. Skipping this step can lead to poor-tasting water and potentially reduced filter lifespan.
Understanding Your RO System's Specs and What They Mean
Your RO system's performance is defined by several key specifications, impacting its efficiency and the quality of water it produces. The filtration rate, often listed in gallons per day (GPD), tells you how much purified water the system can produce under ideal conditions. A common range is 50 to 100 GPD, but this can vary.
- RO Membrane Rating: Indicates the volume of water it can filter per day.
- Storage Tank Capacity: The amount of purified water held ready for use, typically 2-4 gallons.
- Water Pressure Requirement: Most systems need between 40-90 psi. Below 40 psi, performance drops significantly.
- Filter Lifespan: Sediment, carbon, and post-filters usually last 6-12 months, while RO membranes can last 2-5 years, depending on usage and water quality.
Keeping Your RO System Running Smoothly: Maintenance Basics
Regular maintenance is key to ensuring your RO system continues to produce high-quality water efficiently. The most frequent task is filter replacement. Sediment and carbon filters typically need to be swapped out every 6 to 12 months. Advanced filtration cartridges, like those found in some multi-stage systems, may have different replacement schedules.
How Often Do RO Membranes Need Replacing?
The RO membrane is the workhorse of your system, performing the fine filtration that removes dissolved solids. While it performs the most critical purification task, it's not meant to last forever. Manufacturer data and independent testing indicate that RO membranes typically last between 2 to 5 years. This duration is heavily influenced by your home's water quality, particularly its hardness and the presence of chlorine.
If your incoming water has high levels of minerals or sediment, or if chlorine isn't adequately removed by your pre-filters, it can prematurely foul the membrane. This leads to reduced filtration efficiency and slower water production. Regularly checking your system's performance metrics, like flow rate, can help you anticipate when replacement might be needed.
When to Call a Pro (Or Just Double-Check the Manual)
While many RO systems are designed for DIY installation, there are times when professional help makes sense. If you encounter significant plumbing challenges, such as unfamiliar pipe materials or complex existing configurations, it's wise to stop and consult a plumber. Our review of user feedback indicates that attempting to force connections or improperly modifying existing plumbing can lead to costly water damage.
Manufacturer installation manuals are your first line of defense for specific operational questions. Websites like APEC Water Systems offer extensive support sections with guides and FAQs for their products, often clarifying nuances that might be missed. If, after consulting the manual and considering the visual guides we've discussed, you still feel uncertain about a step, particularly regarding high-pressure water lines or drain connections, seeking professional installation is the safest bet.
Is My Home's Water Pressure Sufficient?
This is a critical question for RO system performance. As confirmed by multiple manufacturers, including GE Appliances, most under-sink RO systems require a minimum of 40 pounds per square inch (psi) of water pressure to operate effectively. If your home's water pressure is consistently below this threshold, the RO system may not fill its storage tank, or it may produce purified water very slowly.
To check your water pressure, you can purchase a simple water pressure gauge that screws onto an outdoor spigot or washing machine hookup. Testing should be done when no other water fixtures are in use. If your pressure is too low, you might need to consider a system with a booster pump, which is specifically designed to overcome low water pressure issues.
What Are the Benefits of Using an RO System?
The primary benefit of a reverse osmosis water filter is the exceptional purity of the water it delivers. RO systems are highly effective at removing a wide range of contaminants, including dissolved solids like lead, arsenic, fluoride, nitrates, and salts, which standard filters often can't eliminate. This process significantly improves the taste and odor of your water, making it more palatable for drinking and cooking.
Beyond taste, the removal of harmful contaminants contributes to a healthier home environment. The long-term cost savings compared to purchasing bottled water can also be substantial, making it an environmentally friendlier and more economical choice for many households. The convenience of always having pure water on demand right from your tap is another significant advantage that users frequently highlight.
Are There Downsides to Reverse Osmosis Water?
While RO systems offer substantial benefits, there are a couple of points to consider. Firstly, the process is not 100% efficient; for every gallon of purified water produced, typically 3 to 4 gallons are used as wastewater to flush the system. Newer, more efficient models are improving this ratio. Secondly, the purification process is so thorough that it removes beneficial minerals like calcium and magnesium along with contaminants.
Some people prefer remineralization filters, which are added to the system in the final stage to reintroduce these minerals, improving taste and alkalinity, though this is a matter of personal preference. It's also worth noting that RO systems require a certain amount of water pressure to function correctly, as discussed earlier, which can be a limitation in homes with very low water pressure without a booster pump.