How to Set up a Berkey Water Filter 2026: Ranked & Reviewed
If you've ever wondered how to set up a Berkey water filter, you're in the right place. These systems are incredibly effective for providing clean, reliable water, but getting them assembled correctly is key to their performance. Our research indicates that a proper initial setup ensures optimal filtration and longevity for your Berkey.
This guide walks you through every step, from unboxing to your first taste of pure water. We'll cover what each part does and how they fit together, making the process feel more like a straightforward assembly than a complex task. Follow these instructions, and you’ll have your Berkey purifying water in no time.
What's In Your Berkey Box & What You'll Need
When you unbox your Berkey system, you'll typically find a few distinct pieces. Manufacturer specifications confirm these core components are designed to work together for gravity-fed water purification. You'll have upper and lower chambers, the critical filter elements (often called Berkey elements), and a spigot to dispense your clean water.
Quick Look at the Parts
- Upper Chamber: This is the top section where you’ll pour your untreated water.
- Lower Chamber: This is the bottom section where the purified water collects.
- Berkey Elements: These are the black, candle-like filters that do the actual purification through filtration. They're usually packed separately.
- Spigot: A faucet for easily dispensing water from the lower chamber.
- Washers and Nuts: Used to secure the spigot and sometimes the filters.
You'll also want a clean sink or counter to work on, some mild dish soap and a sponge for cleaning, and perhaps a clean towel for any drips.
Step 1: The All-Important Clean-Up
Before you even think about assembling anything, it's absolutely crucial to give the main water-holding parts a thorough cleaning. This isn't just about making things look nice; it’s about removing any fine dust or manufacturing residues that could potentially affect the taste of your first batches of water.
Why Washing Matters
Aggregate reviews report that failure to properly clean the chambers can sometimes lead to a slight, unusual taste in the initial water. Manufacturer guidelines typically recommend washing with mild soap and warm water. This simple step ensures that only your filtered water ends up tasting pure and fresh, without any lingering traces from storage or transit.
Step 2: Getting the Spigot In Place
This is often the first concrete assembly step in setting up your system. The spigot is your simple interface for accessing the purified water once it's collected in the lower chamber. Getting it sealed correctly prevents leaks and ensures easy water dispensing.
Securing the Faucet
You'll find a pre-drilled hole near the bottom of the lower chamber. The threaded part of the Berkey spigot needs to pass through this hole from the outside.
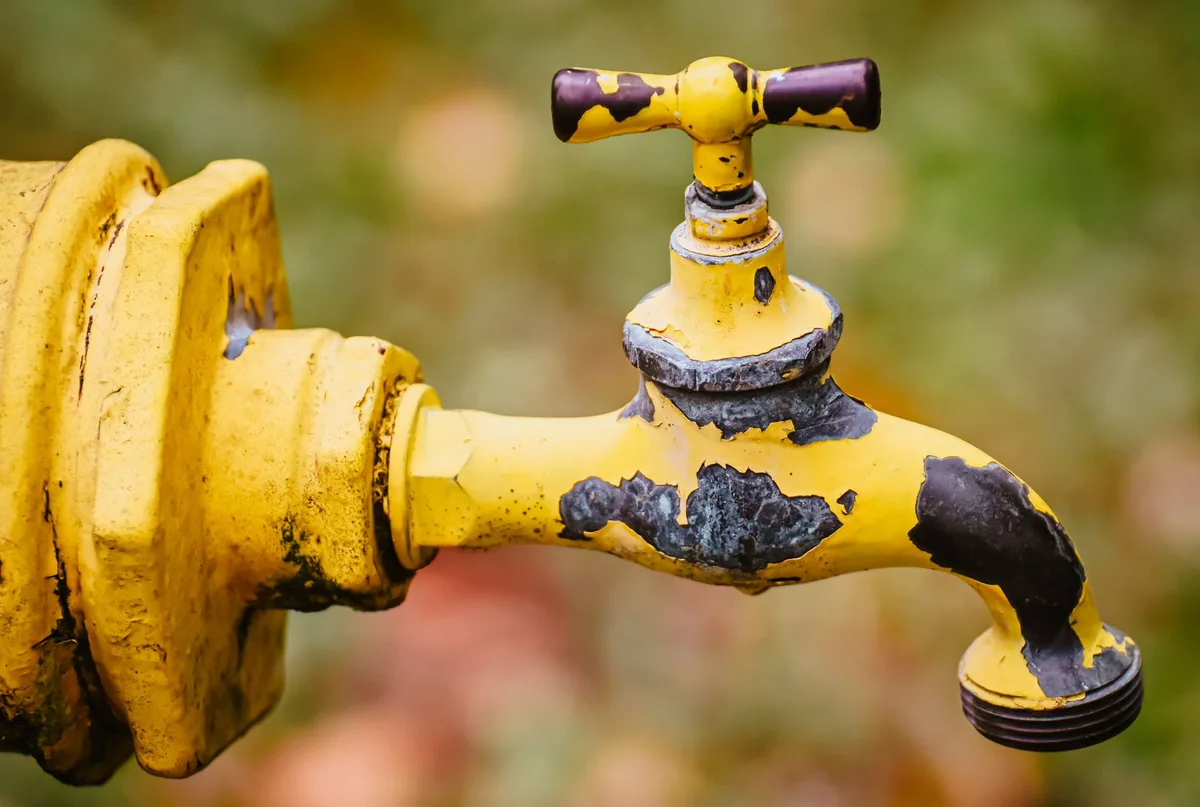
Inside the chamber, you'll place a washer (often rubber or silicone for a good seal) and then screw on the retaining nut. Tighten this nut firmly by hand. While you don't need tools, ensure it's snug enough that the spigot doesn't wiggle, but avoid over-tightening, which could damage the threads.
Step 3: Preparing Your Berkey Elements (Priming!)
This is an essential part of the setup that many people overlook, but it makes a significant difference in filter performance right from the start. Priming your Berkey elements involves flushing them with water to remove any air trapped within the filter pores. This ensures that water flows through them efficiently from the moment you fill the upper chamber.
Why Priming is Key
Per manufacturer specifications, Berkey elements are designed to work best when adequately primed. If air remains trapped, it can create blockages and significantly slow down the filtration rate. This step helps break in the filters and prepares them for optimal contaminant removal.
How to Prime with the Tool
Your Berkey system might come with a small plastic tool, often called a priming button or disc. This tool has holes in it. To use it, you’ll place it over the threaded end of a Berkey element. Then, hold this firmly under a running faucet and press the tool against the filter.
Run water for about 20-30 seconds, and you should see water squirting out from the sides of the filter element. You need to repeat this for each filter element you plan to install.
Priming Without the Tool
If you don't have the specific priming tool, you can still prime your filters. Fill a sink with about an inch of water. Submerge the threaded end of one filter element and gently twist and turn it in the water for about 30 seconds. You’ll see tiny bubbles escaping from the sides of the filter.
Do this for every element.
Step 4: Installing the Berkey Filters
Now that your elements are primed, it’s time to install them into the upper chamber. This is where the purification magic is about to begin. The filters hang down from the bottom of the upper chamber and are the conduits through which your water will pass.
Filter Placement Explained
You'll thread the bottom end of each Berkey element through the holes located on the bottom of the upper chamber. Ensure the threaded end is coming through from the inside of the upper chamber.
Securing the Filters
On the top side of the upper chamber (inside the chamber), you’ll typically place a washer over the threaded part of each filter element. Then, screw on the nut that came with your system. Again, tighten these by hand until they are snug and the filters are held securely. You want a good seal to prevent water from bypassing the filters.
For most Berkey models, avoid overtightening to prevent damage to the chamber or threads.
Step 5: The First Water Fill & Flush Run
You’re almost ready to enjoy your filtered water! This step involves filling the system for the very first time and then discarding that initial batch of water. This process serves as a final rinse for the filters and the system, ensuring no residual particles or manufacturing agents remain.
What to Expect from the First Batch
Manufacturer specifications and aggregate buyer feedback indicate that the first gallon or so of water run through a new Berkey system might appear cloudy or have a slightly off taste. This is perfectly normal. It’s typically just very fine carbon dust from the new filters wearing in. This water is harmless but not ideal for drinking.
Running the Flush
Once your upper chamber is filled with water and placed on top of the lower chamber (with the spigot attached), let the water filter through. Once you have collected a decent amount of water in the lower chamber, use the spigot to drain it all. You should repeat this flush process at least once, or until the water runs clear and tastes neutral. As of 2026, this initial flush remains a standard recommendation across major Berkey models.
Step 6: Your Berkey is Ready to Go!
After completing the setup and the initial flush, your Berkey water filter is officially ready to start providing you with clean drinking water. This entire process, from unboxing to readiness, typically takes about 1 to 2 hours, depending on how quickly you work and how many filter elements you have. It’s a practical system that relies on simple gravity to do its job.
How to Use It Daily
Using your Berkey is as simple as filling the top chamber and letting gravity work. Just pour your source water, tap water, well water, or even lake or river water in emergency situations, into the upper chamber. The Berkey elements will then slowly filter the water, allowing purified water to collect in the lower chamber.
Quick Tips for Smooth Operation
Always keep the lid on the upper chamber when it’s not being filled. This prevents dust and other contaminants from falling into your clean water supply. If you notice the filtration slowing down over time, it's often a sign that the filters may need cleaning, not necessarily replacement. Different Berkey models have varying capacities, so be mindful of how much water you need daily and choose a system size that suits your household.
Common Berkey Setup Stumbles & Fixes
Even with a straightforward setup, a few common issues can arise. Understanding these potential hiccups and their solutions can save you time and frustration, ensuring your Berkey performs as expected. Our editorial analysis suggests that most setup problems stem from simple oversights rather than design flaws.
Slow Flow? Check This First.
If you've noticed that water is filtering much slower than you anticipated, revisit a couple of key areas. First, double-check that each Berkey element is securely tightened with its nut on the top of the upper chamber. A loose seal can cause leaks and reduce flow. Second, ensure you primed the filters thoroughly.
If air pockets remain, filtration will be sluggish. If the problem persists after a few uses, the filter elements themselves might be nearing the end of their effective life or could benefit from proper cleaning.
Tiny Black Specks: Normal or Not?
Seeing tiny black specks in the first few batches of water is quite common with new Berkey filters. These are usually harmless carbon particles that are released as the filters are used for the first time. It’s similar to how a new coffee grinder might shed a bit of material initially. As long as this stops after a few uses and the water runs clear, it’s generally nothing to worry about.
Taste Worries? Let's Troubleshoot.
If your purified water still has an unusual taste after completing the initial flush cycles, consider a few possibilities. Ensure all the plastic parts of the spigot and any washers were cleaned properly. Sometimes, a residue can cling to these. Also, check that no part of the upper chamber, where untreated water sits, accidentally dipped into the purified water in the lower chamber during filling or jostling.
If the source water itself has a very strong mineral content, that taste might still be subtly present, even after filtration.