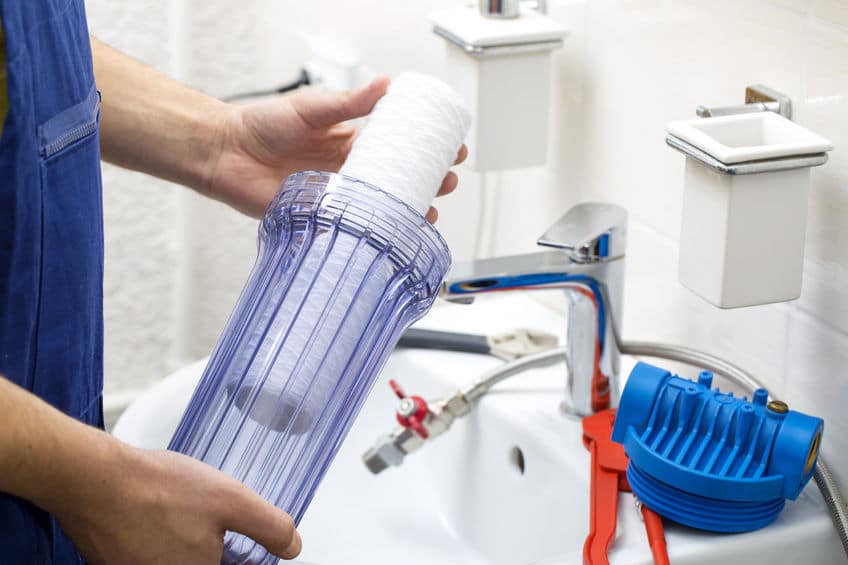
How To Change House Water Filter: Easy Guide
Changing a house water filter is a simple DIY task that takes about 10–15 minutes, requires no special tools, and instantly improves your water's taste, smell, and safety. Most homeowners can handle the job themselves with just a few basic steps and a little preparation. Once you learn the process, you'll never need to call a plumber for this again.
I still remember the first time I tried to swap out my filter. I stood in front of the housing unit, wrench in hand, feeling completely unsure. Did I turn it the right way? Would water gush everywhere? Turns out, it was one of the easiest home maintenance tasks I'd ever done. If I can do it, so can you.
In this guide, I'll walk you through everything you need to know about how to change a house water filter from start to finish. We'll cover the tools you need, step-by-step instructions, common mistakes to avoid, and how to keep your system running smoothly. By the end, you'll feel confident enough to tackle this job like a pro.
Why Changing Your House Water Filter Matters
Your home's water filter works around the clock. It traps sediment, chlorine, heavy metals, and other contaminants before they reach your faucets, showerheads, and appliances. Over time, the filter media gets clogged and saturated. When that happens, it stops working effectively.
A neglected filter can actually make things worse. Instead of removing impurities, it can release trapped bacteria back into your water. It can also reduce water pressure throughout your house and make your water taste flat or stale.
Most manufacturers recommend changing your filter every 3 to 6 months, depending on usage and water quality. If you have a large family or hard water, you might need to change it more often. Keeping up with this simple task protects your health, your plumbing, and your wallet.

Tools and Supplies You'll Need
Before you start, gather everything in one place. There's nothing worse than being stuck under the sink with a half-done job and a missing tool.
Here's your checklist:
- New water filter cartridge (make sure it matches your housing model)
- Filter wrench or housing wrench (often comes with the system)
- Bucket or shallow pan
- Clean towels or rags
- Plumber's grease (silicone-based, not petroleum)
- Optional: flashlight for tight spaces
How to Change a House Water Filter: Step-by-Step
Now let's get into the actual process. I'll break it down into clear, manageable steps so you can follow along easily.
Step 1: Turn Off the Water Supply
Locate the shut-off valve on the filter housing or the main water line. Turn it clockwise until it stops. If you have a single-lever valve, slide or turn it to the closed position.
Open a faucet downstream of the filter to release pressure. This step prevents a mini flood when you open the housing. Trust me, skipping this is the number one reason people end up with a wet kitchen floor.
Step 2: Relieve the Pressure in the System
Even after turning off the water, pressure remains in the lines. Press the red pressure relief button on top of the filter housing. You might hear a small hiss. That's the sound of a job done right.
Step 3: Remove the Filter Housing
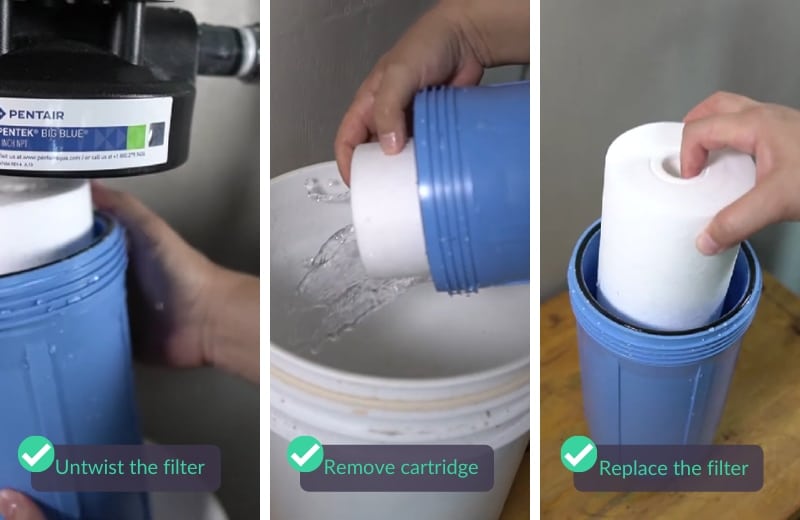
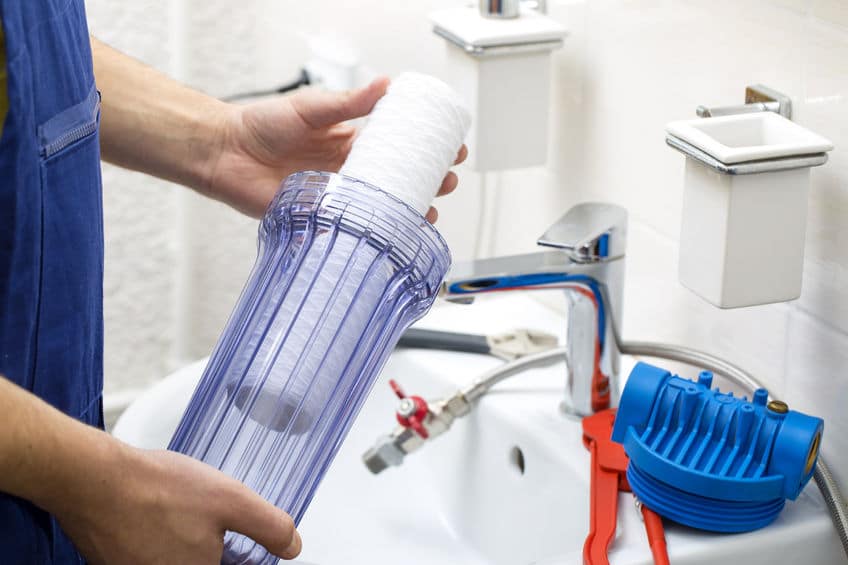
Place your bucket directly under the filter housing to catch any drips. Fit the filter wrench around the housing and turn it counterclockwise. It might be tight, especially if it hasn't been changed in a while. A little muscle is fine, but don't force it.
Once loose, unscrew the housing by hand and set it aside.
Step 4: Take Out the Old Filter and Drain the Water
Lift out the old cartridge. Water will spill into the bucket, so move slowly. Take a moment to look at the old filter. If it's covered in brown or orange sediment, that's a sign your water has a lot of particulates. You might want to consider a pre-filter or more frequent changes.
Pour out the remaining water and rinse the inside of the housing with clean water. Don't use soap or harsh cleaners, as they can leave residue that affects water taste.
Step 5: Prep the New Filter
If your new cartridge has rubber O-rings or seals, lightly coat them with plumber's grease. This keeps them flexible and prevents leaks. Some filters come with a plastic wrapper around them, so remove that before installation.
Also, check the direction. Most filters have an arrow on the side indicating water flow. Make sure it points the correct way before you drop it in.
Step 6: Install the New Filter
Place the new cartridge into the housing exactly as the old one sat. Then screw the housing back onto the cap by hand. Once it's hand-tight, use the wrench to give it a quarter turn more. Over-tightening can crack the housing, so go easy here.
Step 7: Turn the Water Back On and Check for Leaks
Slowly open the shut-off valve. Let the water fill the housing gradually. Once it's full, open a nearby faucet and let it run for 3 to 5 minutes. This flushes out any carbon dust or air pockets from the new filter.
While the water runs, check around the housing for drips. If you see any, turn off the water, slightly loosen the housing, and retighten it. A small adjustment usually solves the problem.
Step 8: Reset Your Filter Timer (If Applicable)
Many modern systems have a filter change indicator or timer. If yours does, reset it now so you'll know when to change it again next time. Some smart systems reset automatically, but it's worth double-checking.

Common Mistakes to Avoid When Changing Your Water Filter
Even though this is a simple job, a few slip-ups can turn it into a headache. Here are the most common mistakes I see and how to sidestep them.
Forgetting to shut off the water. Always, always turn off the water first. This sounds obvious, but you'd be surprised how many people forget in the rush to get started.
Using the wrong replacement filter. Not all filters are universal. Each housing model takes a specific size and type. Using the wrong one can lead to leaks or poor filtration.
Over-tightening the housing. Plastic housings only need to be snug. Cranking down with all your strength can strip the threads or crack the bowl. If you feel resistance, stop.
Skipping the grease on the O-ring. That little rubber ring is what keeps the seal watertight. Without grease, it can dry out, crack, and leak. A pea-sized dab goes a long way.
Not flushing the new filter. That black or cloudy water at first is normal. It's just carbon fines. Flush until the water runs clear, usually a few minutes.

How Often Should You Change Your House Water Filter?
The general rule of thumb is every 3 to 6 months, but the exact timing depends on a few factors.
If you have a large household with high water usage, you'll need to change it more often. Hard water with lots of minerals can also clog filters faster. Some people go by a calendar reminder, while others rely on a built-in indicator light.
Here are some signs your filter needs changing, even if it's not yet due:
- Water pressure drops noticeably
- Water tastes or smells different (often metallic or musty)
- The filter housing looks dirty or discolored
- It has been more than 6 months since the last change
When in doubt, change it. Filters are relatively inexpensive compared to the cost of plumbing repairs or the health risks of contaminated water.
Types of House Water Filters and Their Specifics
Not all filters are the same. Knowing what you have helps you replace it correctly.
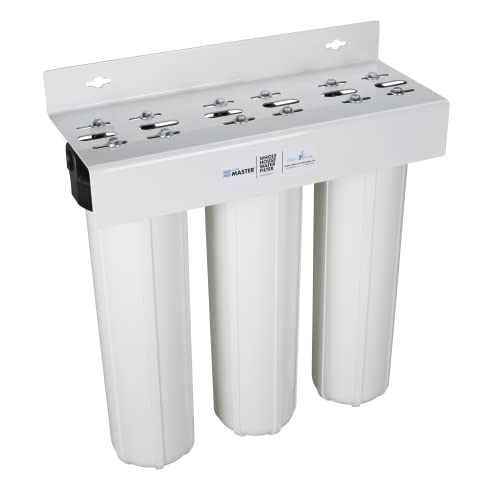
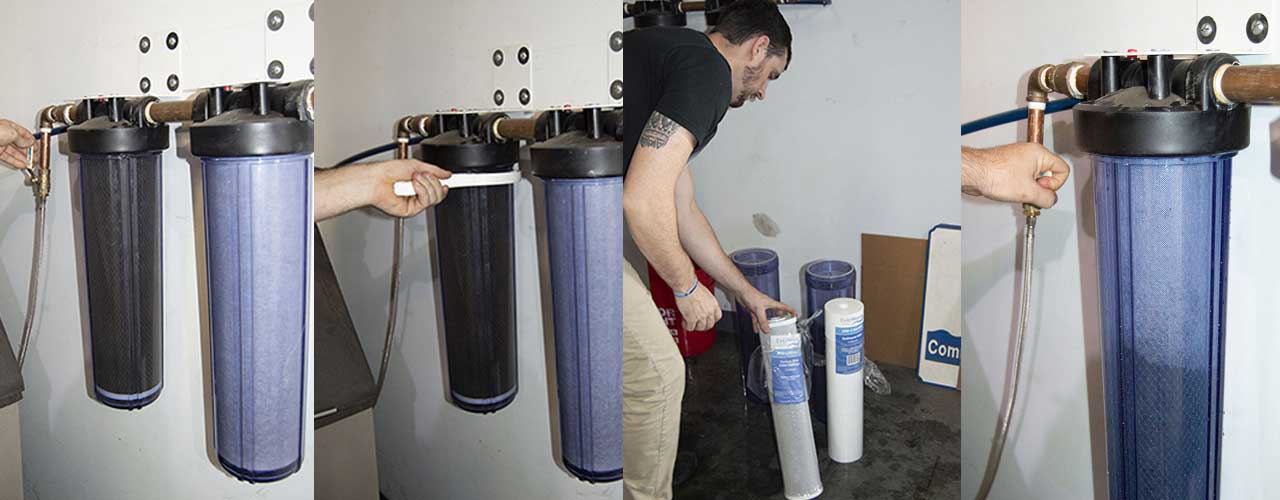
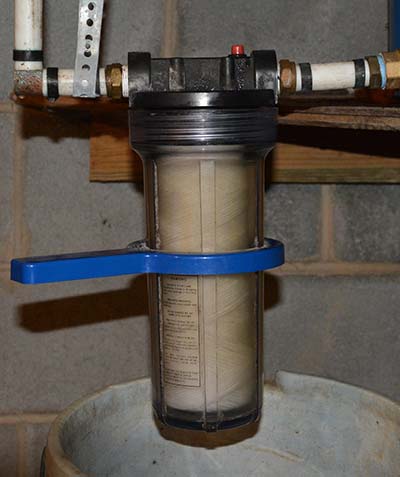
Sediment filters catch dirt, sand, and rust. They usually look like white string-wound cartridges or pleated paper. These often need changing every 3 months.
Carbon filters (often called activated carbon) remove chlorine, odors, and organic compounds. They look like black cylinders and typically last 4 to 6 months.
Reverse osmosis filters are multi-stage systems usually under the kitchen sink. They have several cartridges that need replacing on different schedules, usually every 6 to 12 months.
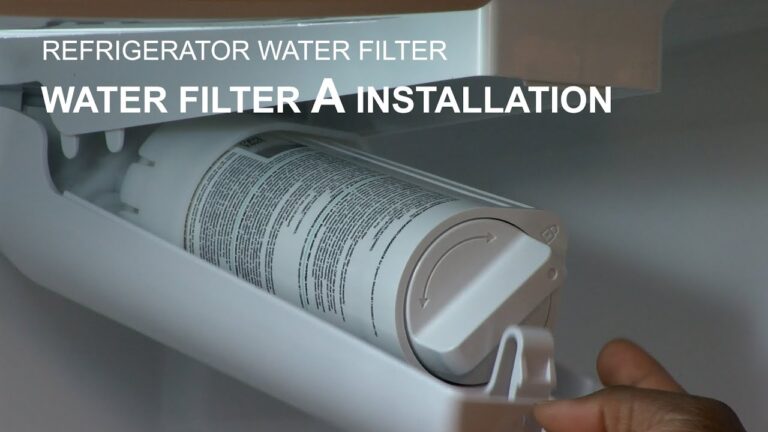
Inline filters are smaller units attached to specific appliances like refrigerators or ice makers. These are simple to change, often just twisting off and twisting on a new cartridge.
Personal Tips From Experience
After changing filters in dozens of homes over the years, I've picked up a few tricks that make the job even easier.
Keep a spare filter on hand. There's nothing worse than realizing you need a new one on a Sunday evening when the store is closed. I always keep an extra in the garage.
Take a photo before you remove the old filter. If you're unsure how the new one goes in, the photo is a perfect reference. This is especially helpful if your system is older and the manual is long gone.
Mark the date on the new filter with a permanent marker. It's a simple way to track when it was installed. Some people stick a small label on the housing itself.
Don't ignore small leaks. If you notice a tiny drip after changing the filter, fix it right away. What starts as a few drops can turn into a flooded cabinet overnight.
The Benefits of Regular Filter Changes
Staying on top of this task pays off in ways you might not expect.
Better tasting water is the most obvious perk. Fresh filters remove the chlorine and other chemicals that affect flavor. Your coffee and tea will taste noticeably better.
Cleaner dishes and glassware is another benefit. Old filters can let sediment through, leaving spots on your glasses and a film on your plates.
Longer appliance life comes with regular filter changes. Your dishwasher, washing machine, and water heater all run more efficiently with clean, filtered water. Scale buildup decreases, and parts last longer.
Healthier skin and hair is a bonus many people overlook. Filtered water is gentler on your body, especially if you have sensitive skin or eczema.
Frequently Asked Questions
How do I know which water filter to buy for my house?
Check the model number on your existing filter or the housing unit. Most systems are clearly labeled. You can also take the old filter to a hardware store and match it up. If you can't find the right one, contact the manufacturer directly with your model number.
Can I change my water filter without turning off the water?
Technically, you can, but you'll have a mess. Water will pour out the moment you open the housing. Turning off the water and relieving pressure takes only 30 seconds and saves you from mopping the floor. Always shut it off first.
Why is my water pressure low after changing the filter?
This is usually normal for the first few minutes. The new filter is still filling, and there might be air trapped in the lines. Run the water for 5 to 10 minutes. If pressure is still low, check that the filter is seated correctly and the housing is tight.
How long does a house water filter really last?
Most standard filters last 3 to 6 months under normal use. Heavy usage, hard water, or high sediment levels can shorten this. When in doubt, follow the manufacturer's recommendation, but watch for the signs I mentioned earlier.
Is it safe to change a water filter myself, or should I call a plumber?
It's absolutely safe to do it yourself. There's no electricity involved, no gas lines, and no complex plumbing. As long as you follow the steps and don't force anything, it's a beginner-friendly project. Plumbers charge $75 to $150 for a job you can finish in 15 minutes.
Conclusion
Changing your house water filter is one of those small home maintenance tasks that makes a big difference. It takes just a few minutes, costs very little, and keeps your water clean, safe, and great-tasting. Once you've done it once, you'll wonder why you ever put it off.
The key is to stay consistent. Mark your calendar, keep spare filters on hand, and don't ignore the warning signs. A little attention every few months saves you from bigger problems down the road.
Now that you know exactly how to change a house water filter, it's time to grab your wrench and give it a try. Your water, your appliances, and your peace of mind will thank you. If you found this guide helpful, drop a comment below with your experience, or share it with a friend who could use a hand with their home maintenance.