How To Remove The Water Filter From Whirlpool Refrigerator: 2026 Guide
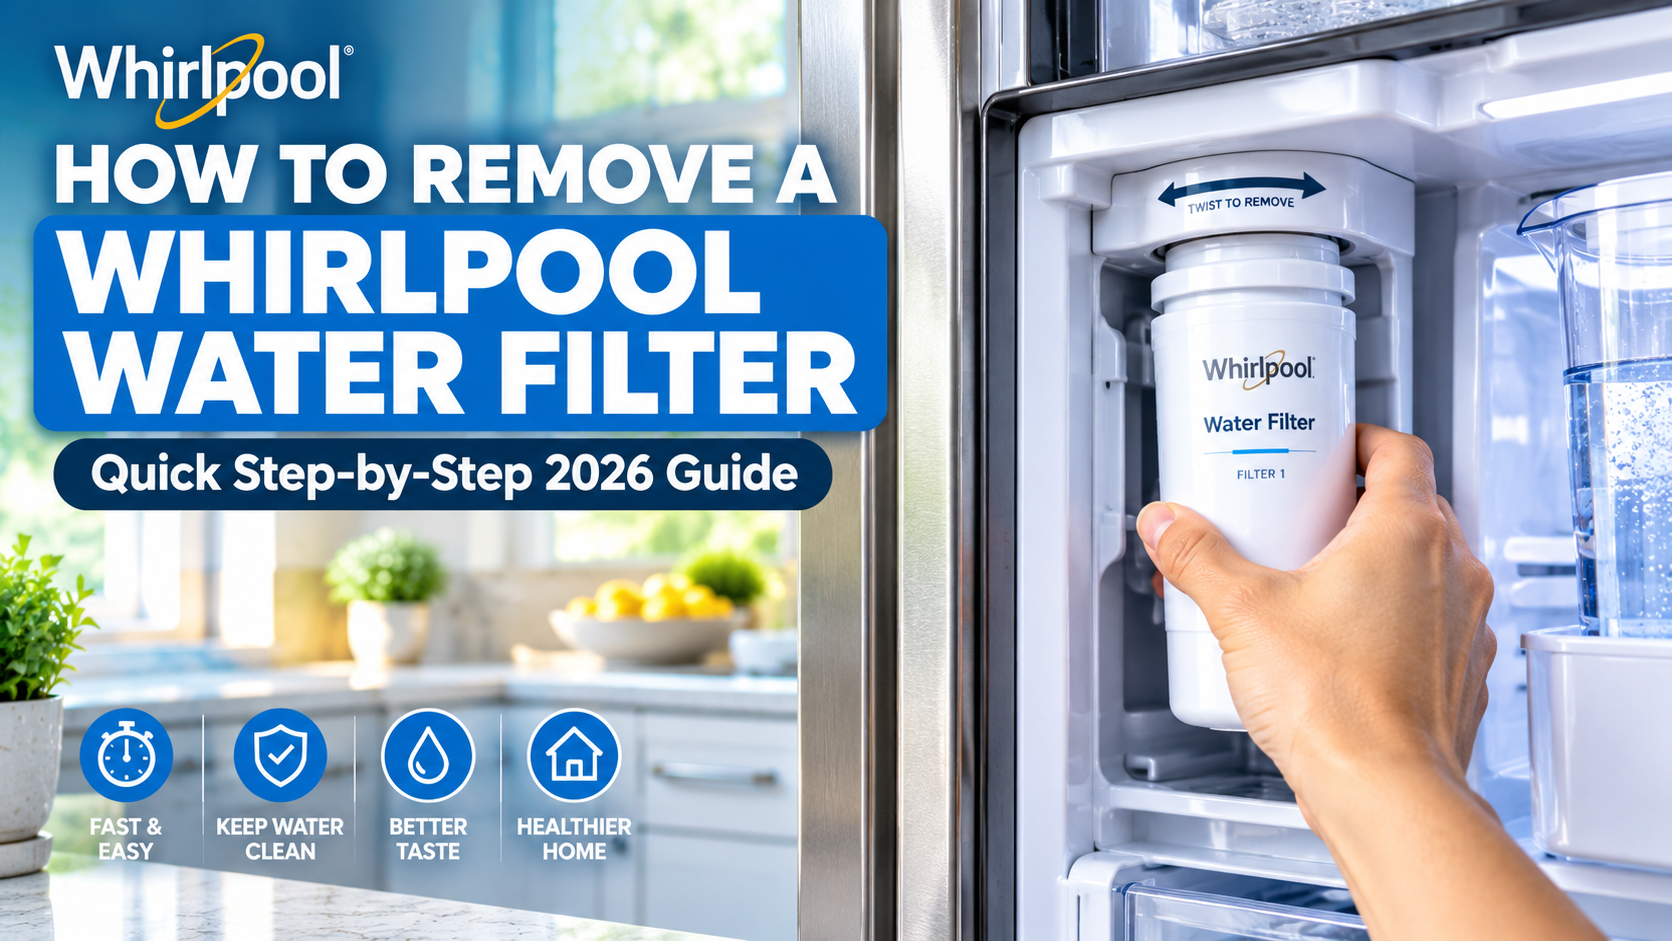
Removing a Whirlpool refrigerator water filter is simple: locate it, twist it counterclockwise a quarter turn, then pull it straight out.
If you've ever stared at your fridge wondering where that stubborn filter is hiding, you're not alone. Over the years of helping friends and family with small kitchen fixes, I've realized most people delay this easy task because they're unsure about the exact steps or worry about damaging something. The truth is, Whirlpool designs its water filters to be user-friendly, and once you understand the process, it becomes a quick routine task. In this guide, I'll walk you through everything you need to know about removing your Whirlpool refrigerator water filter, sharing practical tips, common pitfalls, and insights that make the job easier. Whether you're replacing an old filter, cleaning the area, or troubleshooting water flow, you'll find clear, friendly advice here.
Understanding Whirlpool Refrigerator Water Filters
Whirlpool refrigerators use filters to clean the water and ice they dispense. Most models have filters located either inside the refrigerator compartment at the top right corner or at the base grille behind the toe kick panel. Knowing which type your fridge has is the first step, since the removal method differs slightly depending on location.
There are two main types of Whirlpool refrigerator filters:
- Internal filters sit inside the fresh food compartment, usually mounted in the upper right corner near the temperature controls.
- Base grille filters are found at the bottom front of the fridge, accessible by opening the toe kick panel.
The filter itself is usually a cylindrical cartridge, often branded as EveryDrop or Whirlpool, designed to twist out smoothly. Over time, these filters collect sediment, chlorine, and other contaminants, which is why regular replacement every six months or 200 gallons is recommended for optimal water taste and appliance performance.

Preparing to Remove Your Whirlpool Water Filter
Before diving in, a little preparation makes the process smoother. Trust me, I've learned from helping others that a small towel and a few minutes of patience can save you from minor messes.
Here's what to do before you start:
- Turn off the ice maker if your model has one, to prevent new ice production while the filter is out.
- Clear the area around the filter housing so you have room to work comfortably.
- Have a towel or small bowl handy in case a few drops of water spill out.
- Check your owner's manual or the filter housing for the exact part number and replacement instructions.
If your fridge has a filter indicator light or status display, note whether it's flashing or solid, since this helps confirm you're due for a change.

Step-by-Step Guide to Removing an Internal Whirlpool Water Filter
For most Whirlpool refrigerators with internal filters, the process takes less than a minute once you know where to look.
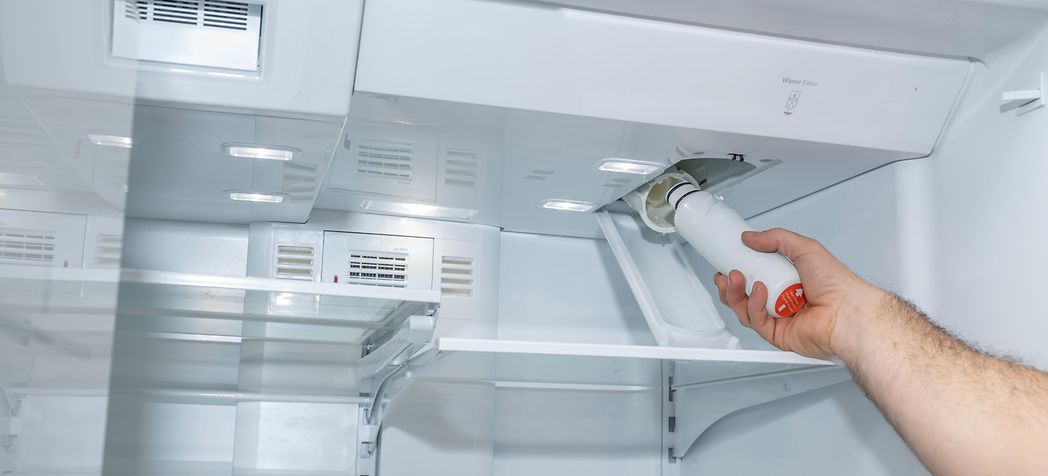
- Open the refrigerator door and locate the filter compartment, typically at the top right corner behind a small door or directly in the grille.
- If there's a cover door, press the release button or gently pull it open to expose the filter.
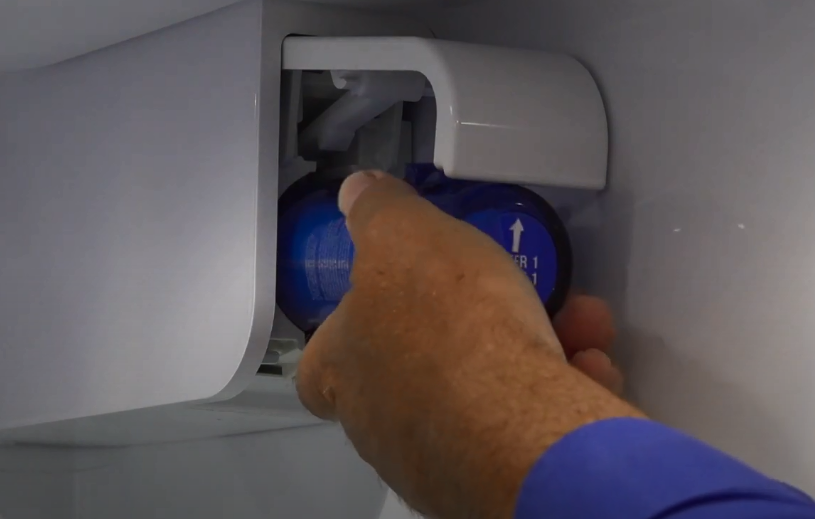
- Grasp the filter firmly and rotate it counterclockwise about a quarter turn until it stops.
- Pull the filter straight out toward you. It may release a few drops of water, which is normal.
- Keep the filter upright as you remove it to minimize spillage.
If the filter feels stuck, avoid using excessive force. Instead, wiggle it gently while turning. Sometimes a buildup of moisture can cause a slight seal, but it should release with minimal effort.
Step-by-Step Guide to Removing a Base Grille Whirlpool Water Filter
If your Whirlpool model has the filter behind the toe kick panel, the steps are slightly different but equally simple.
- Open the refrigerator door and locate the toe kick panel at the bottom front.
- Gently pull the panel forward or press the tabs on either side to release it, setting it aside.
- Look for the filter cartridge, usually mounted horizontally near the water line.
- Turn the filter counterclockwise until it releases from the housing.
- Slide the filter out carefully, supporting it with one hand to prevent it from falling.
Some base grille filters have a small handle or knob to make turning easier. If yours does, use it to avoid straining your fingers or damaging the housing.

Common Mistakes to Avoid When Removing Your Whirlpool Filter
Over the years, I've seen a few recurring errors that can turn this simple task into a frustrating experience. Avoiding them will save you time and protect your fridge.
- Pulling without twisting can damage the filter housing or leave the cartridge stuck halfway.
- Using too much force may crack plastic components or strip the locking tabs.
- Forgetting to turn off the ice maker can cause water to drip continuously while the filter is out.
- Ignoring the water release valve on some models means missing an easy way to depressurize the line before removal.
- Misplacing the filter cap or cover by setting it in a wet area where it can slide out of reach.
A good habit is to keep your old filter in a plastic bag after removal. This prevents any residual water from leaking and gives you a reference for the size and shape when shopping for a replacement.
What to Do After Removing the Filter
Once the filter is out, you have a few options depending on your goal.
If you're replacing it with a new one, make sure the replacement filter matches your model's part number. Common Whirlpool filter models include EveryDrop Filter 1, Filter 2, Filter 3, and Filter 4. Insert the new filter by aligning it with the housing, pushing it in until it stops, then twisting clockwise until it locks into place.
If you're troubleshooting water flow or taste issues, inspect the old filter. A clogged or discolored filter is a clear sign it needed changing. You can also check the filter housing for debris and wipe it with a damp cloth before installing a new filter.
After installing a new filter, run about two to four gallons of water through the dispenser to flush the system and clear any air pockets. This also helps reset the filter indicator light on models with electronic tracking.
How to Reset the Filter Indicator Light
Most Whirlpool refrigerators have a filter status light that reminds you when it's time for a change. After replacing the filter, you'll need to reset this light to keep the cycle accurate.
Here are general steps that work for many models:
- Press and hold the filter reset button, usually located on the dispenser or control panel, for three to five seconds.
- The light should change from red or orange to green, or turn off completely.
- If your model uses a touchscreen, navigate to the settings menu and select "Filter Reset" or a similar option.
If the light doesn't reset, consult your owner's manual for model-specific instructions, since the process can vary slightly between Whirlpool series.
Personal Tips From Years of Helping Others With Fridge Maintenance
One of the most common things I've noticed is that people often forget where the filter is located, especially if they haven't changed it since buying the fridge. A simple tip is to take a photo of the filter housing with your phone after your first replacement. This way, you have a visual reference for future changes and can show others in your household where to look.
Another insight from experience: if your water tastes slightly off or the ice has a cloudy appearance, it's usually a sign the filter is due. Don't wait for the indicator light to turn red, since filters lose effectiveness gradually.
Lastly, always keep a spare filter on hand. Running out of filter and forgetting to order a replacement can leave you without clean water or ice for days.
Frequently Asked Questions
Do I need to turn off the water before removing a Whirlpool refrigerator filter?
In most cases, you don't need to shut off the water supply. The filter housing is designed to seal automatically when the cartridge is removed. However, if your model has a manual shut-off valve near the filter, closing it can reduce minor leaks.
How often should I replace my Whirlpool refrigerator water filter?
Whirlpool recommends replacing the filter every six months or after filtering 200 gallons of water, whichever comes first. If you notice slower water flow or a change in taste, consider changing it sooner.
Can I reuse an old Whirlpool water filter after removing it?
No, Whirlpool filters are designed for single use. Attempting to clean and reuse them reduces filtration effectiveness and can introduce contaminants back into your water supply.
What if the filter is stuck and won't turn?
If the filter won't budge, avoid using tools or excessive force. Instead, try wearing rubber gloves for better grip or gently warming the housing with a hairdryer on low heat to expand the plastic slightly.
Will removing the filter affect my ice maker?
The ice maker will continue to produce ice, but the water may not be filtered. For best results, install a new filter promptly or keep the ice maker turned off until the replacement is in place.
Conclusion
Removing the water filter from your Whirlpool refrigerator is a straightforward task once you know the location and the simple twist-and-pull method. By preparing your workspace, following the correct steps for your filter type, and avoiding common mistakes, you can complete the job in just a few minutes. Remember to reset the filter indicator light and flush the system after installing a new cartridge to keep your water tasting clean and fresh. Keep these tips handy for future replacements, and don't forget to share this guide with anyone who might need a little extra confidence tackling their fridge maintenance. If you have questions or want to share your own filter-changing experience, feel free to leave a comment below.