How Long to Run Water After Changing Filter 2026
When you tackle a water filter change, the next logical step is figuring out how long to run the water afterward. It’s not a one-size-fits-all answer, and what you do can impact the quality of your water right from the start. Our research indicates that following the correct flush procedure is key to getting that fresh, clean taste and ensuring your filter works as intended.
Manufacturer specifications often recommend flushing for a specific duration to remove any residual manufacturing debris or air. For many common under-sink systems, this means running water for at least 5 to 10 minutes. This brief effort helps clear out fine carbon particles and prime the filter medium effectively, preparing it for optimal performance.
Why Running Water After a Filter Change Matters
Honestly, the flush is non-negotiable for good reason. Think of a brand-new filter like a clean slate. When it's manufactured, tiny bits of dust from the materials and air can get trapped inside. If you skip the flush, those particles can end up in your water, making it look cloudy or even affecting the taste for a little while.
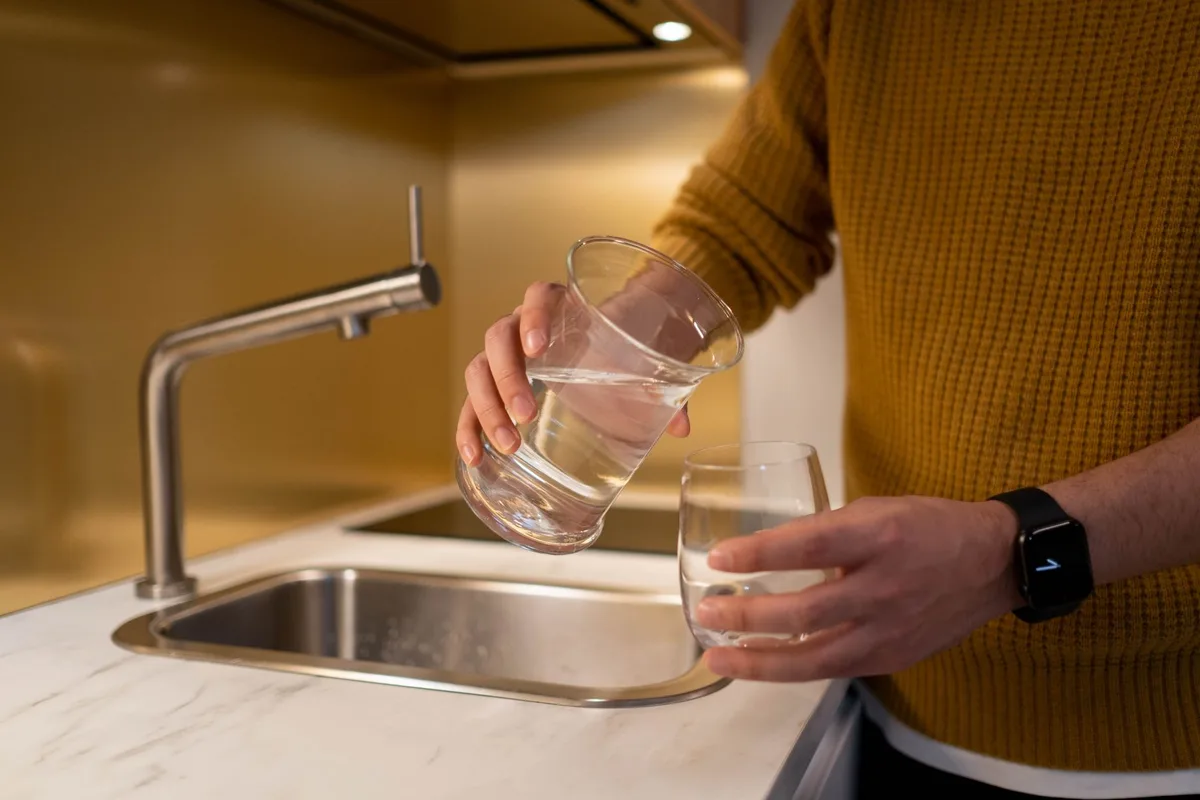
- Cloudiness: You might see temporary haziness in your water. This is usually harmless carbon fines, but it's not what you expect from clean water.
- Taste Impact: Air bubbles or fine particles can give your first few glasses a slightly "off" or metallic taste.
- Filter Readiness: A proper flush helps the filter media, especially activated carbon, become fully wetted and ready to start absorbing contaminants effectively.
The exact amount of time and water needed depends heavily on the type of filter system you’re installing, but the principle remains the same: help it clear out before you start drinking or using it.
What Kind of Filter Are We Talking About?
The duration you need to run your water after a filter change varies quite a bit, mostly depending on the complexity and capacity of the filtration system. We’ve seen the biggest differences between simple pitcher filters and more robust whole-house systems.
- Pitcher Filters: These are generally the easiest. You'll typically fill the pitcher a couple of times and pour out that first batch of water. The new filter is ready for use after that initial pre-rinse.
- Faucet Filters: Much like pitcher filters, instructions usually require running the tap for a few minutes to rinse the filter element.
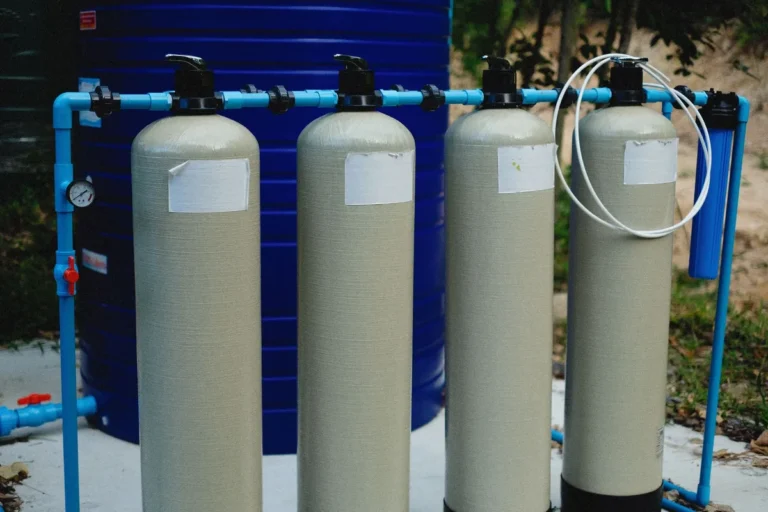
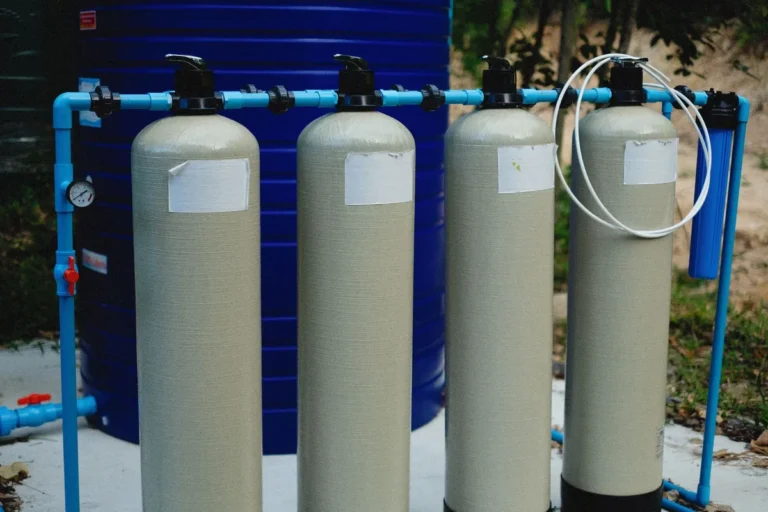
- Under-Sink and Whole-House Systems: These systems handle higher volumes and pressures, so they require a more thorough flush. This is where you'll find the most significant difference in recommended run times.
Manufacturer recommendations are your best guide, but we can map out a general approach based on system type.
General Workflow for Running Water
Let's break down that post-filter change flush. It’s not complicated, but following these steps will make sure you're doing it right.
Pitcher or Faucet Filter Quick Flush
For simpler systems like water filter pitchers or faucet attachments, the process is pretty straightforward and usually takes minimal time.
- Step 1: Assemble and Install. Follow the manufacturer's guide to prepare your new filter media and insert it into the pitcher or faucet housing.
- Step 2: Perform the Rinse.
- For Pitchers: Fill the pitcher completely with cold tap water. Discard this water. Repeat this process for a second pitcher fill. Your filter is now ready for use.
- For Faucet Filters: Turn on your cold water tap. Let it run for about 2 to 5 minutes. Some manufacturers might suggest a specific volume of water to run through.
- Step 3: All Set. You can now use the filtered water for drinking and cooking.
These systems don't typically require extended flushing because the volume of water and the density of the media are lower compared to larger systems.
Under-Sink or Whole-House System Flush Process
These systems require a bit more attention. The goal here is to effectively push out any manufacturing residuals and air from the larger filter cartridges and plumbing lines.
- Step 1: Isolate the System. Turn off the main water supply leading to your filter system. This prevents water damage if there's an issue during filter replacement.
- Step 2: Replace the Filter. Open the filter housing or cartridge assembly, carefully remove the old filter, and install the new one according to the manufacturer's instructions. Ensure seals are properly seated.
- Step 3: Slowly Restore Water Flow. Turn the main water supply back on very gradually. Listen for any significant leaks or unusual noises from the housing.
- Step 4: Open a Designated Faucet. Locate a faucet that is supplied by the newly filtered water. Open this faucet fully to a cold water setting.
- Step 5: Let it Run. This is the critical part. For most under-sink or whole-house carbon block or sediment filters, manufacturer specifications typically recommend running the water for a minimum of 5 to 10 minutes, and often up to 20 minutes for specialized filter media. This ensures that any micro-fines from the carbon block are removed and air is purged.

- Step 6: Check for Leaks. While the water is running, closely inspect the filter housing and connections for any drips or leaks.
- Step 7: Close Faucet and Check Again. Once the flush time is complete, turn off the faucet and double-check for leaks.
This prolonged flush is essential for systems that use activated carbon, as it helps remove very fine carbon dust that can be released during the initial water flow. It also ensures that any trapped air is fully purged from the system.
What if My Filter Instructions Say Something Different?
Your filter's instruction manual is the ultimate authority. While general advice is helpful, manufacturer specifications are tailored to the exact materials and design of their products. For example, some sediment filters might primarily need a flush to clear residual air, while carbon filters need a more extensive rinse to remove fines.
- Activated Carbon Filters: These are notorious for releasing fine black particles (carbon fines) if not flushed adequately. Manuals for these will almost always specify a minimum flush time, often linked to a volume of water (e.g., 50 gallons) or a duration (e.g., 10 minutes).
- Sediment Filters: Primarily designed to catch larger particles, these might need a shorter flush, mainly to release trapped air from the housing. However, many systems combine sediment and carbon, so you'll follow the more rigorous flush requirement.
- Specialty Filters (e.g., Iron, Sulfur, UV Pre-filters): These can have unique requirements. Always consult the manual for any specific pre-treatment or flushing steps recommended before putting them into regular service.
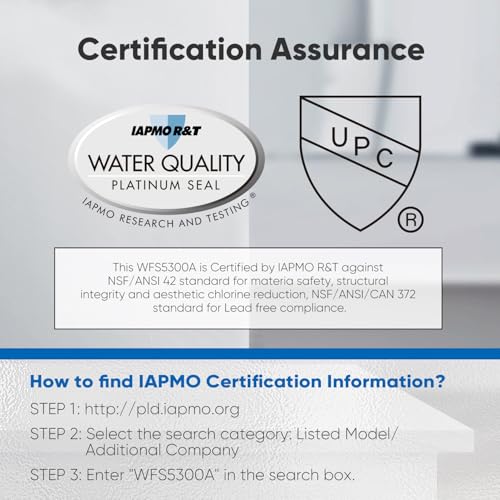
If you can't find your manual, visiting the brand's official website and searching for your specific model number is usually your best bet for updated guidance. This is also where compliance information, often referencing standards like NSF/ANSI, is readily available. For instance, documentation from purification system vendors often highlights NSF/ANSI Standard 42 for aesthetic effects (like chlorine taste and odor) and Standard 53 for health effects, with specific flushing protocols to meet these standards.
Common Mistakes to Avoid When Flushing Filters
Even with clear instructions, there are a few common slip-ups that people make when flushing their new water filters. These errors can lead to less-than-ideal results and, in some cases, premature filter wear.
- Not Flushing Long Enough: This is probably the most frequent mistake. People often cut the flush time short, especially for under-sink systems, thinking a minute or two is sufficient. As we’ve covered, larger systems often need 5 to 10 minutes to truly clear out particles and air.
- Using Hot Water: Unless your filter is specifically designed for hot water filtration (which is rare for drinking water systems), always flush with cold water. Hot water can sometimes degrade filter media or encourage the release of certain compounds prematurely.
- Forgetting to Turn the Water Supply Back On Slowly: When restoring water to an under-sink or whole-house system, turning the valve on too quickly can cause a "water hammer" effect and put undue stress on your plumbing and the filter housing, potentially leading to leaks.
- Not Checking for Leaks: After the flush is complete, it's easy to get excited about your new filter and forget to do a final check around the housing and connections. Those initial minutes are crucial for spotting any small drips that might indicate a loose seal.
- Drinking the First Flush Water: The whole point of the flush is to discard the initial water containing manufacturing residues and air. Consuming this water defeats the purpose and can lead to the cloudy or off-tasting water you were trying to avoid.
The aim of the flush is to ensure the filter media is clean and ready to do its job, so a proper flush is really about optimizing your experience with the filtered water from the get-go.
Expert Tips for Post-Filter Change
Beyond the basic flush, incorporating a few pro tips can help you get the most out of your new water filter and ensure it’s performing optimally. These practices are based on industry recommendations and aggregate user feedback.
- Label Your Filters: If you have a multi-stage system, knowing what each filter does and when it was installed is key. Keep a small label or logbook near the system and jot down the date and type of filter installed. This helps tremendously with your replacement schedule.
- Know Your Manufacturer's Specs: As we've emphasized, always refer to the official documentation. Some filters, for example, might recommend a specific flow rate during flushing, too fast, and you might not clear everything; too slow, and it could take excessively long.
- Keep Spare Filters on Hand: When you’re ready to change a filter, you don’t want to be held up waiting for a new one to arrive. Having spares means you can perform maintenance promptly, preventing potential issues from an expired filter. As of 2026, many manufacturers offer subscription services for filter replacements, which can be a convenient way to ensure you always have spares.
- Listen to Your Water: After installation, pay attention to your water. Does it taste noticeably better? Is the flow rate good? Subtle changes can sometimes indicate whether the filter is working as expected or if there might be an underlying issue.
- Consider a Filter Service Schedule: While DIY filter changes are common, for complex whole-house systems, some homeowners opt for professional service. This ensures proper installation, flushing protocols are followed perfectly, and any potential system issues are identified early. Many manufacturers offer service plans or have certified technicians available.
These simple additions to your filter change routine can prevent headaches down the line and ensure you're consistently getting the best possible water quality for your household.