How to Change Home Water Filter for 2026: Ranked & Reviewed
So, you're wondering how to change your home water filter and keep that clean, fresh water flowing. It sounds a bit technical, but honestly, for most common under-sink systems, it’s a straightforward task that most homeowners can handle themselves. Regularly changing your filter isn't just about taste; it's crucial for ensuring your system effectively removes contaminants as it's designed to.
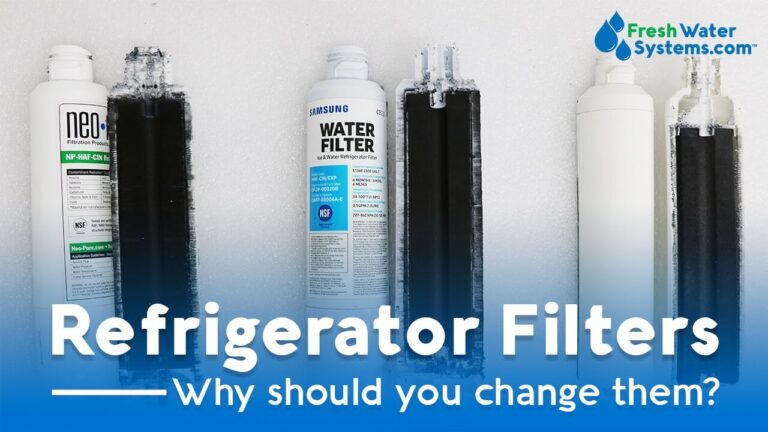
Per manufacturer specifications, most water filter cartridges are rated for a specific volume of water or a set time frame, typically 6 to 12 months. After this period, the filter media becomes saturated, reducing its effectiveness and potentially leading to diminished water quality. This guide breaks down the process so you can confidently tackle it.
Why Bother Changing It Now?
Sticking to a regular filter replacement schedule for your home water filter system is more important than just keeping water tasting "good." When a filter cartridge gets clogged with impurities, its ability to do its job diminishes rapidly. This isn't just hypothetical; aggregate user feedback and manufacturer data consistently show that an old filter can lead to several issues.
- Tastier Water: That "off" taste or odor you might be noticing is a direct sign that the filter media is saturated and can no longer adsorb dissolved organic compounds effectively.
- Reduced Water Flow: A clogged filter acts like a bottleneck, seriously slowing down the water pressure and flow rate from your dedicated faucet.
- Less Effective Filtration: Once the filter media reaches its capacity, it can't trap new contaminants. In some cases, particularly with sediment filters, further particulate matter can even be pressed through.
- Potential for Bacterial Growth: For filters that primarily target chemical impurities, a saturated medium can, in rarer circumstances, become a breeding ground for opportunistic bacteria, especially if left unchanged for extended periods.
What Kind of Filter Are You Working With?
The process for changing filters can vary slightly depending on the type of system installed in your home or if you have a whole-house setup. Knowing your system helps ensure you buy the correct replacement parts and follow the right steps.
Under-Sink Filters
These are the most common type for kitchens, typically installed beneath the sink. They usually consist of one or more filter housings that hold replaceable cartridges. Water is diverted from your cold-water line, passed through the filter(s), and then dispensed through a dedicated faucet. Manufacturer specifications for these systems often recommend replacing cartridges every 6 to 12 months, depending on usage and water quality.
Countertop Filters
These systems sit directly on your kitchen counter and connect to your existing faucet via a diverter valve. They are generally easier to access for filter changes than under-sink units. The filter housing is usually smaller, and the cartridges are often designed for quicker swaps.
Whole-House Filters
Installed where your main water line enters the house, these systems filter all water used throughout your home, showers, laundry, and taps. They often have larger housings and more robust filter elements. Due to their complexity and the volume of water treated, their filter replacement schedules might differ, and some homeowners opt for professional service for these units.
The Basic Steps: You Got This!
Changing out an under-sink water filter is a manageable DIY task. The core actions involve isolating the system, removing the old filter, installing the new one, and then reintroducing water. Being prepared with the right tools and parts can make the process smooth and efficient.
Before You Start: Gather Your Gear
Having everything ready before you begin is key to a hassle-free filter change. This prevents you from having to hunt for a tool mid-task, potentially leaving water lines exposed longer than necessary.
- Your New Filter(s): Ensure you have the exact replacement model compatible with your specific filter housing. Check your system's manual or the label on the old filter to confirm the part number.
- Filter Wrench: Many under-sink systems come with a plastic wrench specifically designed to grip and turn the filter housing. If yours is missing or broken, you can find replacements at most hardware stores.
- A Bucket: Place this directly beneath the filter housing when you unscrew it. Residual water will drain out, and a bucket keeps your under-sink area from becoming a puddle.
- Old Towels or Rags: Keep a few handy to wipe up any spills and to dry the housing and connections.
- New O-ring/Gasket (if recommended): Some systems suggest replacing the rubber O-ring that seals the housing with each filter change. Check your manual for this recommendation and if one is included with your new filter.
- Food-Grade Silicone Lubricant: A small amount applied to the O-ring and housing threads can help create a watertight seal and makes future filter changes much easier. Ensure it's specifically marked as food-grade.
The Actual Filter Change: Step-by-Step
Let's walk through the physical process. These steps are based on typical under-sink cartridge filter systems.
1. Shut Off the Water Supply
Locate the shut-off valve for your water filter system. This is usually on the cold water line that feeds your faucet. Turn the valve clockwise until it’s snug. If your system has multiple lines, ensure all relevant valves are closed.
For whole-house systems, you'll want to close the main water valve where the service line enters your home.
2. Relieve Any Pressure
Open the dedicated filtered water faucet (if you have one) or a regular cold water faucet located nearby. Let any trapped water drain out completely. This step significantly reduces the pressure inside the system, making it much safer and easier to unscrew the filter housing and preventing a geyser of water.
3. Unscrew the Filter Housing
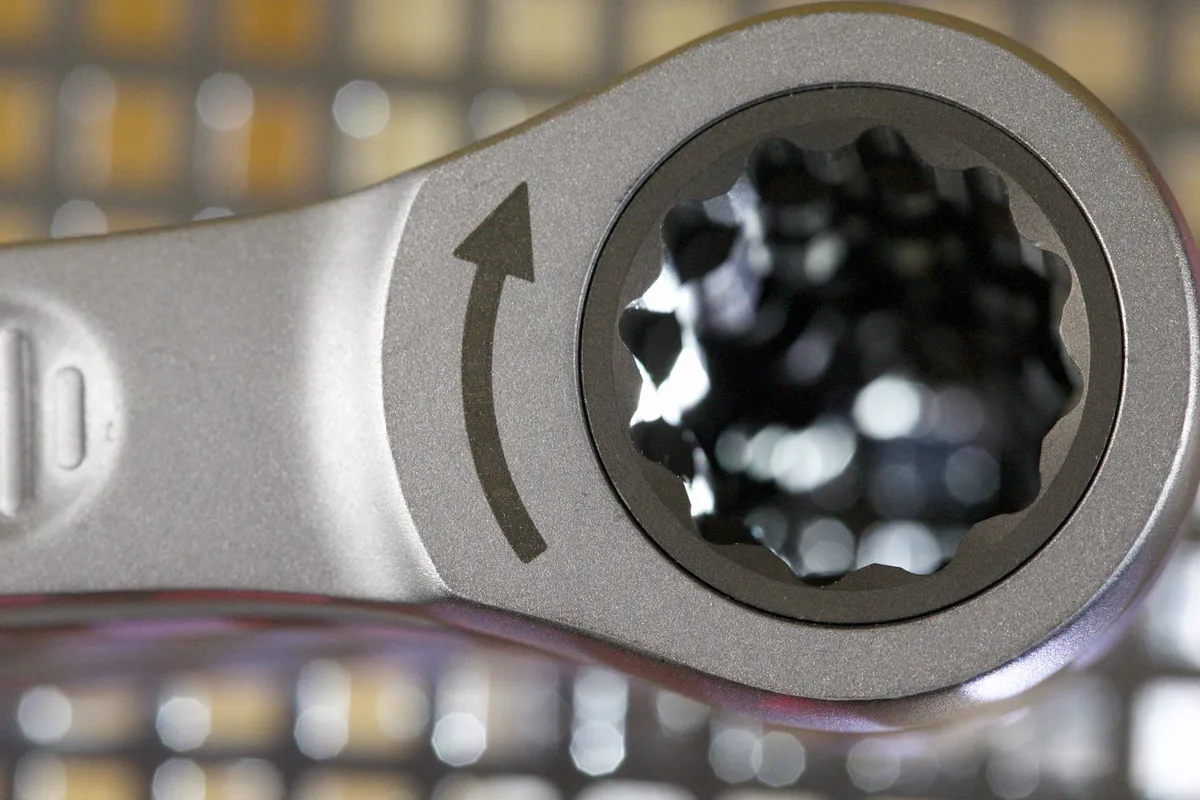
Place your bucket directly underneath the filter housing you need to unscrew. If you have a filter wrench, attach it to the housing and turn it counter-clockwise. If the housing is difficult to loosen, don't use excessive force. Sometimes, a gentle wiggle or a firm tap with the wrench can help break it free.
In our research, many users report housings can be tight due to mineral buildup.
4. Remove the Old Filter
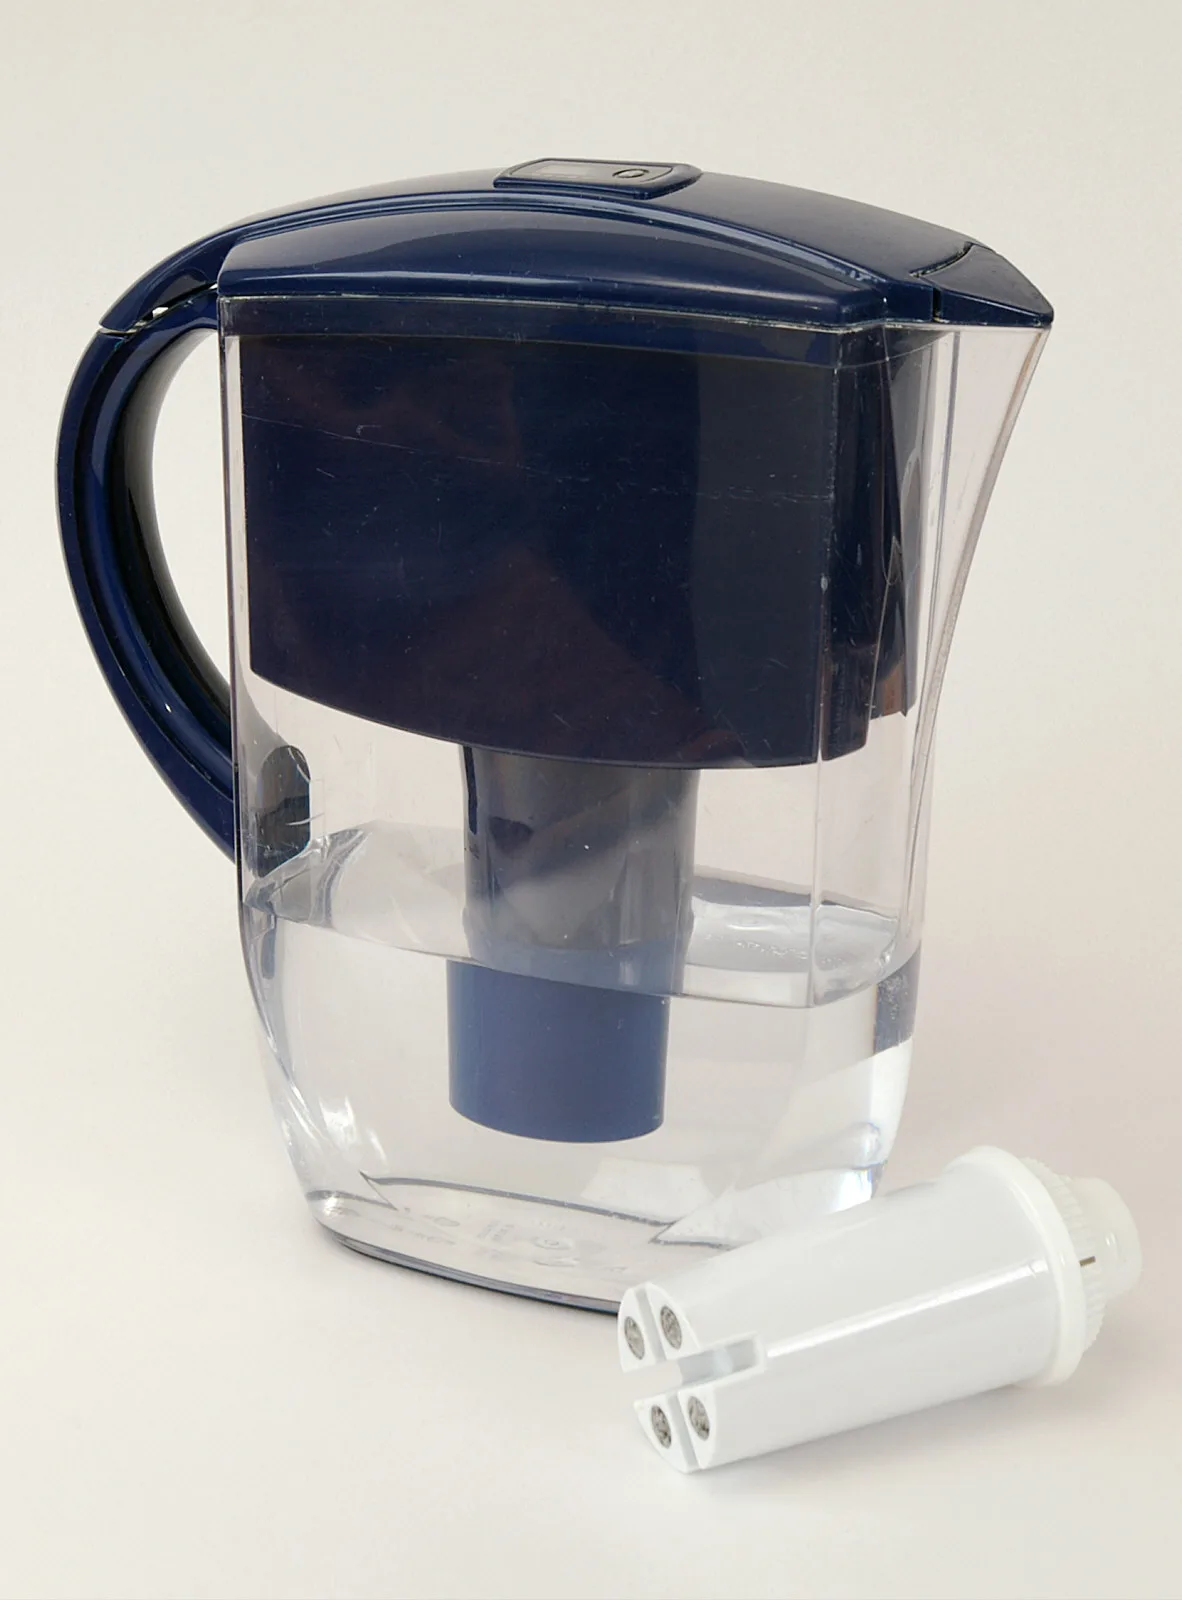
Once the housing is loosened, unscrew it the rest of the way by hand. Carefully lower the housing, keeping it level to minimize spillage. Pull out the old filter cartridge. It will likely be wet and may contain some residual water.
5. Clean the Housing
Take a clean cloth and wipe out the inside of the filter housing. Rinse it with clean water if it appears visibly dirty. Pay attention to the groove where the O-ring sits; ensure it's free of any debris, sediment, or old lubricant. A clean housing is crucial for a good seal.
6. Prep the New Filter
Unpack your new filter cartridge. Remove any protective end caps. Inspect the O-ring on the housing (if you’re reusing the old one, ensure it's in good condition). If you're using a new O-ring or the same one, apply a thin, even layer of food-grade silicone lubricant to it.
This prevents the rubber from sticking and tearing when you screw the housing back on, and also aids in future removal.
7. Insert the New Filter
Place the new filter cartridge into the filter housing. Ensure it's positioned correctly. Most cartridges have specific orienting tabs or a shape that fits only one way into the housing. Refer to your system's manual if you’re unsure.
8. Screw the Housing Back On
Carefully thread the housing back onto the filter head. Always start by hand-turning it clockwise to avoid cross-threading. Once it’s snug and you feel the threads engage smoothly, use your filter wrench to tighten it. A quarter to a half-turn past hand-tight is usually sufficient.
Over-tightening can crack the plastic housing or damage the O-ring, leading to leaks.
9. Turn the Water Back On SLOWLY
Go back to the shut-off valve you closed earlier. Turn it open slowly, counter-clockwise. Listen for any hissing sounds that might indicate a leak. Keep a close eye on the filter housing and connections as the system fills with water.
10. Flush the System
Open the filtered water faucet and let the water run for at least 5 minutes. This flushes out any air that may have been trapped in the lines and any fine carbon dust or particles from the new filter. The initial water may appear cloudy or discolored; this is normal and will clear up as you flush. Check for any leaks around the housing and connections while the water is running.
Common Hiccups and How to Handle Them
Even with careful steps, you might run into a snag or two when changing your home water filter. Most of these issues are minor and can be resolved with a bit of patience and the right approach.
Housing Won't Unscrew
This is probably the most common frustration. Filter housings can become very tight, especially if they haven't been changed in a long time.
- Try a gentle tap: Sometimes, a firm tap with the plastic filter wrench or a block of wood can help break the seal.
- Warmth can help: For metal fittings, a hairdryer on a medium setting can sometimes help expand the metal slightly, making it easier to turn. Be cautious not to melt any plastic components.
- Check for obstructions: Ensure nothing is physically blocking the housing from turning freely.
Leaks After Changing
A leak is almost always related to the seal between the housing and the filter head.
- O-ring issues: The most frequent culprit is an improperly seated or damaged O-ring. Turn off the water, unscrew the housing, take the O-ring out, clean the groove, and reseat the O-ring. Make sure it's centered and not pinched.
- Tightness: The housing may not be tightened enough, or it might be cross-threaded. Loosen it, re-thread by hand carefully, and then tighten again, a firm hand-tight plus a quarter turn with the wrench is usually plenty.
- Damaged housing: In rare cases, the plastic housing itself might be cracked. Inspect it carefully for any visible damage.
Filter Type is Wrong
Purchasing the incorrect replacement filter is a common mistake that halts the process.
- Verify compatibility: Always double-check the model number of your existing filter or system against the replacement filter packaging. Many systems use proprietary cartridges.
- Return and reorder: If you realize you have the wrong filter, do not try to force it. Return it to the store or online vendor and order the correct one. Contacting the manufacturer of your filter system can help you identify the correct replacement part if you’re unsure.
When to Call in the Pros
While changing an under-sink water filter is a common DIY task, there are definite times when it's smarter to call in a qualified plumber. If you've tried troubleshooting and still have issues, or if you're simply not comfortable with plumbing work, don't hesitate to get professional help. Your peace of mind is worth it.
- Persistent Leaks: If you’ve reseated the O-ring, checked the housing, and the system continues to leak after a filter change, there might be a more complex issue with the filter head or the plumbing connections themselves.
- System Complexity: If you have a multi-stage filtration system with specialized components or a less common brand, the manufacturer's instructions might be complex, or you might lack the specific tools required.
- Whole-House Systems: For whole-house water filters, especially those involving main water line connections, the risk of significant water damage from an incorrect installation or repair is higher. Professionals have the experience to handle these larger systems safely.
- Lack of Confidence: If at any point you feel unsure about a step or worried about causing damage, stopping and calling a plumber is the wisest course of action.
Keeping Track: When to Replace Next Time
Knowing when your current filter is due for a change is as important as knowing how to do it. Overlooking this can lead to the very problems we discussed earlier, like poor water taste and reduced filtration efficiency.
- Manufacturer Recommendations: As a baseline, most under-sink filter cartridges, based on manufacturer specs, are designed to last between 6 to 12 months. This timeframe often depends on the specific filter’s capacity and the volume of water used in your household.
- Usage Matters: If you have a high-traffic household or use a lot of filtered water for cooking, drinking, and ice makers, you might need to replace your filter sooner than the recommended 12 months.
- Water Quality: If your home has particularly hard water or high levels of specific contaminants, the filter may become saturated more quickly, necessitating earlier replacement.
- Indicators: Some advanced systems have an indicator light or a flow meter that signals when it's time to change the filter. If yours doesn't, consider a simple calendar reminder. Many people find adding a note to their phone or a perpetual calendar for every six months is an effective method. For precision, checking the filter housing for significant sediment buildup can also be an informal indicator.